Advertisement
Quick Links
Advertisement

Subscribe to Our Youtube Channel
Summary of Contents for Hydropath HydroFLOW i Series
- Page 1 RANGE HYDROPATH Technology | The home of...
- Page 3 Input Voltage 87-240V AC (100 -230 VAC Nominal) Input Frequency 47-63 Hz (50-60 Hz Nominal) Material Specifications Main unit: Anodised Aluminium End plates: UL V-0 rated polycarbonate Water and Dust Protection IP Rating: IP68 IEC 60529 (Transducer unit) IP66 IEC 60529 (Junction box) Built-in EMI Filter Meets: FCC 20780 Class B...
- Page 4 Electrical Line spike inhibitor User mains Conditioner and BMS connection unit BMS Relay Signal Wires S/W Fuse holders User mains and BMS Connection connection to unit Inner grommet allows for Fuse not working indicators connection to Line spike inhibitor different cable diameters Remote Monitoring Facility A volt-free normally-open contact closure is provided by the unit connection with a BMS...
-
Page 5: Mechanical Details
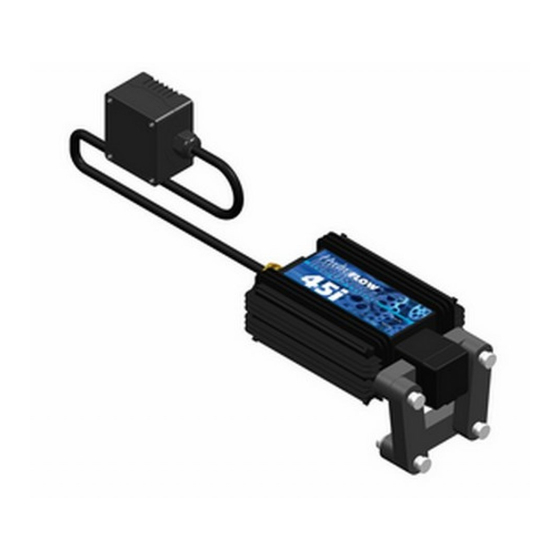
Mechanical Details FLOW The Hydro i Range water conditioner is specifically designed to combat limescale in commercial and/or industrial applications by clustering mineral ions, to enhance filtration by flocculating particles and to combat biofouling. i Range units are most commonly used on heat exchangers and plumbing systems. Total Ferrite Dimensions... - Page 6 DO NOT POWER UP UNIT UNTIL ALL FERRITES SUPPLIED ARE CONNECTED. • The unit is supplied with a bracket for Unit support bracket ease of mounting to the pipe. The two upper plates should be loosely secured with bolts before installation. •...
- Page 7 DO NOT POWER UP UNIT UNTIL ALL FERRITES SUPPLIED ARE CONNECTED. Plate • Place the unit on the bracket and hold in place using the swinging plates. • Secure by tightening the four steel nuts. Plate Hexagon Nuts • Insert the two hexagon nuts into the holes in the end plate, next to the ferrite holding cage.
- Page 8 DO NOT POWER UP UNIT UNTIL ALL FERRITES SUPPLIED ARE CONNECTED. Thumb screw • Assemble all the other ferrites around the pipe according mechanical configuration specified for the unit. • Loosely secure each ferrite with plastic thumb screws and thumb nuts. Thumb nut •...
- Page 9 ✓ Electrically insulate Brackets create loop ✓ brackets Wiring creates loop Move unit out of loop If you are unsure of any details of fitting or installation, please contact your local Hydropath representative for technical support.
-
Page 10: Box Contents
To register the product please visit hydropath.com/product-registration/ Products must be registered to activate any warrantee or guarantee. All goods are sold subject to our standard terms and conditions of sales, copies of which are available upon request.
Need help?
Do you have a question about the HydroFLOW i Series and is the answer not in the manual?
Questions and answers