Advertisement
Quick Links
INSTRUCTION MANUAL
使用说明书
#2 BY DESIGN
2022
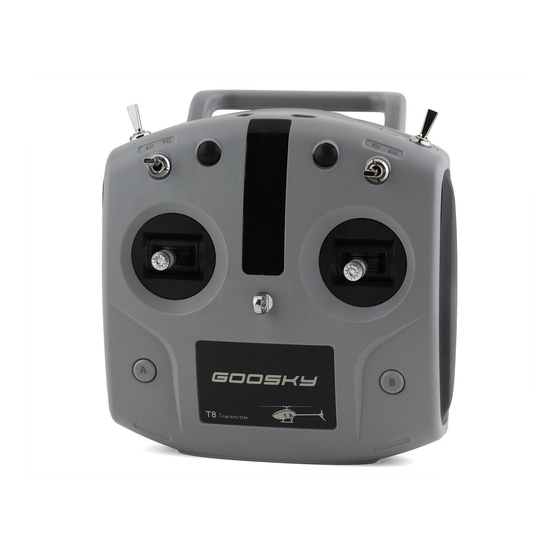
Goosky
Thank you for choosing
remote control world, you must be told a lot of relevant knowledge and precautions to
ensure that you can be more comfortable in the learning process. Before starting the
operation, please read this manual carefully. We believe it will be of great help to you.
Please keep this manual properly for future reference.
感谢您选用谷天科技系列产品。
进入遥控世界前必须告诉您许多相关的知识与注意事项,以确保您能够在学
习的过程中较得心应手。在开始操作之前,请务必详细阅读本说明书,相信
一定能够给您带来相当大的帮助,也请您妥善保管这本说明书,以作为日后
参考。
Technology series products. Before entering the
Advertisement

Related Manuals for Goosky T8

Summary of Contents for Goosky T8
- Page 1 INSTRUCTION MANUAL 使用说明书 Goosky Thank you for choosing Technology series products. Before entering the remote control world, you must be told a lot of relevant knowledge and precautions to #2 BY DESIGN ensure that you can be more comfortable in the learning process. Before starting the operation, please read this manual carefully.
- Page 2 Transmitter description-1 遥控器说明-1 Remote Control Power Light(Red) 遥控器 (MODE HOLD IDLE Pose mode Manual mode 100% Manual mode Throttle, Orientation Front Back, Left Right Flying Ring POWER-2 POWER-1 Remote Control Power Light(Red) 遥控器 (MODE HOLD IDLE Pose mode Manual mode Manual mode 100% Front Back, Orientation...
- Page 3 遥控 Handle (Product Model) 产品型号: T8 提手 (Diameters) 外形尺寸长: L153*W93*H154 (Radio Frequency) 无线频率: 2.404GHz--2.4475 GHz (Transmit Power) 发射功率: < 20 dBm (Weight) 重量约: 335g (Modulation Mode) 调制方式: 2FSK (Spread Spectrum Mode) 扩频方式: FHSS (Working Voltage) 工作电压: 3.7V (Remote Distance) 遥控距离: 300m (Charge Interface) 充电接口:...
- Page 4 Transmitter description-3 遥控器说明-3 Push down the battery compartment cover, take out the 18650 lithium battery, and remove the battery protective film; 电池 电池 揭掉 Push down 电池保护膜 电池 Protruding end Flat end CAUTION The protruding end (+) pole and the plane end (-) pole of the battery shall be installed into the battery compartment according to the marked direction in the battery compartment;...
- Page 5 Transmitter description-4 遥控器说明-4 Precautions before turning on the remote control. 遥控器开机前注意事项 (MODE Put the throttle stick to the lowest position. Turn the toggle switch to the bottom in the direction of the arrow. Left side of remote control. Right side of remote control. 遥控器...
- Page 6 飞控对频介绍 BIND Turn on the GOOSKY T8 transmitter, press the BIND button for 3 times after the helicopter is powered on. The blue light flashes quickly. Keep the transmitter less than one meter away from the flight control. The flight control passes self-detection when the blue light is solid on. Then the binding is done.
- Page 7 Transmitter description-6 遥控器说明-6 Introduction to indicator light 指示灯灯语介绍 Remote Control Power Light(Red) 遥控器 Introduction to indicator light atter atter atter atter 1 When only the red light of the power indicator is always on, it should be charged in time to avoid affecting the use;...
- Page 8 Transmitter description-7 遥控器说明-7 Mode1 and mode2 are interchangeable 左、右手 互换 (MODE MODE1 MODE2 CAUTION 1: Disassemble the left and right assembly seats of the remote control, and unplug the connecting wire plug; 遥控器 2: The left and right assembly seats are installed interchangeably, and then the MODE1 MODE2 assembly seat is assembled on the front shell, and the connecting wire is...
- Page 9 Transmitter description-8 遥控器说明-8 Mode1 and mode2 are interchangeable 左、右手 互换 (MODE MODE1 MODE2 CAUTION 1: Disassemble the left and right assembly seats of the remote control, and unplug the connecting wire plug; 遥控器 2: The left and right assembly seats are installed interchangeably, and then the MODE1 MODE2 assembly seat is assembled on the front shell, and the connecting wire is...
- Page 10 Transmitter description-9 遥控器说明-9 Introduction to indicator light 校准摇杆 Enter calibration mode 进入校准模式 POWER-2 POWER-1 1 The remote control is turned off; 1 遥控器 2 Turn the two control sticks to the down splays, as shown in the arrow direction, and turn on the power of the remote control at the same time (turn on);...
- Page 11 Memo 备忘录 WWW.GOO-SKY.COM...
- Page 12 Zhongshan Goosky Technology Innovation Co., Ltd. www.goo-sky.com 2022...
Need help?
Do you have a question about the T8 and is the answer not in the manual?
Questions and answers