Advertisement
Advertisement
Table of Contents

Summary of Contents for AXTRA AX-BC36
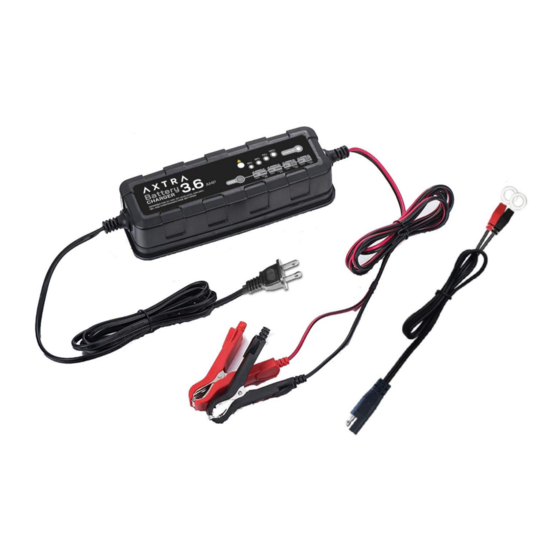
- Page 1 USER MANUAL Model: AX-BC36 Page | 1...
-
Page 2: Important Safety Warnings
Important Safety Warnings AXTRA car battery charger represents some of the most innovative and advanced technology on the market, making each charge simple and easy. It is quite possibly the safest and most efficient charger you will ever use. - Page 3 Modifications. Do not attempt to alter, modify or repair any part of the product. Disassembling product may cause injury, death or damage to property. If product becomes damaged, malfunctions or comes in contact with any liquid, discontinue use, and contact AXTRA customer support. Any modifications to the product will void your warranty.
-
Page 4: How To Use
not attempt to use product with any other type of battery. Charging other Important Safety Warnings and battery chemistries may result in injury, death or property damage. Contact the battery manufacturer prior to attempting to charge the battery. Do not charge a battery if you are unsure of the battery’s specific chemistry or voltage. - Page 5 For 6V/12V and 3.6A Use for (14-120AH) Batteries 6V NORM (3.6A): For charging 6-volt Wet Cell, Gel Cell, Enhanced Flooded, Maintenance-Free and Calcium batteries. When selected, the 6V LED will illuminate. Use for (14-120AH) Batteries – Recommend to use in Cold Weather 6V COLD/AGM (3.6A): For charging 6-volt Wet Cell, Gel Cell, Enhanced Flooded, Maintenance-Free and Calcium batteries.
- Page 6 will illuminate. For charging batteries in cold temperatures below 32℉ (0℃). For 6V/12V and 0.9A Use for (1.2-14AH) Batteries 6V NORM (0.9A): For charging 6-volt Wet Cell, Gel Cell, Enhanced Flooded, Maintenance-Free and Calcium batteries. When selected, the 6V LED will illuminate.
- Page 7 Connecting to the Battery with Battery Clamps Do not connect the AC power plug until all other connections are made. Identify the correct polarity of the battery terminals on the battery. The positive battery terminal is typically marked by these letters or symbol (POS,P,+). The negative battery terminal is typically marked by these letters or symbol (NEG,N,-).
- Page 8 Quick-Connect O-Ring Terminal The O-ring connectors permanently attach to the battery, providing easy access to quickly connect the charger to your battery. This application is appropriate for motorcycles, lawn tractors, ATVs and snowmobiles. 1. To permanently attach to a battery, loosen and remove each nut from the bolt at the battery terminal.
- Page 9 8-Stage Charging Steps: Step 1: Diagnostics Checks the battery voltage to make sure battery connections are good and the battery is in a stable condition before beginning the charge process. Step 2: Recovery Initializes the Recovery process, if needed, the charger will perform deeply discharged or sulfated (desolations) batteries by pulsing small amounts of current.
-
Page 10: Technical Specifications
then it discontinues to the charge cycle. The cycle between trickle and maintenance is repeated indefinitely to keep the battery at full charge, without overcharging. The battery charger can be left connected indefinitely. Technical Specifications Input Voltage AC: 100-240V, 50/60Hz Working Voltage AC: 100-240V, 50/60Hz Output Power: 60W Max Charging Voltage: Various...
Need help?
Do you have a question about the AX-BC36 and is the answer not in the manual?
Questions and answers