
Summary of Contents for AOBIO D4
- Page 1 AOBIO D4 USER GUIDE Telephone: +1 571410 5259 WhatsApp: +1 571410 5259 Email: service@aobioprinter.com...
-
Page 2: Table Of Contents
CONTENTS 1. Introduction ····················································· 2. Item Overview ················································· 3. Connect to PC/MAC ········································· 4. Label Setup ···················································· 5. Driver Installation for MacOS & Windows ·············· 6. MacOS & Windows Printing Setup ······················· 7. User Tips ························································ 8. LED Status ······················································ 9. -
Page 3: Introduction
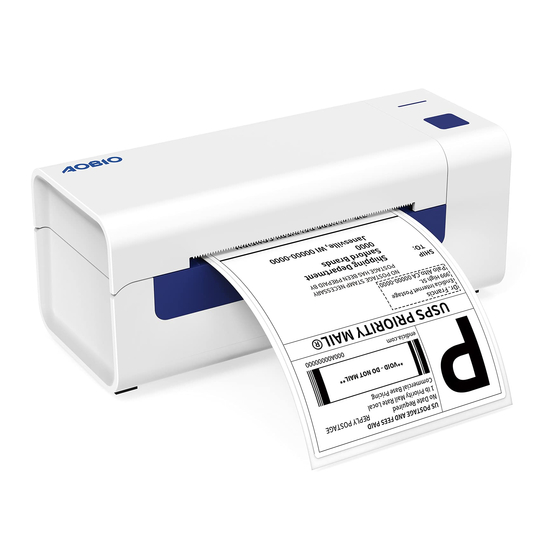
AOBIO D4 is a thermal label printer which uses thermal label media without ink, toner and ribbon. It can print various labels for logistics, pricing, barcodes, QR codes, shipping address, badges, etc. -
Page 4: Item Overview
2.ITEM OVERVIEW Packing List: 1x AOBIO Label Printer 1x User Guide 1x Service Card 1x Power Cable and Adapter 1x USB Stick(Contains drivers for MacOS & Windows) 1x USB 2.0 to USB C Adapter 2x Thermal Printer Head Cleaning Wipes 1x USB 2.0 Printer Cable... -
Page 5: Connect To Pc/Mac
2.Connect the USB cable. (Special Note: For Windows users, please connect the same USB port on your computer to avoid producing unwanted duplicates of Aobio printer in your system). Must turn off the switch before you plugging the power cable... - Page 6 3.Make sure the power adapter is tightly connected, then connect the power cable to the printer’s power port and the electrical sockets. 4.Turn the power ON (Press down "-" means Power ON), now you will see the top feeder button flashing. Must turn off the switch before you plugging the power cable into power port each time or it may cause sparks!
-
Page 7: Label Setup
4.LABEL SETUP Aobio is capable of working with labels in various sizes, and it needs to learn your label properties before its first use. To initiate Automatic Label Identification and run Intelligent Label Study, please follow these steps: 1.Power On Turn on the power and wait for about 5 seconds until the printer is initialized. - Page 8 3.Intelligent Label Study Press and hold the feeder button for about 3 seconds until you hear one beep then release, the label will move back and forth several times to study the label size, then you can start printing. Since the printer needs to measure the length of the thermal paper, a stack of labels with at least 3 sheets is required to complete the process.
-
Page 9: Driver Installation For Macos & Windows
5.DRIVER INSTALLATION 5.1 Driver Installation for MacOS Please download the driver for Aobio D4 from our official website www.aobioprinter.com, or find it from the USB stick that comes with the package. 1.Double-click the .dmg file "Aobio-Mac-Driver Latest.dmg". Notice: Right-click on the... - Page 10 2.Please right click the "AobioPrinter-Driver.pkg" file, then select "Open" to start the installation process. Important: Since Apple updates its security policy occasionally, double click to open the pkg file might trigger the macOS security warning and bring up the "Unidentified Developer"...
- Page 11 5.Open "System Preferences", and click "Printers & Scanners". 6.Click "+" to add a new printer.
- Page 12 7.Turn on the printer, and double click "AOBIO D4"; Then click "Choose a Driver", and "Select Software". 8.Select "Aobio Label 9.Printer is successfully added Printer" from the drop-down to your computer if you see menu, and click "Add". as below:...
- Page 13 5.2 Driver Installation for Windows Please download Aobio D4 driver from our official website www.aobioprinter.com, or find it from the USB stick that comes with the package. 1.Open the "Aobio-Windows-Driver-Latest.exe" file with a double-click to start the installation process. If the file is named "Aobio-Windows-Driver-Latest.zip", you need to decompress .exe...
- Page 14 3.Click "Install Driver Now!" and close the prompt to complete the driver installation. If an error message pops up saying "Please select port, or click [Detect USB Port] when you power on printer", that means you need to repower and connect the printer and computer.
-
Page 15: Macos & Windows Printing Setup
6.MACOS & WINDOWS PRINTING SETUP Aobio D4 is set for the most popular size of 4x6 inches (102 x 152mm) by default, therefore you need to make sure that the "Paper Size" is appropriately set in your computer, and corresponding with the label papers you are using. - Page 16 2.Choose 4.00x6.00" under "Paper Size" drop-down menu. 3.Select "Printer Features", then change the settings of printer, e.g.: Speed, Darkness, Rotate.
- Page 17 6.2 Windows Printer Setup Take Windows 10 as an example: 1.Find "Aobio D4" along the path: Control Panel→Hardware and Sound→Devices and Printers...
- Page 18 2.Right click on "Aobio D4", choose "Printing Preference". 3.Click "Page Setup" and choose the proper size of your label, and make sure the chosen size is corresponding to the label paper you are about to use.
-
Page 19: User Tips
4. The label size of the Aobio D4 printer is default to 4x6" (102mm x 152mm). Each time you change different label sizes, please run the Intelligent Label Study process before printing. -
Page 20: Led Status
(Every second) overheated. resume itself. Flashing Yellow This happens when Aobio power adapter with beeps a wrong power applied ONLY. (Every second) adapter is used. Contact us if it is missing. If you have any other issues please contact us via the following methods: Telephone: +1 571410 5259 Live Chat: www.aobioprinter.com... -
Page 21: Feeder Button Instructions
3. Press and hold the feeder button for about 5 seconds until you hear two beeps. Aobio will print a technical test page. If the test page looks good, it indicates that the printer head is working properly. -
Page 22: Specifications
10.SPECIFICATIONS Model Printing Method Direct Thermal Interfaces USB Cable Resolution 203 dpi Max Printing Speed 152 mm/s Power Adapter 24 V / 2.0A N. Weight 2.0lbs / 900g G. Weight 3.6lbs / 1.6kg TPH Printing Life ~700,000 Labels Paper Width 48-110 mm Paper Thickness 0.08-0.2 mm... -
Page 23: Safety Notices
11.SAFETY NOTICES 1. DO NOT touch the printer head after use. 2. DO NOT disassemble or repair the unit by yourself. 3. USE ONLY approved accessories. 4. Keep the printer away from water, fire, or other objects that could destroy the components. 5. - Page 24 Enjoy your printing! If you have any questions, issues or concerns about this product, please contact AOBIO for support. You can do this by visiting www.aobioprinter.com or using the below contact options service@aobioprinter.com +1 571410 5259 +1 571410 5259...
Need help?
Do you have a question about the D4 and is the answer not in the manual?
Questions and answers