Advertisement
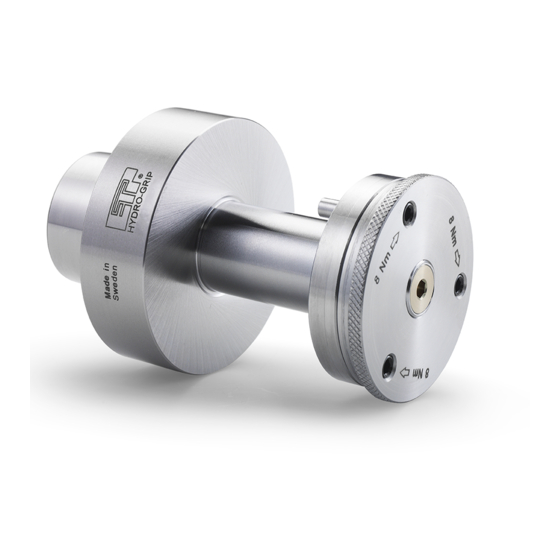
ETP HYDRO-GRIP TYPE GEW2
with diameter 30 mm and length -55, 100 mm
with diameter 40 mm with length 55 mm
1. The tool and the ETP HYDRO-GRIP GEW2 must be thoroughly cleaned, removing all traces
of grease and other impurities. Coat the ETP HYDRO-GRIP GEW2 lightly with an anti-
moisture spray.
2. Place the pre-balanced cutter and spacers onto the HYDRO-GRIP GEW2.
3. Place the safety ring (A) onto the GEW2 arbor. Tighten the ring nut (B) by hand very lightly
until the nut, safety ring and the tools are in contact with each other. DO NOT tighten the allen
screws (D) at this stage.
4. Remove the dust cap (C) and then pressurize the hydraulic arbour until you feel that the tools
are centred.
5. Tighten the allen screws (D) in the ring nut and make sure that they are tightened evenly one
turn at a time and to 8Nm (6 lbs).
6. Tighten the pressurizing screw max 2 Nm (1.5 lbs) by using an allen T-wrench. DO NOT
OVER TIGHTEN the pressurizing mechanism. Any further turns will not increase the pressure
but may result in a damage mechanism.
7. Place and tighten the dust cover cap (C), making sure that the sealing is not damaged.
8. The complete tool set is now ready for grinding and balancing. Check the balance of the
complete unit i.e. cutterhead with GEW2 arbor. The balance grade is Q2,5 as per EN 847-1.
9. The complete unit, tool with GEW2 arbor is now ready to be installed in a Powermat machine.
1. To disassemble the tool and GEW2 unit you simply remove the dust cover cap and release
the pressure by using the allen T-wrench. Loosen the three locking screws and remove the
ring nut and the safety ring. The tool and spacers can be removed from the GEW2 arbor.
Pay special attention: that the mounting handle (an additional accessory item) is removed from the
GEW2 before starting the machine.
Note: Always check that all screws are tightened between sharpening/ usage of the complete tool set.
Always check the balance each time you have changed tools on the arbor.
Publ. 2021-03
ETP 903-2
Advertisement
Table of Contents

Summary of Contents for etp HYDRO-GRIP GEW2
- Page 1 40 mm with length 55 mm Assembly instructions 1. The tool and the ETP HYDRO-GRIP GEW2 must be thoroughly cleaned, removing all traces of grease and other impurities. Coat the ETP HYDRO-GRIP GEW2 lightly with an anti- moisture spray.
- Page 2 50 mm and length -55, -135, -170 mm Assembly instructions 1. The tool and the ETP HYDRO-GRIP GEW2 must be thoroughly cleaned, removing all traces of grease and other impurities. Coat the ETP HYDRO-GRIP GEW2 lightly with an anti- moisture spray.
Need help?
Do you have a question about the HYDRO-GRIP GEW2 and is the answer not in the manual?
Questions and answers