Table of Contents

Related Manuals for Altina A8330

Summary of Contents for Altina A8330
- Page 1 User’s Manual in English English Version Oct. 2008 Trademarks All brand and product names are trademarks or registered trademarks of their respective companies. Note The information in this manual is subject to change without notice.
-
Page 2: Before You Start
Before You Start ※ Precautions and Notices ※ For your own safety, do not operate the controls of the product while driving. ※ Use this product prudently. The product is intended to be used only as a navigation aid. It is not for precise measurement of direction, distance, location or topography. -
Page 3: Gps Navigation Features
※ Overview GPS Navigation Features ※ Electronic maps with roads, freeways, highways, railways, rivers, lakes, points of interest, etc. ※ GPS positioning ※ Optimal route calculation and trip plan ※ Friendly and efficient navigation with turn-by-turn, voice, and visual guidance ※... -
Page 4: Other Features
Other Features ※ Audio Player ※ Photo Viewer ※ Movie Player ※ EBook ※ Calculator About this Manual This manual is divided into four major parts: ※ Part I “Basic Operations” tells you how to get your device running and customize system settings. - Page 5 Part I. Basic Operations Part I guides you through the process of getting your device running, familiarizes you with the external components, and tells you how to customize system settings...
-
Page 6: Getting Start
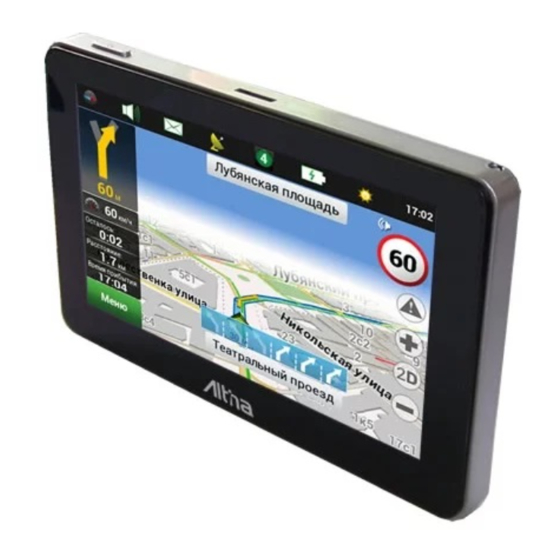
1. Getting Start This chapter tells you step by step how to perform the initial startup and introduces you to the external components of your device. 1.1 Understanding Hardware Features Note: Depending upon the specific model purchased, the color and ID may not exactly match the device shown in this manual. -
Page 7: Performing The Initial Start Up
1.2 Performing the Initial Start up Using the stylus slide the ON/OFF switch to the ON place. Then the device will be turned on automatically. Note: Always leave the ON/OFF switch in the ON status for normal operation. It is strongly recommended that charge your GPS device completely before use it at first time. - Page 8 1.3 Connecting to AC/USB Power and Charging the Battery Connect the adapter cable to your device and plug the AC adapter (optional) into a wall outlet or charge the device via connecting USB cable to computer. When charging the battery for the first time, you should charge it for a couple of hours. NOTE: Depending on your region of purchase, the connector converter may not look ●...
-
Page 9: Using Your Device In A Vehicle
1.4 Using Your Device in a Vehicle Using the Car Holder ※CAUTION: 1. Select an appropriate location for the car holder. Never place the holder where the driver’s field of vision is blocked. 2. If the car’s windshield is tinted with a reflective coating, an external antenna (optional) may be needed to route the antenna to the top of the car through a window. -
Page 10: Connecting The Car Charger
Connecting the Car Charger The car charger supplies power to your device when you are using the device in a car. ※CAUTION : To protect your device against sudden surges in current, connect the car charger only after the car engine has been started. -
Page 11: Turning On And Off Your Device
2. Setting This chapter guides you through the process of using your device and familiarizes you with the basic operations such as using the stylus pen and navigation pad. 2.1 Turning on and off Your Device Insert the supplied SD card (optional) into the slot at the bottom of device. Push the Power button, the device will open, if push the button again, the device will off. -
Page 12: System Setting
2.2 System Setting Your device is supplied with default settings. You may customize the settings to suit your personal needs. Once you change settings, your new settings will remain until either you change them again, or until battery cut off switch is turned off and then back on again, which resets the unit to factory defaults. - Page 13 Using System Settings Tap the System button on the main menu. To open the Settings menu, first tap the Settings button shown as below: 2.2.1. Language Tap arrow to select the language you want.
- Page 14 2.2.2 Time& Date 1. Tap theDate/Time button on the Device Settings menu. The Date/Time Function menu appears as shown below. 2. Tap the date button to enter into the date menu. 3. Tap the time button to enter into the time menu.
- Page 15 4. Tap the time zone to select the time zone. 2.2.3 Volume Tap the Audio button on the Device Settings menu. The volume Function menu appears as shown below. Tap arrows to adjust the volume. 2.2.4 Backlight Tap arrows to adjust the volume.
-
Page 16: System Information
2.2.5 System Information Factory Reset Return to the default setting Calibration You can calibrate the touch screen if it is not responding accurately to your Taps. Tap the About buttonon the Device Settings menu. The About Function menu appears as shown below . 2. - Page 17 Part II. Media Part II introduces Music Player, Picture Viewer, Movie Player, EBook and Calculator.
- Page 18 3. Using Music Playback Starting Music Player This chapter introduces you how to play music files with your device The Music Player Program turns your device into a Music Player. It features: Playback of Music files Basic playback controls such as play, pause, stop, next audio profiles Playback includes single selection playback, repeat, single repeat, sampling playback, normal sequence and random sequence Play list support...
- Page 19 3.2 Preparing Music Files for Your Device Before you can play music files, you need to have the files ready on a storge card and insert your card into your GPS device. The program will search for the files in your storage card, when the files are detected, they will be added to the play list.
-
Page 20: Using Photo Viewer
4. Using Photo Viewer This chapter tells you how to play Photo files using your device The program turns your device into a Photo player. It features: ※ Playback of JPEG files ※ Basic playback controls such as the picture with zoom in/out, rotation in full screen. -
Page 21: Preparing Photo Files For Your Device
4.2 Preparing Photo Files for Your Device The control panel will appear on the screen. You can now easily control the Photo player by tapping the control buttons. With the card reader, you can easily copy Photo files from your computer to a storage card. The Photo Player can detect Photo files in all folders of a storage card. -
Page 22: Using Video Player
5. Using Video Player This chapter tells you how to play Video files by your device The Video Player program turns your device into a Video player. It features: ※ Basic playback controls such as play, pause, stop, next and previous ※... -
Page 23: Preparing Video Files For Your Device
5.2 Preparing Video Files for Your Device With the card reader, you can easily copy Video files from your computer to a storage card. The Video Player can detect Video files in all folders of a storage card. 5.3 Movie Playback Control After start the movie player, tap on the file you would like to play: Name Description... - Page 24 6. Using EBook Player This chapter tells you how to read your eBook files by your device Note: This device supports .txt file formats only 6.1 Starting EBook Player Tap EBook Player on the Main screen to switch to the program. 6.2 Preparing EBook Files for Your Device With the card reader, you can easily copy EBook files from your computer to a storage card.
- Page 25 7. Calculator Tap calculator on the Main screen to switch to the program.
- Page 26 Part III. Hands Free Calling Part III introduces how to use hands free calling function.
- Page 27 8.1 Connecting to cell phone 1) Tap the “Bluetooth” on the main menu and enter into following display.
-
Page 28: Making A Phone Call
2)To pair PND with Bluetooth mobile phone, please click “Pair” icon, and enter into pair interface, put the mobile phone near the PND, and let your mobile phone search the GPS device to pair, when mobile phone detect the GPS device, the pin code will be asked to enter, and the default pin code is 8888, when it shows succeeed, the connection is established;... - Page 29 In talking mode, the interface has shown as below: Each outgoing call, received call and missed call can be recorded.
- Page 30 8.3 Hands free calling setting The name of this GPS device can not be changed. The passcode can be changed by tapping the right icon to enter a new code, and enter the new pin code when start up hands free calling function next time.
Need help?
Do you have a question about the A8330 and is the answer not in the manual?
Questions and answers