Sony HT-CT500 Operating Instructions Manual
Hide thumbs
Also See for HT-CT500:
- Service manual (4 pages) ,
- Operating instructions manual (108 pages)

Related Manuals for Sony HT-CT500


Summary of Contents for Sony HT-CT500
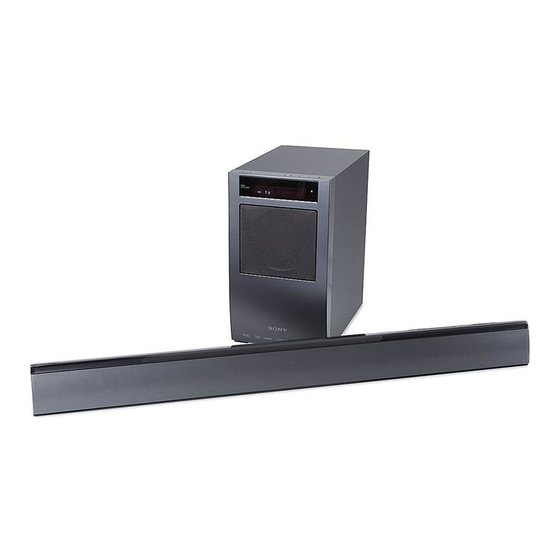
- Page 1 4-143-833-11(1) Home Theatre System Operating Instructions Mode d’emploi Manual de instrucciones HT-CT500 ©2009 Sony Corporation...
- Page 2 Record these numbers in the space To reduce the risk of fire or electric provided below. Refer to them whenever you call upon shock, do not expose this apparatus to your Sony dealer regarding this product. rain or moisture. Model No. HT-CT500 Serial No.______________...
- Page 3 ® As an ENERGY STAR partner, • Do not place the system near heat sources, or in a Sony Corporation has determined that place subject to direct sunlight, excessive dust, or this product meets the ENERGY mechanical shock. ®...
- Page 4 The Bluetooth word mark and logos are owned by the Place the system further away from the TV set. Bluetooth SIG, Inc. and any use of such marks by Sony Corporation is under license. On cleaning Other trademarks and trade names are those of their Clean the system with a soft dry cloth.
- Page 5 About the S-AIR function The system is compatible with the S-AIR function, which allows transmission of sound between S-AIR products wirelessly. S-AIR receivers can be used with the system. You can enjoy system sound in another room. S-AIR products can be purchased as options (the S-AIR product lineup differs depending on the area).
- Page 6 ..68 (mains lead) ........39 Advanced Settings Step 6: Operating the system using the GUI ..........39 Controlling connected Sony components (Graphical User Interface) with the remote ....... 72 Connecting other components....45 Changing the input button assignments of the remote........
- Page 7 Changing the display setting....84 (Display) Using an S-AIR product......85 Settings and adjustments using the system menu ..........95 Using the sleep timer ......96 (SLEEP) Additional Information Troubleshooting ........97 Specifications ........100 Glossary ..........102 Overview of the menus ......104 Index ............105 Menu index ..........106...
- Page 8 Getting Started Unpacking • Subwoofer (SA-WCT500) (1) • Remote commander (RM- • Screws for the extension bracket ANP037) (1) (large, +PSW5 × 12 mm) (7) • Screws for the rear cover (small, M3 × 8 mm) (4) • Speaker (SS-CT500) (1) •...
- Page 9 Inserting batteries into the remote Insert two R6 (size AA) batteries (supplied) by matching the 3 and # ends on the batteries to the markings inside the compartment. To use the remote, point it at the remote sensor on the speaker or in the front panel display of the subwoofer.
- Page 10 Step 1: Positioning the system The illustrations below are examples of how to install the subwoofer and speaker. You can install the speaker on the TV stand or hang the speaker on a wall. Install the speaker on a rack. For details, see “Installing the speaker on the TV stand”...
- Page 11 Connecting the speaker cord to the speaker The connector of the speaker cords and the color tube are color-coded depending on the type of speaker. Connect the speaker cords to match the color of the SPEAKER jacks. Connect the connector for the remote control to the REMOTE CTRL jack. Rear of the speaker REMOTE CENTER...
- Page 12 Sony is not liable for any damages or injury cause injury or property damage. caused by mishandling or improper installation, •...
- Page 13 Do not lean or hang on the products. Do not allow the cords to be pinched. • Do not lean or hang on the products, as they • If the AC power cord (mains lead) or may fall on you and cause serious injury. connecting cords are pinched between the products and the wall, floor, or other object, or bent or twisted by force, the internal...
- Page 14 • Do not drag the SS-CT500 speaker-installed CAUTION TV. The base part may come off and damage the floor. If the following precautions are not observed, injury or property damage may occur. Do not install any equipment other than the specified product.
- Page 15 Installing the speaker on the TV stand You can install the speaker with the following TV models (not supplied): • KDL-40/46XBR9 • KDL-40/46W51xx* * In the actual model names, the “xx” indicates numbers and/or characters specific to each model. Although the shape of the TV stand base differs depending on the TV model, you can install the speaker on the TV stand following this procedure.
- Page 16 Remove the screw of the cover. Detach the cover from the TV stand. When detaching the cover, slightly splay open the hooks of the cover from the front side of the stand with your fingers, and then push the cover toward the rear of the stand. Hooks Secure the extension bracket (supplied) to the TV stand with the large screws (+PSW5 ×...
- Page 17 Hook the rivets of the extension bracket to the holes of the back of the speaker and secure the speaker with the large screws (+PSW5 × 12 mm) (supplied). Rear of the speaker Holes Front side Rivet Reattach the TV. continued...
- Page 18 Secure the TV with the screws removed in step 1. Attach the rear cover (supplied) with the small screws (M3 × 8 mm) (supplied). Note • When carrying the SS-CT500 speaker-installed TV, do not hold it by the SS-CT500 speaker part. Doing so may cause damage or injury.
- Page 19 To prevent the TV from toppling over As a protective measure, secure the TV. Screw for the support belt (+PSW4 × 20 mm) Wood screw for the support belt (M3.8 × 20 mm) Place the TV on the center of the rack. Fit the support belt (supplied) to the TV, then firmly fasten with the screw for the support belt (+PSW4 ×...
- Page 20 To bundle the cords You can bundle the cords using the clamper (supplied). Note • Do not bundle the AC power cord (mains lead) using this clamper. Attach the clamper (supplied) on the rear cover. Bundle the cords, and then fasten the clamper. Clamper...
Need help?
Do you have a question about the HT-CT500 and is the answer not in the manual?
Questions and answers