Advertisement
Quick Links
ASME A.112.18.1
For easy installation of your Inolav faucet you will need:
· To READ ALL the instructions completely before beginning.
· To READ ALL warnings,care, and maintenance information.
You May Need
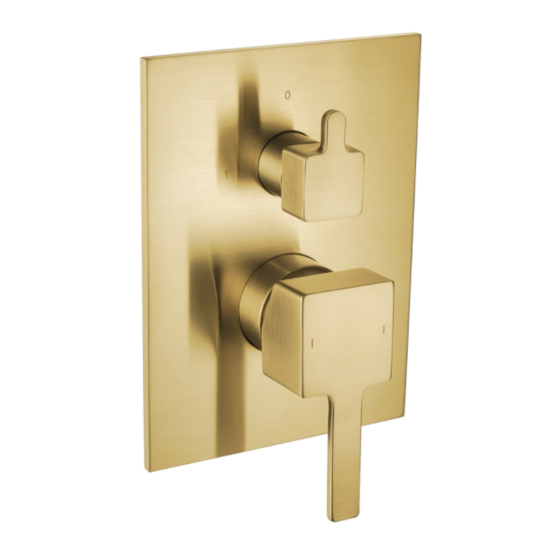
Pressure balance Valve Trim
Instructions
Owners Manual
IS102-1-1
IS102-1-2
®
Installation Considerations:
•
For best results, We recommends that this unit be installed by a
licensed, professional plumber.
•
Please read over these instructions thoroughly before beginning
installation. Make sure that you have all tools and supplies needed to
complete the installation.
•
To prevent scald injury, the maximum output temperature of the shower
valve must be no higher than 120°F. In Massachusetts, the maximum
output temperature can be no higher than 112°F.
•
Keep this booklet and the receipt (or other proof of date and place of
purchase) for this product in a safe place. The receipt is required should
it be necessary to request warranty parts.
Technical information:
Recommended water pressure : 15 - 75 PSI
Max. water pressure : 145 PSI
Recommended hot water temp. : 120 - 140°F
Max. hot water temp: 176°F
Flow rate: Up 5.4 GPM@60 PSI
Down 5.5 GPM@60 PSI
Advertisement

Summary of Contents for INOLAV IS102-1-1
- Page 1 The receipt is required should IS102-1-1 IS102-1-2 it be necessary to request warranty parts. For easy installation of your Inolav faucet you will need: ® · To READ ALL the instructions completely before beginning. · To READ ALL warnings,care, and maintenance information.
- Page 2 1.Prepare wall for rough-in valve 3. Level the valve Finished wall must be within dimensions Use a leveling indicator to align the shown in figure 1. The distance between valve into proper position. Make sure the back of the valve and the finished the valve is properly aligned in both wall must be between 2.52”...
- Page 3 5. Trim installation preparation 8. Install the escutcheon (1) slowly all the way against the finish wall. Make sure you have these spareparts before you go to nextstep. Pressure balance Valve mixerhandle(1), cap(2), handle screw(3), diverter handle(4), plastic washer(5), 9. Install the handles plastic washer(6), cap(7), Install the diverter handle (1) making handle screw(8), allen key(9),...
- Page 4 Remove pressure balance 10. Test the handle Lift the handle up to adjust volume cartridge: control. Turn the handle left and right Anti clockwise the sleeve(4). Using a spanner anti clockwise the to adjust water temperature. Turning locking nut(5), then take it out. the handle to the right increases the Take out the pressure balance cold water and to the left increases...
Need help?
Do you have a question about the IS102-1-1 and is the answer not in the manual?
Questions and answers