Advertisement
HEATIT
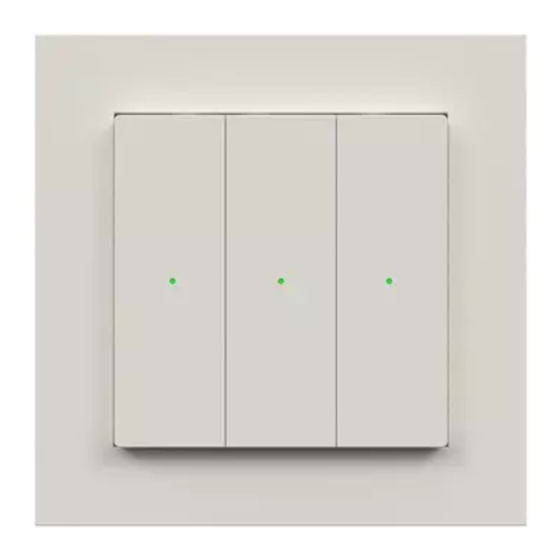
Z-PUSH WALL
CONTROLLER
Installers manual
White RAL 9010
TABLE OF CONTENTS
1 Introduction
2 Statement regarding products from multiple manufacturers
3 Behaviour within the Z-Wave™ network
4 Installation
5 Choosing the correct front/assembly
5.1 Single rocker configuration
5.2 Dual rocker configuration
5.3 Triple rocker configuration
6 Add/Remove
6.1 Method 1: Standard (Manual)
6.2 Method 2: SmartStart (Automatic)
7 Factory Reset
8 Startup
9 LED Indications
9.1 Device is not included in any network
9.2 Adding/Removing
9.3 Local reset
9.4 Low battery
10 Replacing battery
10.1 Battery type
10.2 Battery orientation
11 QR-Code placement (DSK)
12 Security
13 Node Information Frame
14 Associations
14.1 Setting and removing associations
14.2 Association group information
15 Configuration Parameters
16 Command Classes
16.1 Battery
16.2 Wake up
17 Central Scene
18 Supported Command Classes
19 Technical documentation
Firmware 1.0
01.01.2021
Ver 2021-A
White RAL 9003
Black RAL 9011
1. INTRODUCTION
The Heatit Z-Push Wall Controller is a wireless wall mounted Z-Wave
Controller. It has mounting options for 1, 2 or 3 rockers, allowing for
easy and practical management of your Z-Wave products. The switch
can be set up to control scenarios or work in association with other
Z-Wave products. Each rocker switch has a dual color LED to indicate
button actions.
The Heatit Z-Push Wall Controller is supplied with all three sets of
rockers in the box. The Wall Controller is coin cell battery powered.
The product is intended primarily for residential applications.
The Heatit Z-Wall Wall Controller has a fine, matt finish.
The switch fits into System 55 frames.
2. STATEMENT REGARDING PRODUCTS FROM MULTIPLE
MANUFACTURERS
Please read this before installation
This device may be used with all devices certified with the Z-Wave
Plus™ certificate and should be compatible with such devices
produced by any manufacturer. Every primary controller is different
depending on the manufacturer, their target audience and intended
use/application. Please review the functionalities implemented by the
primary controller you intend to use with our Z-Wave Plus certified
device to ensure that it provides the necessary controls to take full
advantage of our product's capabilities.
3. BEHAVIOR WITHIN THE Z-WAVE™ NETWORK
This device may be operated within any Z-Wave network with
Z-Wave-certified devices from other manufacturers. All non-battery-
operated nodes within the network will act as repeaters regardless of
manufacturer to increase the reliability of the network. On delivery, the
device does not belong to any Z-Wave network.
The device needs to be added to an existing network to communicate
with the other devices within it. Devices may also be removed from
a network. The add/remove processes are initiated by the primary
controller of the Z-Wave network.
4. INSTALLATION
1. Choose and mount the front, which covers your needs (for more
information, see chapter "Choosing the correct front/assembly").
2. Gently pull the battery plastic tag to power the product.
3. Start the adding procedure from your primary controller.
4. Press any UP button 6 times in a rapid sequence on the device
(the device has a label on the battery cover, pointing towards the UP
buttons).
5. Install the device in your preferred location.
Your device is now included in your primary controller.
a. Fix the metal mounting bracket on the wall box or directly on
the wall using the supplied screw kit.
b. Place the device in the wall frame with arrows shown on label
pointing upwards.
c. Press the device and wall frame onto the metal mounting
bracket.
Advertisement
Table of Contents

Related Manuals for Heatit Controls Z-PUSHaZ-PUSH 45 126 92

Summary of Contents for Heatit Controls Z-PUSHaZ-PUSH 45 126 92
- Page 1 HEATIT 1. INTRODUCTION The Heatit Z-Push Wall Controller is a wireless wall mounted Z-Wave Controller. It has mounting options for 1, 2 or 3 rockers, allowing for Z-PUSH WALL easy and practical management of your Z-Wave products. The switch Firmware 1.0 can be set up to control scenarios or work in association with other CONTROLLER 01.01.2021...
-
Page 2: Factory Reset
5. CHOOSING THE CORRECT FRONT/ASSEMBLY 7. FACTORY RESET 5.1 Single rocker configuration To factory reset the device, remove the battery from the device. Press Single rocker 1. When the device is in single rocker and hold any button on the device and repower the device. The LEDs configuration, it uses associations will start blinking 3 times before lighting up in green. - Page 3 10. REPLACING BATTERY NB! After assigning or removing associations from the device, When the device runs low on battery, the device will indicate this by the device needs to be awakened. Please follow the wake up emitting a blinking red light, described in more detail in Chapter ”Low procedure described in Chapter ”Wake Up”...
-
Page 4: Supported Command Classes
16. COMMAND CLASSES 18. SUPPORTED COMMAND CLASSES Besides the mandatory command classes the device has support for The following table lists all Command Classes supported by the the following command classes: Z-Wave Device. The device supports both S0, S2 Authenticated security and S2 Unauthenticated security. -
Page 5: Product Info
Heatit Controls AB l Läkarvägen 4, 454 31 BRASTAD, SWEDEN Heatit Controls AB can not be held liable for typographical errors, other errors or omittances in our information. Product specifications may change without further notice. All electrical installations must be carried out by a licensed Phone: +47 61 18 77 77 l post@heatit.com –...
Need help?
Do you have a question about the Z-PUSHaZ-PUSH 45 126 92 and is the answer not in the manual?
Questions and answers