Singer 4423 Instruction Manual
Hide thumbs
Also See for 4423:
- User manual ,
- Instruction manual & cooking manual (67 pages) ,
- Instruction manual (65 pages)
Table of Contents
Advertisement
Advertisement
Table of Contents

Related Manuals for Singer 4423


Summary of Contents for Singer 4423
- Page 1 4423 Instruction Manual...
- Page 2 IMPORTANT SAFETY INSTRUCTIONS When using an electrical appliance, basic safety should always be needle causing it to break. followed, including the following: 9. Switch the sewing machine off ("O") when making any adjustments Read all instructions before using this sewing machine. in the needle area, such as threading needle, changing needle, threading bobbin, or changing presser foot, and the like.
- Page 3 Congratulations As the owner of a new Singer sewing machine, you are about to begin an exciting adventure in creativity. From the moment you first use your machine, you will know you are sewing on one of the easiest to use sewing machines ever made.
-
Page 4: Table Of Contents
List of Contents Machine Basics Principle Parts of the Machine ..............................2/3 Connecting Machine to Power Source............................4 Two Step Presser Foot Lifter/ Adjusting Presser Foot Pressure .....................5 Accessories....................................6 Threading the Machine Winding the Bobbin ..................................7 Inserting the Bobbin ..................................8 Threading the Upper Thread................................9 Automatic Needle Threader ................................10 Raising the Bobbin Thread ................................11 Thread Tension ....................................12... -
Page 5: Machine Basics Principle Parts Of The Machine
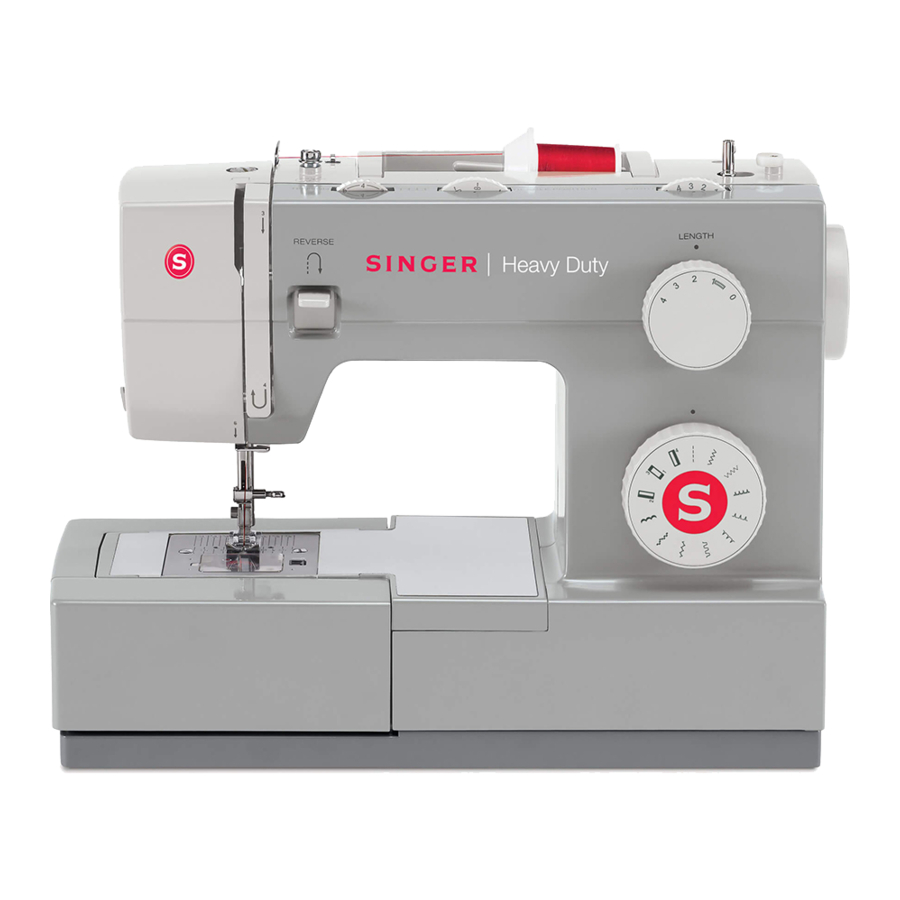
Principal Parts of the Machine 1. Thread tension dial 2. Presser foot pressure adjustment 3. Thread take-up lever 4. Reverse sewing lever 5. Thread cutter 6. Presser foot 7. Needle plate cover 8. Removable extension table/ accessory storage 9. Three needle position dial 10. - Page 6 Principal Parts of the Machine 16. Horizontal spool pin 17. Bobbin winding spindle 18. Hole for second spool pin 19. Handwheel 20. Buttonhole stitch balance adjustment slot 21. Power and light switch 22. Main plug socket 23. Bobbin thread guide 24.
-
Page 7: Connecting Machine To Power Source
Connecting Machine to Power Source Connect the machine to a power source as illustrated. (1) Attention: Unplug power cord when machine is not in use. Foot control The foot control pedal regulates the sewing speed. (2) Attention: Consult a qualified electrician if in doubt of how to connect machine to power source. -
Page 8: Two Step Presser Foot Lifter/Adjusting Presser Foot Pressure
Two Step Presser Foot Lifter When sewing several layers or thick fabrics, the presser foot can be raised to a higher position for easy positioning of the work. (A) Adjusting Presser Foot Pressure The presser foot pressure of the machine has been pre-set and requires no particular readjustment according to the type of fabric (light-or-heavy weight). -
Page 9: Accessories
Accessories Standard accessories (1) 1 Standard accessories a. All purpose foot b. Zipper foot c. Buttonhole foot d. Button sewing foot 006Q6A0150 006918008 006905008 006914008 e. Seam ripper/ brush f. Edge/ quilting guide g. Pack of needles h. Spool holders i. -
Page 10: Winding The Bobbin
Winding the Bobbin Place thread and corresponding spool holder on to spool . (1/2) - Snap thread into thread guide. (3) - Wind thread clockwise around bobbin winder tension discs. (4) - Thread bobbin as illustrated and place on spindle. (5) - Push bobbin spindle to right. -
Page 11: Inserting The Bobbin
Inserting the Bobbin When inserting or removing the bobbin, the needle must be fully raised. 1. Insert the bobbin in the bobbin case with the thread running counterclockwise direction (arrow). 2. Pull the thread through the slit (A). 3. Draw the thread clockwise until it slips into the notch (B). 4. -
Page 12: Threading The Upper Thread
Threading the Upper Thread This is a simple operation but it is important to carry out correctly as by not doing so several sewing problems could result - Start by raising the needle to its highest point (1), and continue turning the handwheel counterclockwise until the needle just slightly begins to descend. -
Page 13: Automatic Needle Threader
Automatic Needle Threader - Raise the needle to its highest position. - Press lever (A) down as far as it will go. - The threader automatically swings to the threading position (B). - Pass thread around thread guide (C). - Pass the thread in front of the needle around the hook (D) from bottom to top. -
Page 14: Raising The Bobbin Thread
Raising the Bobbin Thread Hold the upper thread with the left hand. Turn the handwheel (1) towards you (counterclockwise) lowering, then raising needle. Note: If it is difficult to raise the bobbin thread, check to make sure the thread is not trapped by the hinged cover or the Removable Extension Table. -
Page 15: Thread Tension
Thread Tension Upper thread tension Basic thread tension setting: "4". (1) To increase the tension, turn the dial to the next number up. To reduce the tension, turn the dial to the next number down. A. Normal thread tension for straight stitch sewing. B. -
Page 16: How To Choose Your Pattern
How to Choose Your Pattern The diagram on this page display the stitch patterns available on the machine. Stitches in the top of the diagram are indicated on the Pattern Selector Dial in gray. To select the patterns indicated with the gray color, turn the Pattern Selector Dial. (e) Use the Stitch Length Dial (d) to adjust the stitch length as desired for the project. -
Page 17: Three Needle Position Dial
Three Needle Position Dial The needle position can be altered with the "Three needle position dial". For normal work, the needle position is middle. For edge stitching or sewing parallel lines of top stitch, select needle position left or right. For twin needle stitching, needle position is middle. -
Page 18: Stitch Width Dial & Stitch Length Dial
Stitch Width Dial & Stitch Length Dial Function of stitch width dial The maximum zigzag stitch width for zigzag stitching is 6mm; however, the width can be reduced on any patterns. The width increases as you move zigzag dial from "0" - "6". (1) Function of stitch length dial while zig-zag stitching Set the Pattern Selector Dial to zig-zag. -
Page 19: Sewing Straight Stitch
Sewing Straight Stitch To begin sewing, set the machine for straight stitch. (1) Place the fabric under the presser foot with the fabric edge lined up with the desired seam guide line on the needle plate. Lower the presser foot lifter, and then step on the foot controller to start sewing. -
Page 20: Reverse Sewing/Removing The Work/Cutting The Thread
Reverse Sewing To secure the beginning and the end of a seam, press down the reverse sewing lever (A). Sew a few reverse stitches. Release the lever and the machine will sew forward again. (1) Removing the Work Turn the handwheel toward you (counterclockwise) to bring the thread take up lever to its highest position, raise the presser foot and remove work behind the needle and presser...
Need help?
Do you have a question about the 4423 and is the answer not in the manual?
Questions and answers