Advertisement
Advertisement
Table of Contents

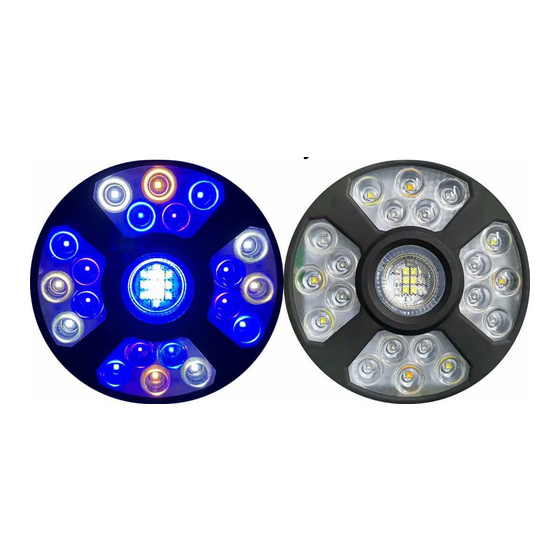
Summary of Contents for Hipargero AquaSpace A100
- Page 1 A100 AquaSpace LED Aquarium Light User’s Manual - 1 -...
-
Page 2: Specification
Specification Item Specification Item Specification LED Brand CREE/Epistar Input Voltage 100-240V AC LED Quantity 34pcs Single LED power Max power 100W(±5%) Product/Lamp size(mm) 221*173*50mm Net weight 1.9kg Package size(mm) 325*310*82mm Shell material Aluminum +Plastic Shell color Black Working temperature -10℃ - 50℃ Storage temperature -20℃... -
Page 3: Buttons And Display
Spectrum Operation Manual 1. Buttons and display Signal indicator LED Display Power indicator Increase Return to previous menu Decrease Confirm - 3 -... -
Page 4: Menu Content
2. Menu Content 07 : 30 : 18 Master Timer [01->02] Press ‘OK’ button to Enter Menu 1. Sunrise Time (Set start/end time of Sunrise) 1. Realtime Bri. 2. Sunset Time (Set start/end time of Sunset) 亮度 2. Power On/Off 3. - Page 5 Second line shows the running mode (such as SPS or LPS etc.) and the current working stage. For example, Timer [01->02], the light is running in timer mode, and working from the first time point to the second time point. Introduction of menu items Press the “OK”...
- Page 6 Set the brightness of each channels of night. (Time point 04 to time point 01) > 6. Time Preview Time preview function can let users to check timer mode configuration. Users can preview the changes of 24 hours running data in quick time. Please note that the lamp will quickly show brightness of all channels of whole day in preview function.
-
Page 7: Remote Function
others as slave with same group no. After setting master and salve, slave lamps will follow master. 1. Master-slave lamp setup Master Slave Master lamp Slave lamp Master: Main lamp, it can control all slave lamps with same group no. Users can only do settings on master, no need other operations on slaves. - Page 8 Configuration and Default 1. Set System Time Press “ok” button and Enter “5.system” item, select “1. time” and set to your local clock. 2. Enter Type Setting and set sunrise/sunset /moon time, and brightness of each type Press “ok” button and select “4.Type Setting” item, press “ok” to select one type such as “SPS”, and select “sunrise”...
-
Page 9: Installation
Installation Packing list 1. A100 LED aquarium light * 1 pcs 4. User’s Manual 2. Full Aluminum bracket * 1 set 5. Adapter * 1 set (Extension bar of the bracket included) 6. Power cord *1 3. Screws for bracket * 1 set Rack for Tanks - 9 -... - Page 10 Assembling Steps of Rack 1. A100 body 2. External adaptor 3. Remote 4. Universal connector 5. Clamp 6. AC cord 7. Stand A (straight) 8. Stand B (Bent) 9. Extension fixing rod Step 6: fix lamp with rack Step 3: Connect ⑨ and ⑧ Step 5: Connect①...
- Page 11 A100 Configuration for Tanks Contact Us Email address: info@hipargero.com Send message via Amazon message Website: www.hipargero.com Ask question /QA on our page We offer lifetime technical support! All the message will be replied at 24 hours. - 11 -...
- Page 12 Q&A from Customers Question: Why channels dim on and off one by one when plug on? Answer: A100 AquaSpace support self-test. It will test control card, led bulbs, timer, and dimmer card after AC plug on. Each channel will dim on and dim off one by one. Customers can easily check which part is damaged.

Need help?
Do you have a question about the AquaSpace A100 and is the answer not in the manual?
Questions and answers