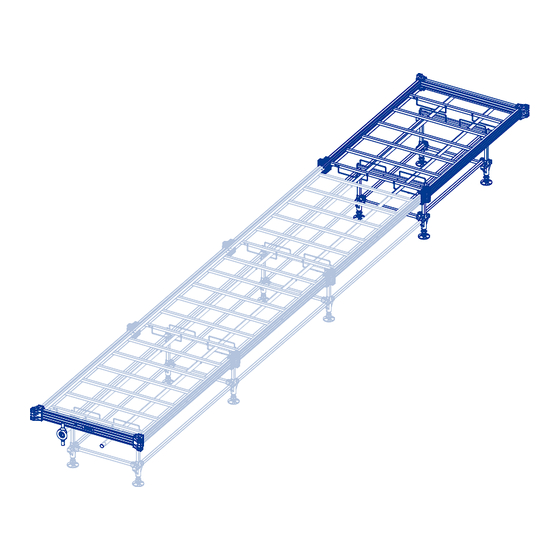
Summary of Contents for WACHSEN PROFESSIONAL Rolling Bench Kit B
- Page 2 It’s important to always start with Kit B when you start building a new table. Kit B = Start Take note that before you screw the table in the floor you have to: • Level the entire table • Adjust the water dripping slope •...
- Page 4 typ # typ # typ # typ # typ # typ # typ # typ #...
- Page 5 typ # typ #...
- Page 6 typ #...
- Page 9 typ #...
- Page 10 NOTE: Angle Plastic Connectors A1 and End Aluminum Sides A-A must be kept apart for Kit A.
- Page 11 typ # typ #...
- Page 12 typ # Use typ #3 screws if the table surface of Kit B is used at its full length (6’). If not, you need to use the typ #7 screws instead of the typ #3 screws.
- Page 14 typ # typ #...
- Page 15 Remains Parts The remaining parts need to be used to close the table when the length is determined. The steps of the assembling of those parts are illustrated in the Kit’s A booklet. Keep those parts for Kit A’s booklet.
-
Page 16: Important Note
IMPORTANT NOTE Plastic tray with drain must always be installed on Kit B. - Page 18 It’s important to always start with Kit B when you start building a new table. Kit B = Start Take note that before you screw the table in the floor you have to : • Level the entire table • Adjust the water dripping slope •...
- Page 20 typ # typ # typ # typ # typ # typ # typ #...
- Page 21 typ #...
- Page 24 typ #...
- Page 25 * For more informations, go to the Kit A - Details page.
- Page 27 * For more informations, go to the Kit A - Details page. Repeat steps 1 to 7 for adding Kits A as much as you want. connect these benches by using the Straight Plastic Connectors between them.
- Page 28 Kit B Kit A Kit A Kit A Kit A + Kit A Kit A + Kit B Use Straight Plastic Connectors (A2) to Use Straight Plastic Connectors (B2) to connect all the Kit A together. connect a Kit A and a Kit B together. Kit A Kit B Kit A...
- Page 33 * Unscrew the Straight Plastic Connectors bolts and the second leg bolts. Kit B - Adjustment...
- Page 34 Remove the metal trusts of Kit B who will be in conflict with the metal trusts of Kit A during the adjustment of the length of Kit B. Kit B - Adjustment...
- Page 35 Adjust the length of Kit B Adjust the length of Kit B Kit B - Adjustment...
- Page 36 * If you want to re-screw the Straight Plastic Connectors bolts and the second leg bolts we suggest using self-tapping screws (not included). Kit B - Adjustment...
- Page 37 Kit A Kit B Kit A + Kit B Minimum length Kit A + Kit B Maximum length...
- Page 38 Kit A Kit B Kit A + Kit B Minimum length Kit A + Kit B Maximum length...
- Page 39 Parts from Kit B The remaining parts need to be used to close the table when the length is determined.

Need help?
Do you have a question about the Rolling Bench Kit B and is the answer not in the manual?
Questions and answers