Advertisement
EMBRAVA Installation Guide for SRV Canada VRS
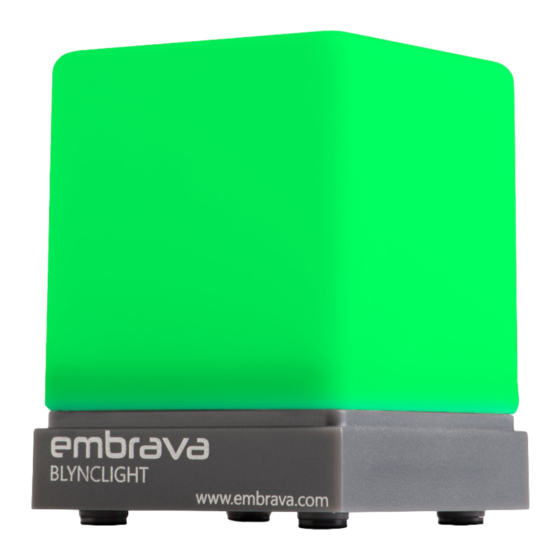
Congratulations on your purchase of the Embrava Blynclight.
If you ever had to wait in front of your computer for a call, you know how frustrating it can be.
No more!
The Embrava Blynclight flashes when you have an incoming Canada VRS call. You can choose
from several blinking colors and from models that use a wire (short distance) or wireless where
you can even be notified from the next room!
This guide will walk you through the steps of setting up your Embrava Blynclight.
I.
Unpack and Connect your Embrava Blynclight
1. Unpack the device from its packaging.
2. Connect the USB cable from your device into an available USB port on your PC.
3. (Optional) Peel off the protective coating from one side of the mount adhesive and attach
the adhesive to the bottom of the Blynclight device or mount. Ensure surfaces are clean
and free of dust before applying adhesive.
4. (Optional) Peel off the protective coating from the other side of the mount adhesive and
place your Blynclight device or mount in an appropriate position in view of your
surrounding colleagues. Ensure surfaces are cleaned and apply approximately 10
seconds of pressure when attaching mount to a surface.
Embrava Installation Guide
February 11, 2021
Advertisement
Table of Contents

Summary of Contents for embrava Blynclight
- Page 1 If you ever had to wait in front of your computer for a call, you know how frustrating it can be. No more! The Embrava Blynclight flashes when you have an incoming Canada VRS call. You can choose from several blinking colors and from models that use a wire (short distance) or wireless where you can even be notified from the next room! This guide will walk you through the steps of setting up your Embrava Blynclight.
- Page 2 Download the Embrava Connect software 1. Follow the steps below to ensure your Blynclight is set up properly. Download the latest Embrava Connect software from h ttps://embrava.com/pages/software . Choose the Windows or Mac version, depending on your computer. 2. Click on the blue Download box, III.
- Page 3 4. You will see the program in the folder. Click on it. 5. You will see the first screen below. Click Next and you will see the License Agreement. Embrava Installation Guide February 11, 2021...
- Page 4 8. Once complete, you will see the screen below. The installation process will now complete and Embrava Connect will run immediately. a. If you have connected the Embrava devices correctly, as described in the ‘Connect Device’ section above. **Should your system not show step 8 - Proceed to step 9 to access the previous step. ...
- Page 5 Set up your device 9. When Embrava Connect first runs you will be asked to select which applications you would like your Embrava devices to connect to as illustrated below. C heck SRV Canada VRS. Note that you may have to use the scroll bar to find SRV Canada VRS.
- Page 6 E mbrava icon in your System Tray How to - choose or change the light color by opening Embrava Connect, click the function (ie Incoming Call) in the “Light” line click the darker blue box, hit the down arrow to choose a color.
- Page 7 Download the latest Embrava Connect for Mac software from http://www.embrava.com/install 2. Double click the Embrava Connect installer to commence the installation process. 3. After you have read the License Agreement and agree to the terms click ‘Continue’ and select ‘Agree’.
- Page 8 4. Click ‘Continue’ and the installation will begin. Once the installation is complete the following screen will be displayed. Embrava Installation Guide February 11, 2021...
Need help?
Do you have a question about the Blynclight and is the answer not in the manual?
Questions and answers