Advertisement
Bronco2D Install Instructions:
*patent pending design
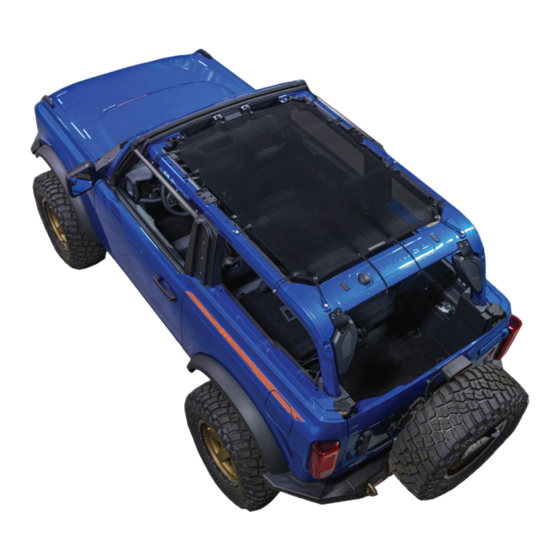
Welcome to the SPIDERWEBSHADE® Bronco® family. Here are a few
tips to make your install easier. No tools are needed for this install
SPIDERWEBSHADE® will provide everything you will
need to make this install a breeze.
Locate the threaded mounting points on the left and
1
right corners of the roll cage and hand tighten the
Bronco nubs. (Only hand tight)
2
Using the hook in the front left and right corner of the
shade attach to the forward most mounting hole on the
out side of the roll cage.
Using the second hook attach to the third mounting hole
from the windshield on top.
Advertisement
Table of Contents

Summary of Contents for SPIDERWEBSHADE BRONCO 2D
- Page 1 Bronco2D Install Instructions: *patent pending design Welcome to the SPIDERWEBSHADE® Bronco® family. Here are a few tips to make your install easier. No tools are needed for this install SPIDERWEBSHADE® will provide everything you will need to make this install a breeze.
- Page 2 Thread spider ball cord through the bottom of grommet and attach through the top of the left and right footmans loop. Then attach the front hooks to the freedom panel mounting points. Attach the rear left and right side stay-puts to the Bronco nubs.
- Page 3 Use the long spider balls to connect the rear of the shade to the rear roll bar...
Need help?
Do you have a question about the BRONCO 2D and is the answer not in the manual?
Questions and answers