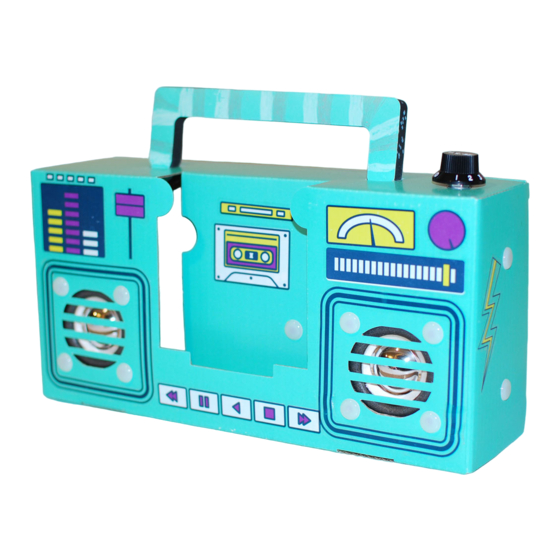
Advertisement
Quick Links
BUILDING INSTRUCTIONS
B
A
I
K
M
J1
J2
C
TOP
STEP 1
INSTALL SPEAKERS C & D
Lay the cardboard flat - teal side facing down. Take long wire speaker
C and secure it on the right side using plastic rivet J pieces. The wire
should be facing up towards the top of the boombox. Once C is
secure, repeat with short wire speaker D on the left side.
When snapping plastic J pieces together, take J1 with the plastic
extension and thread it through from the teal side of the box. Place
the box and J1 on the table so the tan cardboard is facing up with
TIP!
J1 poking through the hole. Take the flat plastic J2 piece with the
hole in the middle and press it onto J1. You may want to use a towel
or wear a glove as a barrier between your thumb and the rivets to
avoid any discomfort while snapping the two sides together.
E
D
STEP 2
Take PCB small board F and place it on the two holes on the middle
flap. For proper placement, the large black and blue part will be
closer to the bottom hole. The orange wire should be facing up
towards the top of the boombox. Use J pieces to secure.
MATERIALS FOR ASSEMBLY
A.
UNASSEMBLED CARDBOARD BOX
B.
C.
LONG WIRE SPEAKER
D.
SHORT WIRE SPEAKER
E.
PCB BIG BOARD
F.
PCB SMALL BOARD
D
G.
BATTERY BOX
(3 AA BATTERIES NOT INCLUDED)
F
H.
VOLUME SWITCH
C
I.
METAL NUT
H
J1 & J2.
PLASTIC RIVETS (
K.
RUBBER GASKET
G
L.
MAGNET STICKERS (
L
M.
METAL GASKET
C
TOP
F
D
INSTALL PCB SMALL BOARD F
HANDLE
14)
X
2)
X
SCAN QR CODE TO
WATCH A TUTORIAL
Advertisement

Summary of Contents for Doodle Hog DIY Boombox Speaker
- Page 1 MATERIALS FOR ASSEMBLY UNASSEMBLED CARDBOARD BOX HANDLE LONG WIRE SPEAKER SHORT WIRE SPEAKER BUILDING INSTRUCTIONS PCB BIG BOARD PCB SMALL BOARD BATTERY BOX (3 AA BATTERIES NOT INCLUDED) VOLUME SWITCH METAL NUT J1 & J2. PLASTIC RIVETS ( RUBBER GASKET MAGNET STICKERS ( METAL GASKET STEP 1...
- Page 2 STEP 3 INSTALL PCB BIG BOARD E STEP 6 ASSEMBLE VOLUME SWITCH H Place the rubber gasket K on the silver handle of the PCB big board E. Thread Ensure the volume knob is turned off, all the way to the left. Gently the silver handle through the hole in the press the volume switch H firmly onto the silver handle E until secure.
- Page 3 MATERIALS FOR DECORATING TIPS FOR DECORATING 1 METALLIC ACRYLIC PAINT MARKER 1 LIGHT TEAL ACRYLIC PAINT MARKER 2 SHEETS OF STICKERS (A&B) 1 BENDABLE STENCIL THINGS TO HAVE HANDY PENCIL SCRATCH PAPER PAPER TOWEL SMALL BOWL OF WATER STEP 1 PAINT YOUR BOX! STENCIL ACRYLIC PAINT MARKERS...
Need help?
Do you have a question about the DIY Boombox Speaker and is the answer not in the manual?
Questions and answers