
Summary of Contents for Söol Fit Basic
- Page 1 Söol Fit™ Basic - Installation Manual Poplar Cherry Walnut Copyright© Söol Corp 2020 - PS-0002-01C Page 1 of 15...
-
Page 2: Other Equipment
Installing Your Söol Fit™: This Installation Manual is intended to guide a licensed and fully insured carpenter”Installer” through the steps necessary to safely and properly install the Söol Fit™ Basic Model. DISCLAIMER OF LIABILITY- YOUR SOOL FIT™ COMES COMPLETE WITH TERMS AND CONDITIONS, AN OWNERS MANUAL AND AN INSTALLATION MANUAL (THE “DOCUMENTATION”). - Page 3 Safety: To ensure safe and proper installation, uninstallation or reinstallation, the Söol Fit™ owner “Buyer” must have two Installers perform installation following the instructions provided. -Take all lifting precautions and use proper body mechanics throughout entire installation WARNING process, including when moving and lifting any assembly or carton. Always use two Installers to lift and maneuver frame assembly during installation.
- Page 4 Site Requirement Verification: During order process, the Buyer has confirmed site requirements for the Söol Fit™ model. It is recommended, prior to unpacking or performing any site preparation, the installation location is verified by the Installer. I (Installer) have verified the mounting wall construction Correct fasteners must be selected for wood studs, metal studs or concrete walls.
- Page 5 Verify Receipt of All Cartons and Items: Basic Item# Description Part # Carton # Fra me as s embl y BASIC SA-0018-01 Bench a s sembl y SA-0302-01 Shoul der screw 5/16 FS-SB002-01 Wa s her nylon .313x.5x.031 FS-W0001-02 Bench l ift pi vot rod...
- Page 6 - Failure to properly locate the center of each wall stud can lead to an insecure installation and WARNING may cause severe injury or death. Layout Strut Location and Find Center of Studs: 1) On the wall, mark the center line of mounting location to define its position.
- Page 7 Perform Wall Prep/Trim Removal as Needed: 1) Verify base molding does not protrude from the wall more than 1/2”. Note: The Söol Fit™ Cabinet mounts 1/2” from the wall surface. 2) If molding protrudes more than 1/2 in from wall surface it will need to be trimmed prior to mounting frame.
- Page 8 Mount Frame to Struts: - An unsecured Söol Fit™ frame is a tip hazard. Use extreme caution when frame assembly is in WARNING upright position and always have an assistant Installer securely hold frame until Installer bolts/anchors frame securely and completely to the wall; failure to do so can cause serious injury or death.
- Page 9 3) Move frame up to struts and position all strut nuts in horizontal position, then move frame against strut channels so all strut nuts engage into channel. 4) Assemble screws (item # 28), washers (item # 29), and nuts (item # 30) through frame into upper strut bracket. Note: Verify outside edge of frame aligns with ends of strut channels prior to tightening screws 5) Torque all twelve screws (item # 28) to 6 - 8 ft/lbs (strut...
- Page 10 Mount Bench Assembly: 1) Mount bench to support frame Position Bench Assembly between support frame, then slide nylon washer(7) between support frame and bench frame. Align holes and insert pivot rod (5) sliding thru to opposite side of support frame. Attach end cap (6) by securing opposite side while pressing or tapping with a hammer until fully seated.
- Page 11 CAUTION - When mounting gas spring to bench, have an assistant Installer hold the bench in vertical position until gas spring is mounted, to avoid bench from falling down. 2) Mount bench gas spring a) Rotate bench to full upright position. b) Screw in place with hardware attached, keeping large washer between gas spring and frame, and lock washer under screw head.
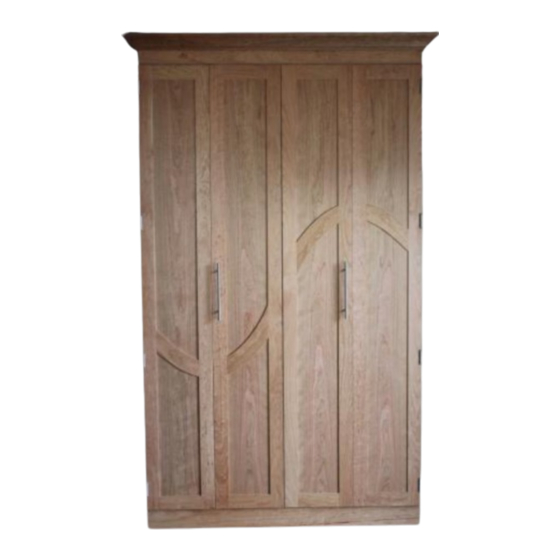
- Page 12 Wood Cabinet Assembly: CAUTION - Take care when opening cartons and handling wood doors and panels to avoid scratches and dents - DO NOT use knife or sharp object to unpack doors and panels. 1) Mount door assemblies Note: Door assemblies are mounted before side panels. Note: Observe left and right door assemblies, (latch should be to the bottom).
- Page 13 2) Mount side panels Mount left side panel Support left side panel (#8) 1/2 inch off of floor with a small spacer block. Align and push the panel clips over the rear frame until the front edge of the panel fits into the sides of the door hinges.
- Page 14 3) Top and bottom plate mounting Mount bottom plate Insert the two dowel pins of bottom plate into the left panel. Rotate the right panel out only far enough to insert the dowel pins. iii. Push right panel onto bottom plate until side panel seats against door hinge and drive only the bottom screw to hold panel from sliding off the dowel pins.
- Page 15 Rotate the right panel only far enough to insert the dowel pins into it. iii. Push right panel onto top plate until side panel seats against door hinge. Secure panel with remaining seven wood screws. Note: Bottom plate has a slight gap from side to side to allow final adjustments for the door lock alignment.
Need help?
Do you have a question about the Basic and is the answer not in the manual?
Questions and answers