Advertisement
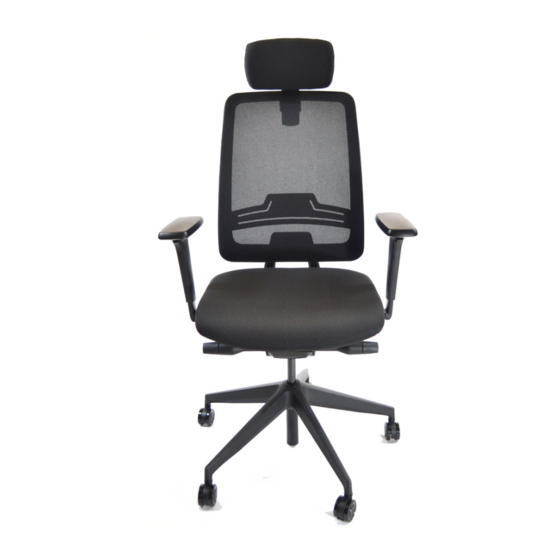
Thank you for purchasing the Connect Chair from Custom Solutions! We greatly appreciate your support of
American manufacturing. To ensure long term comfort and reliability, please follow the assembly directions carefully.
Before we get started, please ensure you have the following tools:
Phillips Screwdriver & 5mm Allen Wrench (included in pack)
Note: 3mm Allen Wrench (included) is required for the optional headrest.
1. Remove all contents from box. **Interior boxes contain hardware, casters, arms and cylinder**
2. Insert casters into base, set aside.
3. Install arms onto seat using Phillips screws from ARM HARDWARE BAG. **ENSURE CORRECT ORIENTATION**
Left
Right
Advertisement
Table of Contents

Summary of Contents for CUSTOM SOLUTIONS Connect Chair
- Page 1 Thank you for purchasing the Connect Chair from Custom Solutions! We greatly appreciate your support of American manufacturing. To ensure long term comfort and reliability, please follow the assembly directions carefully. Before we get started, please ensure you have the following tools: Phillips Screwdriver &...
- Page 2 4. Install back to seat using (3) screws from BACK HARDWARE BAG and 5mm Allen Wrench. 5. Install cylinder and dust cover onto chair 6. Place seat assembly onto base (from step 1); the by simply sliding them in place. cylinder will simply slide through the hole in the base.
Need help?
Do you have a question about the Connect Chair and is the answer not in the manual?
Questions and answers