Advertisement
"We're reinventing all-weather outdoor style
FURNITURE CARE:
All you need to clean your newly acquired furniture
is warm water and soap. For extra cleaning power,
mix 25% white bleach with 75% water. Using a stiff
bristle brush can help remove any particles from
between the simulated wood grain. Style designed
and created in California, USA
Need help? Contact Us!
Email: help@resinteak.com
Phone: (657) 600-8600
Monday – Friday, 10 AM – 5 PM
and we're just getting started..."
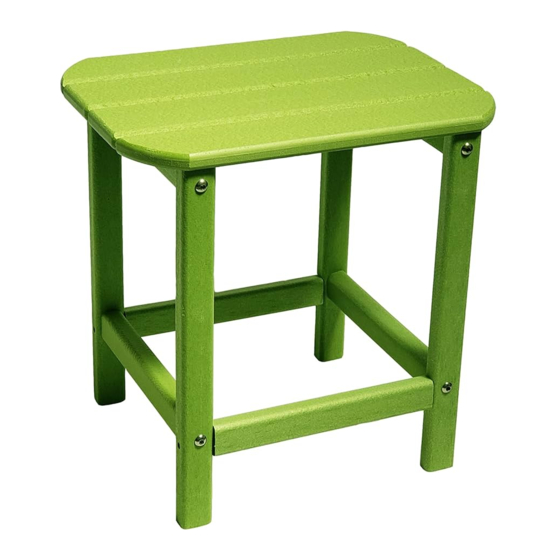
OUTDOOR STYLE REINVENTED
Each item is made with high-density material, which
protects against cracks, rot and splinters, keeping your
furniture timelessly beautiful, no matter the season.
UV-stabilized material resists color fading. This means
no repainting ever!
For assembly video, please
PRE-ASSEMBLY PREPARATION:
•
Please check that all listed parts and hardware are included before beginning assembly.
•
Save all packing materials until assembly is completed to avoid accidentally discarding small parts.
•
Read through the preparation and assembly instructions in full before beginning assembly.
•
Please use CAUTION AND CARE when lifting the product to avoid personal injury and/or damage to
the product.
•
For ease of assembly, two adults are recommended. Assembly time is approximately 30 minutes
scan QR code
Advertisement
Table of Contents

Related Manuals for ResinTEAK FURNITURE RSTK - TBL


Summary of Contents for ResinTEAK FURNITURE RSTK - TBL
- Page 1 "We're reinventing all-weather outdoor style and we're just getting started...” For assembly video, please scan QR code PRE-ASSEMBLY PREPARATION: FURNITURE CARE: OUTDOOR STYLE REINVENTED Each item is made with high-density material, which All you need to clean your newly acquired furniture is warm water and soap.
- Page 2 Table ResinTEAK *IMPORTANT NOTE: DO NOT OVERTIGHTEN THE BOLTS* RSTK - TBL STEP-BY-STEP ASSEMBLY: Tabletop (1PC) Attach Braces (C) to Legs (B) using STEP 2: Attach Legs (B) to Tabletop (A) using 4x 1.5” Screws (D) as pictured. 4x 1.5” Screw (D) on each side as pictured.
Need help?
Do you have a question about the RSTK - TBL and is the answer not in the manual?
Questions and answers