Table of Contents
Advertisement
Quick Links
Advertisement
Table of Contents

Related Manuals for linarie CALVI LJMO20XBI


Summary of Contents for linarie CALVI LJMO20XBI
- Page 1 LITRE CALVI BUILT-IN LJMO20XBI www.linarie.com.au...
-
Page 2: Table Of Contents
Linärie does not assume any liability for damage Serial Number ................ arising from non-adherence to these documents Register your product www.linarie.com.au and from improper assembly. The electricity connection must be made by a qualified specialist. Installation must comply with the valid standards, regulations and laws. All safety and warning information and the operating and installation instructions must be complied with. -
Page 3: General Information
The heating of corrosive chemicals in this oven may cause these instructions, resulting from incorrect or improper microwave radiation leaks. use or operation. If the base of the oven is hot, allow to cool before cleaning or placing in water. www.linarie.com.au... -
Page 4: Safety Instruction - Use And Operation
Remove wire twist-ties from bags before placing bag in oven. www.linarie.com.au... -
Page 5: Technical Data Sheet
4.1 Components 4.2 Trim kit specification Cabinetry Cavity dimensions 1 pc screw cover Width 566-580mm Height 365-380mm Depth 550mm 1 pc screw 4x45mm Oven Frame dimensions Width 592mm 2 pcs screw 3x30mm Height 390mm Depth 20mm www.linarie.com.au... -
Page 6: Cabinetry
The wire which is coloured blue must be connected to the terminal 220~240V/ 50Hz which is marked with the letter N or coloured black. Blue Yellow-Green The wire which is coloured brown must be connected to the terminal which is marked with the letter L or coloured red. www.linarie.com.au... -
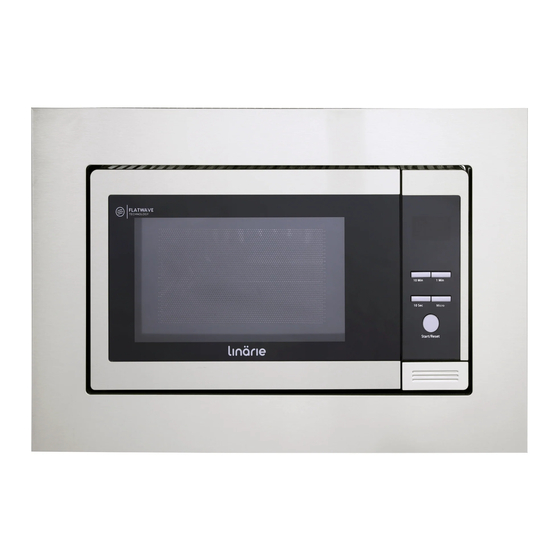
Page 7: Operation
"1Min" and "10Sec" buttons at the same time for 2 seconds. After that press all buttons are 10 Min 1 Min inactive/ locked. Pressing "1Min" and "10Sec" button at the same time for 2 10 Sec Micro/Defrost seconds again will unlock this function. www.linarie.com.au Start/Reset... -
Page 8: Troubleshooting
This may occur when the micro- affect the life of the appliance and possibly result in a wave oven is operated under high humidity conditions and in hazardous situation. no way indicates malfunction of the unit. www.linarie.com.au... -
Page 9: Schematic Diagram
1) SWA: PRIMARY INTERLOCK SWITCH 4) L: LAMP 2) SWB: SECONDARY INTERLOCK SWITCH 5) FM: FAN MOTOR 3) SWC: THE MONITOR INTERLOCK SWITCH 6) TM: TURNTABLE MOTOR 7) H: HEATER * Circuit is subject to change without prior notice. www.linarie.com.au... -
Page 10: Environmental Tips
When contacting Linärie, please quote the model and invalidated, and Linärie cannot accept liability. serial number of your appliance. These can be found on the data plate, after removing the grease filter. Please check www.linarie.com.au for more information. www.linarie.com.au... - Page 11 LIKE TO KNOW MORE? For further information on all Linärie appliances, or to obtain detailed dimension and installation information, phone or email our Customer Care team or visit our website: Australia hello@linarie.com.au www.linarie.com.au Follow Us @Linarie.Appliances ©Linärie www.linarie.com.au...
- Page 12 √ Translation Mart Online Services Pty Ltd. ACN 657 824 050 Linärie Contact hello@linarie.com.au www.linarie.com.au The distribution and duplication of this document, as well as the use and disclosure of its contents are prohibited unless expressly authorised. These operating and installation instructions have been drawn up with the greatest of care. But it cannot be ruled out that subsequent technical modifications have not yet been incorporated or the relevant content has not yet been adapted.
Need help?
Do you have a question about the CALVI LJMO20XBI and is the answer not in the manual?
Questions and answers