Table of Contents

Summary of Contents for KLEVA QUICKPRESS POWER STATION
- Page 1 SCAN ME For iron parts diagram and set up videos USER MANUAL These instructions contain important information which will help you get the best from your equipment and ensure safe and correct assembly, use and maintenance.
-
Page 3: Safety Warnings
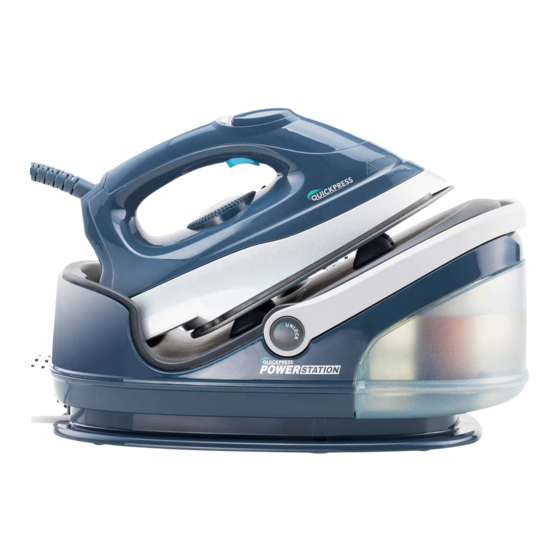
SAFETY WARNINGS When using your Quickpress Power station™, basic safety precautions should always be followed, including the following: • This appliance is not intended for use by persons (including children) with reduced physical, sensory or mental capabilities, or lack of experience and knowledge, unless they have been given supervision or instruction concerning use of the appliance by a person responsible for their safety. - Page 4 FEATURES/PARTS Water tank Connector Hose/Connector Power Handle Power cord Soleplate Base handle release button Decorative cover Filter Heating indicator light Water tank lock Steam Trigger button Temperature control dial Water Steam Cord Auto Time to Power Voltage Capacity Pressure Length Shut O heat Up 220-240V...
-
Page 5: Fabric Setting Chart
INSTRUCTIONS Fabric Setting Chart Temperature SYNTHETIC Delicates Cotton/Linen Setting Synthetics, Nylon, Wool, Silk Cotton, Linen Fabric Polyester Steam ironing on Dry Ironing Steam ironing Instructions the under side of the fabric Steam selection Ironing Temperature Setting Guide Step 1 - Follow the ironing instructions on the garment label. - Page 6 Step 5 - If the fabric is made up of various kinds of fibers, always select the temperature required by the most delicate fibers, i.e. the lowest temperature. Eg. an article consisting of 60% polyester and 40% cotton, according to the Fabric Setting Chart it should be iron for polyester and without steam.
- Page 7 FILLING THE WATER TANK Step 1 - Press the water tank lock upwards and slide the detachable water tank outwards from the base. (Fig. 2) Step 2 - Take the filter upwards out from the water FIG. fill hole. (You can take the filter out of the opening for filling water into water tank, or fill water into water tank directly with the filter existing in the opening).
-
Page 8: Steam Ironing
STEAM IRONING Step 1 - Fill the water tank with clean tap water (refer to filling the water tank on page 5). For better performance, please immerse the filter in water for several minutes before installing it into the water tank. Step 2 - Connect the unit into a suitable power socket. -
Page 9: Vertical Steam Ironing
VERTICAL STEAM IRONING Follow the steam ironing process, and then hold the iron in a vertical position between 5cm - 15cm away from the hanging fabrics. Press down the steam button which will create a vertical steam. This feature is especially used for removing creases from hanging clothes and curtains. -
Page 10: Cord Storage
Cord Storage Step 1 - After use, allow for the unit to completely cool down. Unplug the unit from the power socket and pour out the remaining water from the water tank. Step 2 - Place iron on the base unit. Fold the supply hose and wind it clockwise around the cord slot of the base unit. -
Page 11: Anti-Calc System
Anti-Calc System The filter is designed to reduce the build-up of limestone which occurs during steam ironing which would generally prolong the life of your iron. However, please note that the filter will not completely stop the natural process of limestone build-up. -
Page 12: Hints And Tips
HINTS & TIPS PROBLEM SOLUTION POSSIBLE CAUSE Turn o at the power socket, Unplug Incorrect connection to the and re-connect to the main socket main socket Ensure the wall socket is now turned Iron Won’t Set the temperature control dial to Temperature Dial is set to Heat up the desired position according to the... - Page 14 SCAN ME For iron parts diagram and set up videos You MUST read all instructions before using any equipment. We assumes no responsibility for personal injury or property damage sustained by or through the use of this product. www.klevarange.com.au 02 9387 4100 enquiries@klevarange.com.au Suite 301 / 209 Oxford St Bondi Junction NSW 2022 Australia...
Need help?
Do you have a question about the QUICKPRESS POWER STATION and is the answer not in the manual?
Questions and answers