Table of Contents
Advertisement
Quick Links
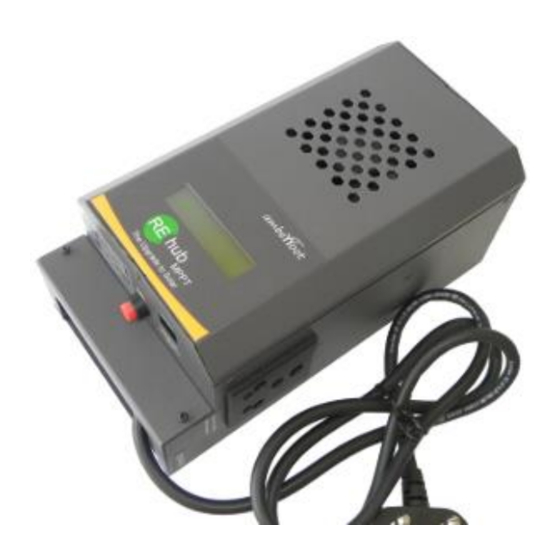
REhub MPPT 12/24 – 40
Solar MPPT Charger for Upgrading Inverters
User Manual
Ver 7.0
Scan this QR code with your phone for a YouTube
link to a short video on installing REhub MPPT.
Copyright: Amberroot Systems Pvt Ltd. 2020. All rights reserved.
Amberroot Systems Private Limited, # 251/252, 3rd Main, 3rd Cross Road, JP Nagar 3rd Phase,
Bangalore – 560078, Contact #: +917899396778,
1
info@amberroot.com
Ver 7.0
, www.amberroot.com
User Manual
Advertisement
Table of Contents

Related Manuals for amberroot REhub 12/24-40


Summary of Contents for amberroot REhub 12/24-40
- Page 1 REhub MPPT. Copyright: Amberroot Systems Pvt Ltd. 2020. All rights reserved. Amberroot Systems Private Limited, # 251/252, 3rd Main, 3rd Cross Road, JP Nagar 3rd Phase, Bangalore – 560078, Contact #: +917899396778, info@amberroot.com , www.amberroot.com...
-
Page 2: Product Warranty
7. Damage due to inappropriate transportation or packaging. Company Seal [SCAN for address] Amberroot Systems Private Limited, # 251/252, 3rd Main, 3rd Cross Road, JP Nagar 3rd Phase, Bangalore – 560078, Contact #: +917899396778, info@amberroot.com, www.amberroot.com Ver 7.0 User Manual... -
Page 3: General Information
1 Introduction REhub enables adding Solar PV to existing backup solutions without the expense of replacing the UPS/Inverter and batteries. REhub controls the charging of the batteries from two sources – the Grid (charging by the existing UPS/Inverter) and the installed Solar Adding Solar PV is the logical way to extend the backup hours and reducing the dependence on Grid Power - but must be done the right way. -
Page 4: Limitations Of Liability
We assume no responsibility for the infringement of patent rights or other third parties rights resulting from the use of the Charger. Amberroot reserves the right to make any modifications to the product without prior notification. AMBERROOT IS NOT LIABLE FOR INCIDENTAL, DIRECT OR INDIRECT DAMAGES OF ANY KIND, INCLUDING ANY PROFIT LOSS, REVENUE LOSS OR DAMAGES CAUSED TO EQUIPMENT OR GOODS DUE TO DEFECTIVE EQUIPMENT. - Page 5 Battery -Ve terminal, at the Battery -Ve terminal, and connect to terminal #3 External Temperature Sensor Connect the External temperature Sensor (Part to be purchased from Amberroot) for temperature compensation of Battery charging (Optional) 3 PIN,15 A Plug to connect AC input...
- Page 6 S/no Description Comment Socket to connect AC input of Inverter Connect existing Mains-in Plug of the Inverter to this socket RJ45 Jack Connect Amberlink © (available for purchase separately) to this port. Mode Select Switch Use this switch to Select the way in which Mains input to the Inverter is controlled.
-
Page 7: Cable Size
4.2.2 Parallel connection of Solar PV string To get the required charging power, 2 or more strings are usually to be connected in parallel. Each string connected in parallel must be composed by the same number of modules of the same type. The number of strings connected in parallel depends on the Isc of each string. -
Page 8: Inverter Connection
12/24V – 40A SL # 0b200526 Voltage 24V Amberroot Sys Make sure that the correct battery system voltage is recognized (Example screen shows unit connected to 24V battery system). If the unit is connected to 12V battery system, the last screen must show the battery system voltage as 12V. - Page 9 When the unit is set to a mode other than Auto, one of the following screens is additionally shown in each cycle. Mains Mode Mains Mode Mains Mode On1Day Offgrid OnAlwys 5.2 Mains Relay Operation Control: Switching Between Forced ON and Auto Control.
- Page 10 6 Powering Up It is not mandatory to connect the terminals in a particular order. However, connecting the battery terminals will energize and start the unit. Therefore, COMPLETE THE OTHER CONNECTIONS BEFORE CONNECTING THE BATTERIES. Keep the -Ve Battery cable from REhub open till the last when you are ready to power up.
-
Page 11: Error Conditions
• When Solar is available AND Batteries are nearly completely charged (Voltage of 13.5V/27V for at least 5 minutes), the GRID based charging from UPS Inverter is cut off and Loads and Charging to the batteries are supplied from Solar PV. •... - Page 12 Error in System Error in System Error in System Err 12 High Temperature Battery Prot Trip Bat Prot Trip : Sudden surge or voltage change is observed in the battery terminal. The next screen could indicate the error # and the Battery Voltage. If possible capture the details of this screen to help us zero in on the problem faster.
- Page 13 Error Possible Reasons Error Messages Ways to eliminate Battery Battery is either deeply discharged Batt Prot Trip Unit will recover once Protection or Battery Voltage exceeds allowable Battery Voltage goes Trip limit. back to normal. Not cutting Manual Override on Mains Setting in ' Change to Auto Mode off Mains...
-
Page 14: Specifications
9 Specifications Copyright 2020 Amberroot systems private limited. Ver 7.0 User Manual... - Page 15 REhub to Mains input. Wait and confirm that REhub switches off the Mains input to the Inverter Amberroot Systems Private Limited, # 251/252, 3rd Main, 3rd Cross Road, JP Nagar 3rd Phase, Bangalore – 560078, Contact #: +917899396778, info@amberroot.com, www.amberroot.com Ver 7.0...
- Page 16 Figure 3 : Wiring Diagram Ver 7.0 User Manual...
Need help?
Do you have a question about the REhub 12/24-40 and is the answer not in the manual?
Questions and answers