Table of Contents
Advertisement
Quick Links
A
A
B
B
C
4x
4x
A
B
C
4x
C
B
C
ASSEMBLY INSTRUCTIONS
B
C
1
•
Frame assembly: The main beams (A)
are placed in the sockets of the leg
frames (C). It is recommended that you
first connect one beam and one leg
(see step 2), then place the second leg
on the other end of the beam. Finally,
the second beam can be placed on the
already standing frame and fastened.
•
The spacer fittings (B) are placed
between the beam (A) and the mounting
plate (C) of the respective leg frame.
2
•
Fasten the leg frames with four screws
(M8x16) each per mounting point.
3
•
From the underside, the leg frames are
additionally fixed to the main beams
with a screw (M8x16).
L ENO
Advertisement
Table of Contents

Related Manuals for LOEHR L2 ENO


Summary of Contents for LOEHR L2 ENO
- Page 1 ASSEMBLY INSTRUCTIONS L ENO • Frame assembly: The main beams (A) are placed in the sockets of the leg frames (C). It is recommended that you first connect one beam and one leg (see step 2), then place the second leg on the other end of the beam.
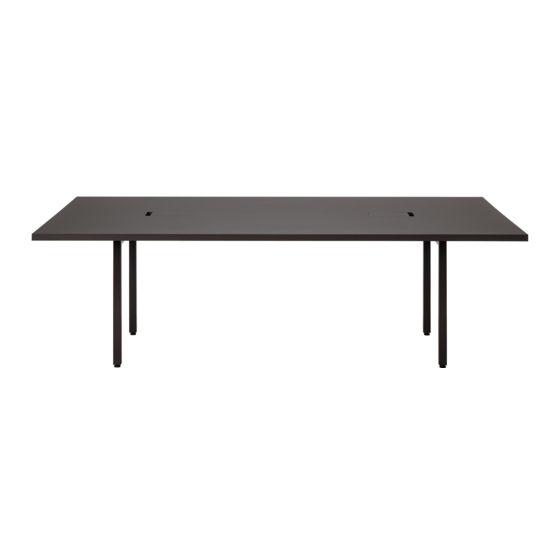
- Page 2 ASSEMBLY INSTRUCTIONS L ENO • The frame can now be positioned and aligned. • The height-adjustable feet can be used to level out any unevenness in the floor. • Then place the table top and align the screw positions along the main beams. •...
- Page 3 ASSEMBLY INSTRUCTIONS L ENO • Then mount the rails for the cable duct covers (D) with three screws per rail (M5x12). • Now the cable management is installed. • It is recommendable to equip the cable baskets with socket strips etc. before mounting.
- Page 4 ASSEMBLY INSTRUCTIONS L ENO • Place the cable duct covers over the cable outlets. • The table is now usable. ENJOY!
- Page 5 ASSEMBLY INSTRUCTIONS L ENO WORKBENCH COUPLING • One leg frame is mounted in the regular way (F, see steps 1-3), the other leg frame (G) is fastened with the connector fittings (H) instead of spacer fittings (see step 1, component B). Like the spacer fittings, these sit between the main beam and the mounting plate of a leg section.
- Page 6 ASSEMBLY INSTRUCTIONS L ENO WORKBENCH COUPLING • Place the frame to be coupled at the other side of the junction and fasten it (see steps 11-12). • Align the entire frame. • When installing cable management, a bridge basket (J) is inserted across the junction.
- Page 7 ASSEMBLY INSTRUCTIONS L ENO WORKBENCH COUPLING • Now all the table tops are placed and bolted (see steps 4-5). • At the junction, the connector fittings are fixed to the table tops (M8x16) (K). • Under the cantilevering sides of the tabletops, two additional connecting plates are mounted across the junction, connecting the table tops (M8x16) (L).
- Page 8 ASSEMBLY INSTRUCTIONS L ENO WORKBENCH COUPLING • Place the cable duct covers over the cable outlets. • The ENO workbench is now usable. ENJOY! LOEHR.CO SUPPORT LOEHR.CO 02-2022...
Need help?
Do you have a question about the L2 ENO and is the answer not in the manual?
Questions and answers