
Summary of Contents for Screen Solutions Interactive Floor
- Page 1 Interactive Floor Vendor Guide User Manual of Interactive Projection System Installation method of floor positive projection: ssidisplays.com (888) 631-5880 | 269 Technology Way, Suite 1, Rocklin, CA, 95765...
-
Page 2: Quick Start
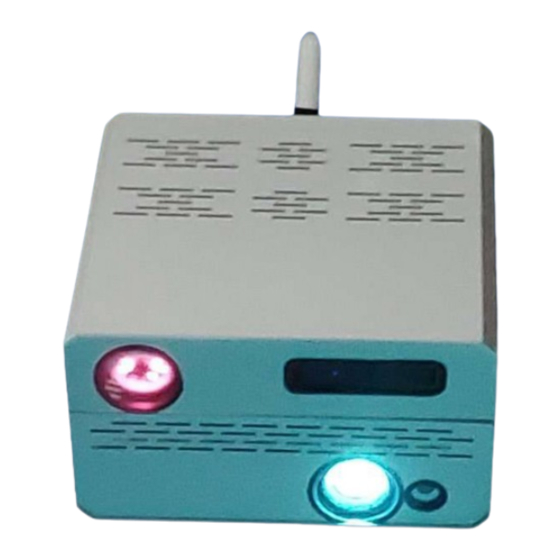
Interactive Floor Vendor Guide Quick Start 1.1 System Requirements 1) Projector (prepared by client) We generally recommend 3000 lumens projector. Of course according to interior situation, we can choose a low dark lumen projector. If the surrounding light is too strong we then need for higher lumen projector. - Page 3 Vendor Guide 3) Basic components of the interactive system USB IR Video capture: Capture visitor’s motion Video Cable: USB extension cable for USB IR Video Capture Interactive Floor/Wall Software ssidisplays.com (888) 631-5880 | 269 Technology Way, Suite 1, Rocklin, CA, 95765...
-
Page 4: Quick Installation
Interactive system is consisted of hardware and software. It can be used both on floors and walls. The hardware installation is easy and flexible. Please follow the instructions to install it: 2.1 Structure of Interactive Floor 1. IR Camera 2. Projector 3. - Page 5 Interactive Floor Vendor Guide 2.3 Structure of Interactive Floor Before connection, the projector must be installed first. The projector needs to be hung on the ceiling, so it will be a long distance from the projector to the computer. 10m VGA cable will likely be required. The projector supplier can make the cable and install the projector for you.
- Page 6 Interactive Floor Vendor Guide 2.4 Software Installation 2.4.1 Insert CD Disk Copy interactive software from CD to disk computer 2.4.1.1 Interactive system setting on windows 7. Right click .exe file on our system folder and choose properties. Then click Compatibility button and choose run this progrmam as an administrator and apply it.
- Page 7 Interactive Floor Vendor Guide 2.4.1.2 Please install setupAll.bat within tools folder after you copy files from CD Disk to your computer. Then run interactive.exe. Menu Description: Main Menu Options: Click the shortcut to launch Interactive System 2.0. ssidisplays.com (888) 631-5880 | 269 Technology Way, Suite 1, Rocklin, CA, 95765...
- Page 8 Interactive Floor Vendor Guide 3. Setting, Running, and Customizing 3.1 Setting We will define an interactive area. This step is very important. The interactive area should be the same as the projection image/projector’s resolution. To define interactive area: 1. Click Settings on the menu bar.
- Page 9 Interactive Floor Vendor Guide Sequence of confirming four points of interactive area (sensitiveness from 90 to 100, contrast from 3 to 10 value) Click OK. All the motion of visitors in this red rectangle will be detected by video capture. To test the interactive area: 1.
- Page 10 Interactive Floor Vendor Guide Follow these steps: 1. Background image setting: Click Change, 2. Sound setting: Click Change, open the open the new image with the format new sound with the format (*.mp3), The (*.jpg) and a minimum size of 1024x 768 current pixels or bigger.
- Page 11 Interactive Floor Vendor Guide 3.4 Add your own flash or 3D effect To add your own flash or 3D effect as .swf or .exe format: 1. Click ‘Create new effect’ on the menu bar 2.Write an effect name in the textbox, it will create a new folder. Select .swf or .exe format effect file and press Create button.
- Page 12 Interactive Floor Vendor Guide 3.5 Add new function to control the projector on/off automatically 1. Connect Serial cable from projector to PC and add Serial port for projector, then click tools manu as follow 2. write power on/off code of your projector 3.
- Page 13 Interactive Floor Vendor Guide Thank you for your business, with any questions or concerns please do not hesitate to contact us. ssidisplays.com (888) 631-5880 | 269 Technology Way, Suite 1, Rocklin, CA, 95765...
Need help?
Do you have a question about the Interactive Floor and is the answer not in the manual?
Questions and answers