Table of Contents

Related Manuals for Yottamaster PS100U3

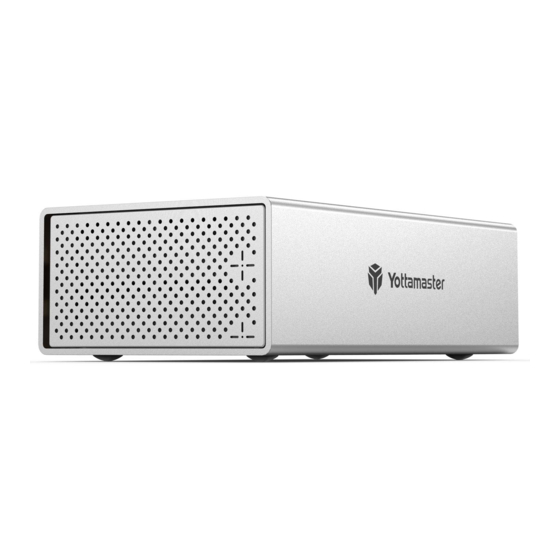
Summary of Contents for Yottamaster PS100U3
- Page 1 Quick Installation Guide Yottamaster Y-Pioneer Series PS100U3 PS100C3 PS200U3 PS200C3 PS200RU3 PS200RC3 PS400U3 PS400C3 PS400RU3 PS400RC3 PS500U3 PS500C3 PS500RU3 PS500RC3 Tech Support: supports@yottamaster.com Official Web: www.yottamaster.com...
-
Page 2: Table Of Contents
Catalog 1. Appearance ������������������������������. 3 2. Hard drive Installation �������������������������.. 4 3. Connection ������������������������������. 6 4. Format Hard Drive ���������������������������.. 6 5. Set Up RAID ������������������������������.. 6 CRITICAL NOTICE ����������������������������. 6 5.1 Setting RAID Modes �������������������������... 7 5.2 Changing RAID Modes ������������������������.. 7 6. -
Page 3: Appearance
1. Appearance Y-Pioneer Series-1 Bay PS100U3 PS100C3 Door USB3.0 Interface LED indicator Power Switch DC IN Type-C Interface Y-Pioneer Series-2 Bay PS200U3 PS200C3 PS200RU3 PS200RC3 Door LED indicator USB3.0 Interface Power Switch DC IN Type-C Interface RAID button SET button... - Page 4 Y-Pioneer Series-4 Bay PS400U3 PS400C3 PS400RU3 PS400RC3 Y-Pioneer Series-5 Bay PS500U3 PS500C3 PS500RU3 PS500RC3 Door LED indicator Power Switch DC IN USB3.0 Interface Type-C Interface RAID button SET button - 4 -...
-
Page 5: Hard Drive Installation
2. Hard drive Installation Take PS500U3 as an example, the steps for other models are the same. Step 1: Press the right center of the door then it will open automatically. Step 2: Pull out the disk tray. Step 3: Insert the 2.5"... -
Page 6: Connection
3. Connection After installing the hard drive, insert one end of the original power adapter or AC power cable to the power port on your product and the other end to a power source, and then insert one end of the data cable to the product data port and the other end to one of the compatible USB port on your computer. -
Page 7: Setting Raid Modes
(3) HDD or HDD group will be displayed on computer with completion of the RAID mode setting. After initialization, partitioning and formatting, you can start to use it. 5.2 Changing RAID Modes (1) Set back to PM (Normal) Mode. Firstly, turn off the enclosure, then toggle the RAID control switch at the back to the "Normal"... -
Page 8: Remove The Hard Drive
PS400RU3/PS400RC3 Description Types PS200RU3 PS200RC3 PS500RU3/PS500RC3 Combines data security of RAID 1 with high-speed read and write of RAID 0. 2 3 4 RAID 10 Suitable for storing data with high security requirements. Down-Down-Up-Up Default Mode (Normal Mode) All hard drives in the 2 3 4 Normal/ enclosure do not form... -
Page 9: Adding A New Hard Drive Into The Enclosure
(1) If there is no data processing within ten minutes, the device will enter into sleep mode automatically. The hard drive will stop running while in sleep mode. (2) Please go to https://www.yottamaster.com/?route=common/driver and select "Sleep Time Setting Firmware update for 4/5 Bay HDD Enclosure" to download the firmware. -
Page 10: Initialize And Format New Drives
To mount a new hard drive, please follow the step below. 9.1 Under Microsoft Windows (1) Please make sure that the Yottamaster hard drive enclosure is installed correctly and connected to the computer. (2) Right click on "Computer". Select "Manage". Select "Drive Management". A pop-up will come up, suggesting a new hard drive needs to be initialized. - Page 11 Note: • If you are mounting a hard drive less than 2TB, please initialize it with MBR partition type. • If you are mounting a hard drive larger than 2TB, please initialize it with GPT partition type. Or you will get only 2TB available storage space. •...
- Page 12 (4) Set the size of your new volume. You can customize the size you expect. Or you can set the volume at the maximum drive space, then there will be only one hard drive partition. (5) Assign new drive letters for the new volume. The drive letters (such as C, D, E, F, G) will be shown on computer and explorer.
- Page 13 (6) Format your new volume. You can set the file system (NTFS or FAT32), and allocate the unit size and volume label. "Perform a quick format" is recommended. Please click "Next" when everything is configured. (7) Click "Finish" and start to format the volume. - 13 -...
-
Page 14: Under Mac Os
9.2 Under Mac OS (1) Please make sure that the Yottamaster hard drive enclosure is installed correctly and connected to the computer. (2) Open the "Disk Utility". Right click on the drive and choose "Erase". A pop-up will come up. - Page 15 (3) Set the size of your new volume. Choose the erased drive, then click the "Partition". Still choose "APFS" partition type. You can change the volume name and customize the size you expect. Then click "Apply". - 15 -...
- Page 16 (4) After configuring the above information, a pop-up will come up. Click "Partition". The process will take 5 to 20 seconds. When it is done, the new volume will be ready for use. - 16 -...
Need help?
Do you have a question about the PS100U3 and is the answer not in the manual?
Questions and answers