Table of Contents
Advertisement
Quick Links
Thank You For
Purchasing Corvan Products.
Please visit www.corvan.com.my to keep up to date on all
amazing products coming your way.
Corvan Service Centre
A-3-9, 10 Boulevard, Lebuhraya Sprint,
47400 Petaling Jaya, Selangor, Malaysia.
Tel:
603-7728 8166
Email: crm@corvan.com.my
www.corvan.com.my
Corvan are registered trademarks of Corvan Asia Sdn Bhd.
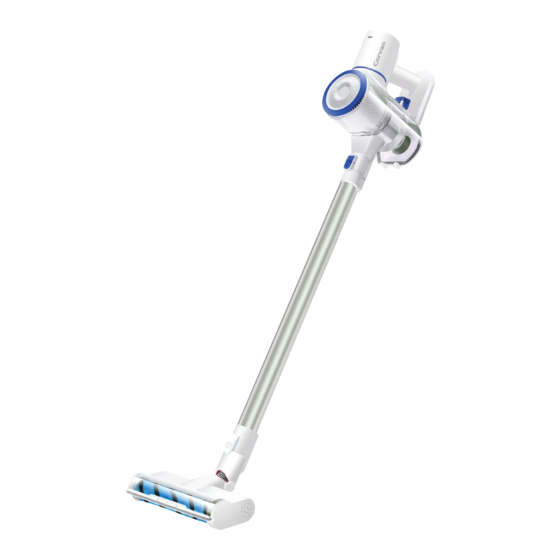
WIRELESS
VACUUM CLEANER
K8
Model No.:
User Manual
This guide provides instructions for installation, help
on getting started and upkeeps to get it running at
optimal level. We hope you enjoy using our products
as much as we enjoyed developing it.
www.corvan.com.my
All rights reserved.
Advertisement
Table of Contents

Summary of Contents for Corvan K8
- Page 1 VACUUM CLEANER Model No.: Thank You For Purchasing Corvan Products. Please visit www.corvan.com.my to keep up to date on all User Manual amazing products coming your way. This guide provides instructions for installation, help on getting started and upkeeps to get it running at optimal level.
- Page 2 Important Safety Tips Contents Read all the following instructions carefully before using the product. If the vacuum or charger is damaged, please return it to our service centre immediately for maintenance or repair. Children below age 8 are not allowed to use this vacuum. Children at age 8 or above age 8 are only allowed to use this vacuum with adult supervision.
- Page 3 Parts Name Parts List Main Unit Exhaust Wand Battery Indicator ON/ OFF Battery pack release button HEPA assembly Charging hole Dust release button 2-in-1 crevice tool Dusting brush Charger Wall mount Electrical extension tube Power brush What’s in box Main Unit Power brush 2- in-1 crevice tool Dusting brush...
- Page 4 Assembling the Unit Assembling the Unit Installing the Unit Installing the Accessories IIn order to use conveniently, this product is equipped with a variety of accessories. You can connect 1. Installing the Electric Brush and Electrical Extensio Tube them to the product directly as needed. When connecting, please hold the electric brush with 1.
- Page 5 Using the vacuum Using the vacuum Charging Before Using the Main Unit To prevent children from mistakenly turning on the unit, causing fright or injury, it will take no less Note: Using this product for the rst time, the battery is not full, and needs to be charged in the than 2 seconds to start the unit by pressing the power switch.
- Page 6 Maintaining the Unit Maintaining the Unit Maintaining dust bin and ltration system Note: Do not wash HEPA lter in a washing machine. Do not dry it with a hairdryer. Only handwash 3. Cleaning exhaust foam and air dry it. Make sure to dry it before installation. Hold the unit tightly, rotate the exhaust air vent in gure 3, take out the black foam, clean it with water , dry it thoroughly and install it back into the unit.
- Page 7 Product speci cation Trouble shooting Technical data Analysis and solutions on common trouble Rated voltage : 22.2V Common trouble Possible causes Solutions Rated power : 170W Charge the unit before use Low battery power Main unit not working Sealed suction : ≥15kPa Suction inlet blocked Remove blockage in suction inlet...
- Page 8 Warranty After sales service Service policy / Technical support 1. Product warranty takes into e ect starting from purchase date on invoice. Service policy: We provide after sales service to consumers strictly following the regulation of 2. During the warranty period, free repair is available if the product is returned due to manufacturing quality issues veri ed by our maintenance personnel.
Need help?
Do you have a question about the K8 and is the answer not in the manual?
Questions and answers