Advertisement
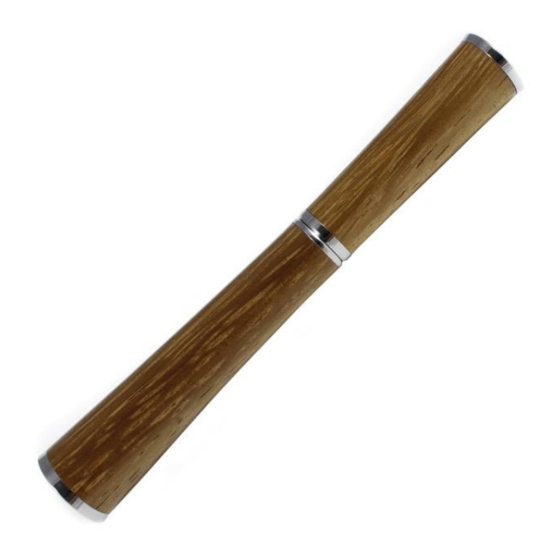
Panache Pen Kit Instructions
Required Materials
•
7mm pen mandrel
•
Set of Panache Pen Kit bushings
•
13/32" and 12.5mm drill bits
•
CA (cyanoacrylate) glue or two-part fast-drying epoxy
•
Pen blank
•
Pen press, vise, or clamp
•
Sanding supplies and finish
Blank Preparation
1. Cut blank to length of brass tubes, plus an additional 1/16" on each end for squaring off
2. Drill 13/32" hole through longer blank and 12.5mm hole through shorter blank
3. Rub the brass tubes with low-grit sandpaper to roughen them
4. Apply a line of glue to the brass tubes and insert each tube into the middle of the blanks with a twisting motion
to spread the glue throughout the blanks
o Ensure the inside of the tubes are free of any glue
5.
Square off the ends of each blank with a barrel trimmer or sander to be flush with the brass tubes
Turning the Blank
Follow diagram A below to set up the blanks on the mandrel for turning
1. Turn down the blanks to the desired shape using lathe chisels, ensuring each end is flush with the bushings
2. Sand the blanks, progressing from coarser to finer grits
3. Finish blanks with choice of polish
QUESTIONS OR ISSUES? EMAIL US AT
CROOKEDMILL@GMAIL.COM
Diagram A
Advertisement
Table of Contents

Summary of Contents for CROOKED MILL Panache Pen Kit
- Page 1 Panache Pen Kit Instructions Required Materials • 7mm pen mandrel • Set of Panache Pen Kit bushings • 13/32” and 12.5mm drill bits • CA (cyanoacrylate) glue or two-part fast-drying epoxy • Pen blank • Pen press, vise, or clamp •...
- Page 2 Assembly Follow diagram B below for assembly. Press parts using a pen press, vise, or clamp. Diagram B 1. Unthread the Center Assembly, Tip Coupler, and Tip from each other as shown in diagram B Diagram C 2. Press the Small Cap onto the thicker end (.669”) of the blank/Cap Tube (shorter tube) 3.


Need help?
Do you have a question about the Panache Pen Kit and is the answer not in the manual?
Questions and answers