Advertisement
Mkove MK75 Battery Monitor – Instruction Manual
MK75 Instruction Manual
version 0.9 - preliminary
Welcome
The Mkove Battery Monitor is a precision instrument which will allow you to monitor the state of
any low or medium voltage Lithium or Lead Acid battery system.
With reliable information you will be able to accurately assess your energy systems performance
and take care of your battery system.
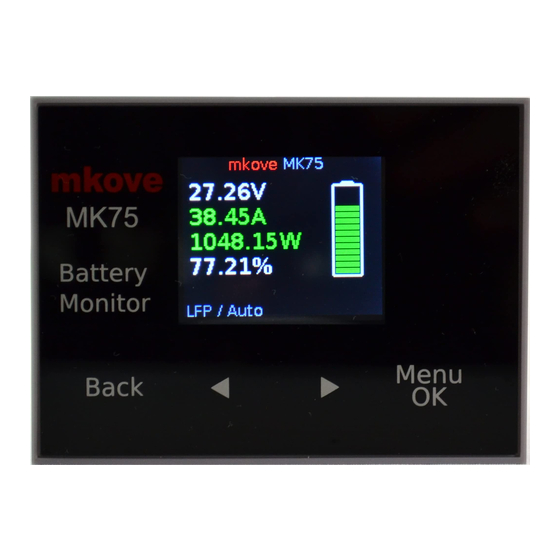
The battery monitor will show you;
• The state of charge of your battery system.
• Accurate measurements of the current flowing into and out of the system as well as the current
battery voltage.
• Historical data about the utilisation and performance of the system.
This battery monitor uses a number of techniques to provide accurate information about your
system.
Mkove Electronics
Page 1
Advertisement
Table of Contents

Related Manuals for Mkove Electronics MK75

Summary of Contents for Mkove Electronics MK75
- Page 1 Mkove MK75 Battery Monitor – Instruction Manual MK75 Instruction Manual version 0.9 - preliminary Welcome The Mkove Battery Monitor is a precision instrument which will allow you to monitor the state of any low or medium voltage Lithium or Lead Acid battery system.
-
Page 2: Notes On Safety
Mkove MK75 Battery Monitor – Instruction Manual Notes on Safety • Please read all instructions before using this battery monitor. • The battery monitor is designed for indoor use only. Do not expose to sources of heat, water or any other liquid. Avoid undue exposure to corrosive or salty environments. -
Page 3: Package Contents
Mkove MK75 Battery Monitor – Instruction Manual Package Contents Your Mkove MK75 Battery Monitor package includes the following contents. Main Battery Monitor unit • Two Mounting Clips for panel mounting the unit • A 150 Amp 50 Millivolt shunt •... -
Page 4: Important Notes On Installation
Mkove MK75 Battery Monitor – Instruction Manual Important Notes on Installation • The shunt should be installed into either the positive or negative main battery cable. The shunt carries all of the current flowing into or out of the battery - it is important that all connections and cables are appropriately sized for the loads expected. - Page 5 Mkove MK75 Battery Monitor – Instruction Manual Installing the Battery Monitor Disconnect the battery or battery bank from the system before installing the battery monitor. Install the shunt into the battery system. The shunt can be installed into either the main positive or negative (ground) cables connecting the battery.
- Page 6 Mkove MK75 Battery Monitor – Instruction Manual Panel Mounting of the Battery Monitor The MK75 is designed for panel mounting. Included with the package are two clips which allow for easy installation and removal of the battery monitor. These slide into the rear of the battery monitor on either side and a series of ratchet points allow for making a firm connection against the back of the panel.
-
Page 7: Battery Settings
Mkove MK75 Battery Monitor – Instruction Manual Initial Use of the Device When the unit is first supplied with power it will take second or two to boot before it displays anything on the screen. Battery Settings For the battery monitor to work correctly with your battery it is important to specify the correct battery specifications including battery type, battery capacity and the number of battery calls or voltage. - Page 8 Mkove MK75 Battery Monitor – Instruction Manual Network Connection and Over the Air Updates Wifi Connection Types The battery monitor can connect via wifi. It can either act as an Access Point (where you can connect to it using a device), or it can act as a Wifi Station (where the battery monitor connects to an existing network).
- Page 9 Mkove MK75 Battery Monitor – Instruction Manual The steps for performing an Over The Air update are as follows.. • Go to Settings and choose Network, which is on page 2 of the three Settings pages. • In Network press either the left or right arrow keys to turn the network on. It will indicate which mode it is in, normally Access Point mode if the network settings have not already been set.
Need help?
Do you have a question about the MK75 and is the answer not in the manual?
Questions and answers