
Summary of Contents for CROWNFUL BM4406-UL
- Page 1 CROWNFUL INSTRUCTION MANUAL MODEL: BM4406-UL Read this booklet thoroughly before using and save it for future reference...
-
Page 2: Important Safety Precautions
IMPORTANT SAFETY PRECAUTIONS Before using the electrical appliance, the following basic precautions should always be followed: 1. Please read the instruction carefully before use. 2. Confirm whether the voltage range used is consistent with that on the nameplate, and ensure that the socket is well grounded. 3. -
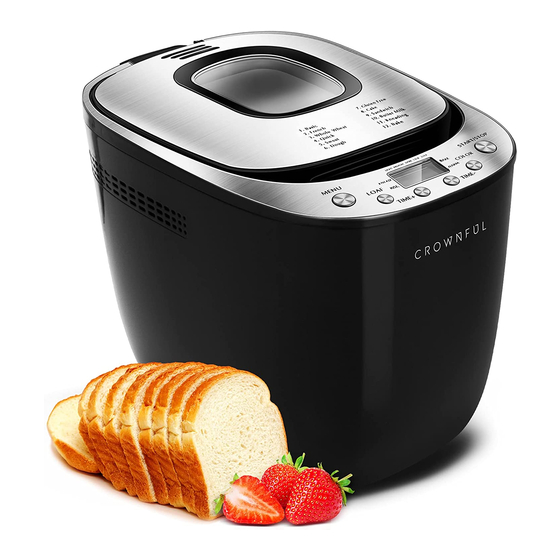
Page 3: Know Your Bread Maker
Know your bread maker Page 2 of 12... -
Page 4: Function Introduction
Function Introduction 1. Basic 7. Gluten Free 2. French 8. Cake 3. Whole Wheat 9. Sandwich 4. Quick 10. Butter Milk 5. Sweet 11. Kneading 6. Dough 12. Bake Page 3 of 12... -
Page 5: After Power-Up
AFTER POWER-UP As soon as the bread maker is plugged in the power supply a beep will be heard and “3:00” will appear in the display after a short time. But the two dots between the “3” and “00” don’t flash constantly. The arrow points to 2.0LB and MEDIUM. This is the default setting. - Page 6 3. Whole wheat: kneading, rise and baking of whole wheat bread. This setting has longer preheat time to allow the grain to absorb the water and expand. It is not advisable to use the delay function as this can produce poor results. 4.
-
Page 7: Warning Display
menu, color, loaf size then press the TIME+ or TIME - to add the time until 10:30 appears on the LCD. Then press the STOP/START button to activate this delay program. You will see the dot flashes and LCD display will count down to show the remaining time. You will get fresh bread at 7:00 in the morning and if you don’t want to take out the bread immediately, the keeping warm time of 1 hour starts. -
Page 8: For The First Use
Figure 1 Figure 2 Figure 3 For the first use 1. Please check if all parts and accessories are complete and undamaged. 2. Clean all the parts according to the latter section“Cleaning and Maintenance” 3. Set the bread maker in baking mode and bake empty for about 10 minutes. After cooling it down clean once more. -
Page 9: Special Introduction
9. Press the START/STOP button to start working. 10. For the program of BASIC, FRENCH, WHOLE WHEAT, SWEET, GLUTEN FREE, a long beep sound will be heard during operation. This is to prompt you to add ingredients. Open the Lid and put in the ingredients. It is possible that a steam will escape through the vent slits in the lid during baking. -
Page 10: Introduction Of Bread Ingredients
3. Lid and Window: Clean the lid inside and outside with a slightly damp cloth. 4. Housing: Gently wipe the outer surface of housing with a wet cloth. Do not use any abrasive cleaner to clean as this would degrade the high polish of the surface. Never immerse the housing into water for cleaning. - Page 11 expand and inner fibre soft. However, yeast fast breeding needs carbohydrate in sugar and flour as nourishment. 1tsp. active dry yeast =3/4 tsp. instant yeast 1.5tsp. active dry yeast =1 tsp. instant yeast 2tsp. active dry yeast =1.5 tsp. instant yeast Yeast must be stored in refrigerator as it will be killed at high temperature.
-
Page 12: Troubleshooting Guide
1. Weighing liquid ingredients Water, fresh milk or milk powder solution should be measured with measuring cups. Observe the level of the measuring cup with your eyes horizontally. When you measure cooking oil or other ingredients, clean the measuring cup thoroughly without any other ingredients. - Page 13 Customer Support Should you encounter any issues or if you have any questions regarding your new product, feel free to contact our helpful Customer Support Team. Your satisfaction is our goal! Email: support@crownful.com Support Hours Monday - Friday: 9:00 am - 5:00 pm PST * Please have your order invoice or order number ready before contacting customer support.
Need help?
Do you have a question about the BM4406-UL and is the answer not in the manual?
Questions and answers
What is the actual timing breakdown of each cycle? What are the different steps in each cycle and how long does each take?