
Summary of Contents for Ignited IGA45
- Page 1 I N S T R U C T I O N M A N U A L Airfryer Toaster Oven IGC63 5.5/7.5 QUART DIGITAL AIR FRYER IGA45...
-
Page 2: Table Of Contents
TABLE OF CONTENTS IMPORTANT SAFEGUARDS TECHNICAL SPECIFICATIONS IMPORTANT WARNING CAUTION BEFORE FIRST USE GENERAL DESCRIPTION FLEXIBLE CAPACITY PREPARING FOR USE 07/11 CONTROL PANEL INSTRUCTIONS SETTINGS TIPS 13/14 AIRFRYER FUNCTIONS OVERVIEW 15/16 STORAGE GUARANTEE AND SERVICE 17/18 TROUBLESHOOTING CORRECT DISPOSAL OF THIS PRODUCT... -
Page 3: Important Safeguards
IMPORTANT SAFEGUARDS When using electrical appliances, you should always follow the necessary safety precautions, including the following: Read all instructions. Do not touch hot surfaces. To protect against electric shock, do not immerse cord, plugs, or base in water or other liquid. -
Page 4: Technical Specifications
TECHNICAL SPECIFICATIONS Power Supply Rated power Capacity Adjustable temperature 170°F—400°F 120V, 60Hz 1700W 5.5/7.5Quart Timer (0-60 min) IMPORTANT DANGER ●Never immerse the housing, which contains electrical components and the heating elements, in water, or rinse it under the tap. ●Do not let any water or other liquid enter the appliance to prevent electric shock. ●Always put ingredients to be fried in the basket to prevent them from coming into contact with the heating elements. -
Page 5: Warning
WARNING ●Check if the voltage indicated on the appliance fits the local mains voltage. ●Do not use the appliance if there is any damage to the plug, mains cord, or other parts. ●Do not go to any unauthorized person to replace or fix the damaged main cord. ●Keep the mains cord away from hot surfaces. -
Page 6: Caution
CAUTION ●Ensure this appliance is placed on a horizontal, even, and stable surface. ●This appliance is designed for household use only. It may not be suitable to be safely used in staff kitchens, farms, motels, and other non-residential environments. Nor is it intended to be used by clients in hotels, motels, bed and breakfasts, and other residential environ- ments. -
Page 7: General Description
GENERAL DESCRIPTION 1. Control panel 2. Basket 3. Basket release button 4. Basket handle 5. Main housing 6. Pot 7. Air outlet 8. Wire rack 9. Extra handle... -
Page 8: Flexible Capacity
FLEXIBLE CAPACITY 7.5 Quart Handle Rack Remove the basket from the pot. Attach the extra handle to the pot and place the rack at the bottom of the pot. 5.5 Quart Basket Empty the pot and remove the extra handle then place the basket into the pot. -
Page 9: Preparing For Use
PREPARING FOR USE USING THE APPLIANCE The airfryer can prepare an extensive range of food. Place the appliance on a stable, horizontal, and even surface. Do not place the appliance on a non-heat resistant surface. Place the basket in the pot. Do not fill the pot with oil or any other liquid. - Page 10 1. Connect the mains plug into an earthed wall socket. 2. Carefully pull the pot out of the hot air fryer.
- Page 11 3. Put the food in the basket. 4. Slide the pot back into the hot air fryer. Noting to carefully align with the guides in the body of the fryer.
- Page 12 Caution: Do not touch the pot during and sometime after use, as it gets very hot. Only hold the pot by the handle. Determine the required preparation time for the ingredients (see section 'Settings' in this chapter). Some ingredients require shaking halfway through the preparation time (see section "Settings"...
- Page 13 Check if the food is ready. 1. If the food is not ready yet, slide the pot back into the appliance and set the timer to a few extra minutes. 2. To remove food (e.g., fries), pull the pot out of the hot air fryer and place it on a heat-resis tant surface, and press the basket release button and lift the basket out of the pan.
-
Page 14: Control Panel Instructions
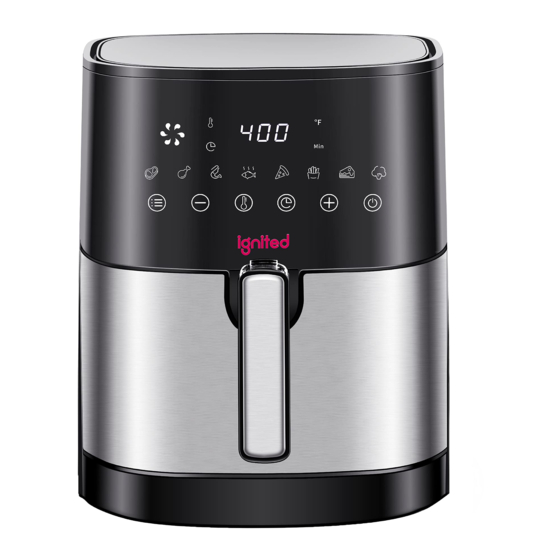
CONTROL PANEL INSTRUCTIONS Operation Instructions: Key 1 Power Key Once the basket and pot are placed correctly in the main housing, the Power light will be illuminated. Selecting the power key for 1 seconds will make the unit default temperature 400°F, while the cooking time will be set to 15 minutes. -
Page 15: Settings
Selecting the Key 6 “ ” The Key 3 and Key 4 symbols enable you to add or decrease cooking time, one minute at a time. Keeping the key held down will rapidly change the time Key 5 & 6 –... - Page 16 ●Add some oil to fresh potatoes for a crispier result. Fry your ingredients in the Hot-air fryer within a few minutes after you added the oil. ●Do not prepare overly greasy ingredients such as sausages in the Hot-air fryer. ●Snacks that can be prepared in an oven can also be prepared in the Hot-air fryer. ●The optimal amount for preparing crispy fries is 500 grams.
-
Page 17: Airfryer Functions Overview
AIRFRYER FUNCTIONS OVERVIEW Min-max Time Temperature Extra Amount Shake (min.) (°F) information Potato & fries Thin frozen fries 400-500 18-20 shake Thick frozen fries shake 400-500 20-25 shake 20-25 Potato gratin Meat & Poultry shake Steak 100-600 10-15 shake 100-600 10-15 Pork chops Hamburger... -
Page 18: Storage
Clean the appliance after every use. The pot and the non-stick coating basket, do not use metal kitchen utensils or abrasive cleaning materials to clean them, as this may damage the non-stick coating. Remove the mains plug from the wall socket and let the appliance cool down. Note: Remove the pot to let the Hot-air fryer cool down more quickly. ... -
Page 19: Troubleshooting
TROUBLESHOOTING problem Possible cause Solution The basket has not been Ensure that the basket has been properly placed. well fixed within the air fryer. The air fryer does Put the mains plug in an earthed wall The appliance is not not work plugged in. - Page 20 White smoke is caused by grease heating up The pot still contains grease in the pan . make sure you clean the pan residues from previous use. properly after each use. You did not use the right Use fresh potatoes and make sure they stay potato type.
-
Page 21: Correct Disposal Of This Product
CORRECT DISPOSAL OF THIS PRODUCT This marking indicates that this product should not be disposed of with other household wastes throughout the US. To prevent possible harm to the environment or human health from uncontrolled waste disposal, recycle it responsibly to promote the sustainable reuse of material resources.
Need help?
Do you have a question about the IGA45 and is the answer not in the manual?
Questions and answers