Advertisement
Easy Flow Bulk Ink System Setup Instructions
1. Connect the bulk ink bags to the fittings on
the inside of the Easy Flow Box. Make
sure the white butterfly valves on each ink
bag are in the closed position. Place the
black plastic dividers to separate between
the four ink bags.
Note— There are 5 (five) bulk ink dampers.
Two of these are used for Black ink. The
Black ink bag has a "Y" tube splitter that
fills both ink dampers.
◄
1. Turn the printer on. Wait for the printer
to complete its start up procedure. Lift
the lid, and press the ink button. The ink
cartridge bay will shift into a position on
the right.
4. The ink cartridge bay should look like
the picture above after removing the ink
cartridge cover.
C120 Bulk Ink System Installation Instructions
Before you Begin
It is crucial that the OEM ink supplied with your printer is installed before you attempt to install your
ArTainium inks. This allows for three things: First, it primes the ink delivery system, ensuring that
the ArTainium ink will load more easily. Second, it familiarizes you with the basic operation of your
printer. Third, it allows the user to obtain the firmware number of the printer. This will be required to
complete the registration process for using the ArTainium ICC Profiles. The firmware number is a
six digit code that is printed during the nozzle check operation. Please see the EPSON Stylus C120/
D120 Printer User's Guide for instructions on installation and printing a nozzle check.
2. Set the bulk ink dampers face down with the
round openings facing up. Turn the white but-
terfly ink bag valve to start the flow of ink into
the tubing. Pierce the thin plastic tab that cov-
ers the opening using the tip of the syringe or a
sharp object such as a ball point pen. Insert
the tip of the plastic syringe into the gasketed
opening until the tip is completed inserted.
Note -The plunger needs to be completely
inserted into the syringe.
C120 Printer Setup Instructions
2. Raise the lid of the ink cartridge bay.
5. Remove the printer cover panel by
inserting a flat head screwdriver be-
tween the panel and the printer. Gently
push the cover panel loose.
Please read this document thoroughly before installing
the system to prevent voiding your warranty.
Components
1. Bulk Ink Dampers + tubes
2. Plastic Arm with Velcro adhesive
3. 4 Plastic syringes for priming
4. 3 Plastic dividers
5. ArTainium ICC Profile CD
6. Easy Flow Bulk Ink box
7. ArTainium Ink bags (Not included in Easy Flow system)
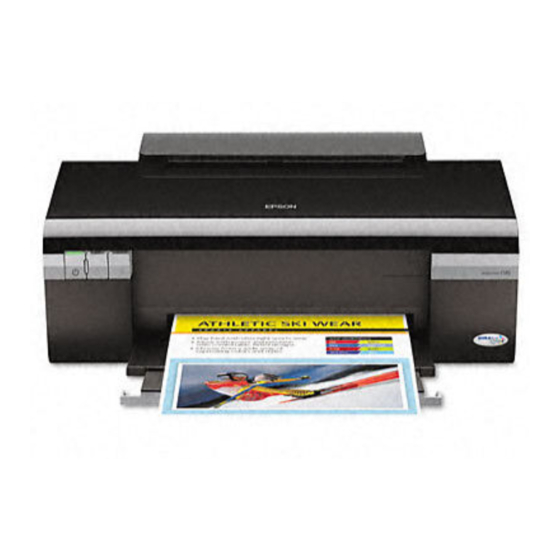
8. Printer
3. Slowly extract the plunger. Ink will start to
flow through the tubing into the damper. Con-
tinue extracting the plunger until ink begins to
flow into the tip of the syringe.
Note: You may have to repeat this process
twice to complete the priming of each ink
damper.
Repeat this process for the other three ink
bags.
3. Firmly grasp the lid and twist it side-
ways until it becomes dislodged. The lid
will not be needed for proper functioning
of the printer with either the EasyFlow
system or individual ink cartridges.
◄
6. Insert the flat head screwdriver into
the opposite side of the printer. Hold the
cover panel with one hand, gently push
the cover panel loose and remove it.
◄
Page 1
Advertisement
Table of Contents

Summary of Contents for ArTainium C120
- Page 1 ArTainium ICC Profiles. The firmware number is a six digit code that is printed during the nozzle check operation. Please see the EPSON Stylus C120/ D120 Printer User’s Guide for instructions on installation and printing a nozzle check.
- Page 2 • Do not raise the ink box higher than the printer. • Read the documentation on Configuring your Epson Stylus C120 Printer Driver for ArTainium ICC Profiles to assist with printing. Page 2...
Need help?
Do you have a question about the C120 and is the answer not in the manual?
Questions and answers