
Summary of Contents for SKANWEN YS-138
- Page 1 SKANWEN INSTRUCTION MANUAL MODEL:YS-138 BEFORE USE, PLEASE READ AND FOLLOW ALL SAFETY RULES AND OPERATING INSTRUCTIONS.
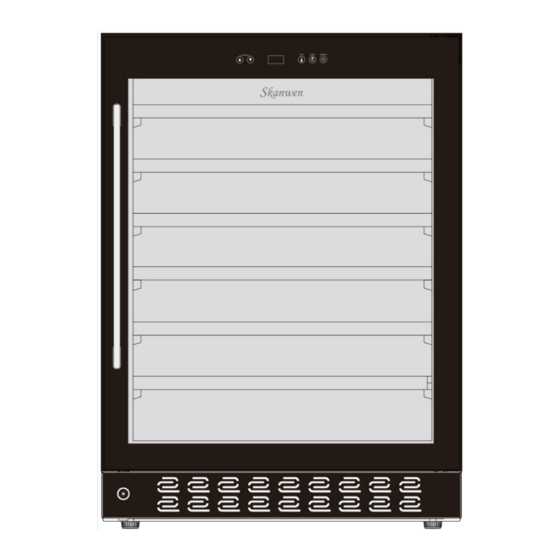
- Page 2 SPECIFICATIONS YS-138 Model Type de produit Cellier de service Product Type Service Cellar Capacité 54 bouteilles Capacity 54bottles T° zone du haut Upper Zone T° 5-20℃ 39-68°F T° zone du bas Lower Zone T° Voltage / Fréquence AC 115V ~ 60Hz Voltage / Frequency Ampérage...
-
Page 3: Table Of Contents
TABLE OF CONTENTS IMPORTANT SAFETY RULES..................1 CUSTOMER SERVICE...................... 2 Contact Us........................2 PARTS & LABOR.......................3 PREPARATION AND INSTALLATION................3 Preparation........................3 Installation......................3 Built-In Instructions...................3-4 Electrical Connection..................... 4 Extension Cord........................4 Power Bar with Surge Protection................. 4 OPERATING THE UNIT....................5 Initial Use......................... -
Page 4: Important Safety Rules
IMPORTANT SAFETY RULES Before the appliance is used, it must be properly positioned and installed as described in this manual, so read the manual carefully. To reduce the risk of fire, electrical shock or injury when using the appliance, follow basic precaution, including the following: ... - Page 5 FLAMMABLE REFRIGERANT GAS For your safety observe the following recommendations. This appliance contains a small quantity of R600a refrigerant which is environmentally friendly, but flammable. It does not damage the ozone layer, nor does it increase the greenhouse effect. ...
-
Page 6: Preparation And Installation
PREPARATION AND INSTALLATION Preparation Allow 24 hours before switching on the wine cellar. During this time we recommend that you leave the door open to clear any residual odors. The location you have selected for your wine cellar should: ... -
Page 7: Electrical Connection
The unit requires a standard 120 volt power point. The power cord is 1 m in length and is fixed on the right side at the back when looking from front of cabinet. As with most appliances of today, the wine cellar has sensitive electronic components which are susceptible to damage through lightning and electricity supply faults. -
Page 8: Operating The Unit
OPERATING THE UNIT Initial Use Plug in and switch on the cellar by pressing on the power button for a few seconds. When you use the wine cellar for the first time (or restart the wine cellar after having it shut off for a long time), there will be a few degrees variance between the temperature you have selected and the one indicated on the LED readout. -
Page 9: Service And Preservation Temperature
Press the up button and the down button to adjust the temperature. The button will scroll the temperature by one degree increments. Once you see the desired temperature, stop pressing the button. After about 5 seconds, the set temperature will revert to the current temperature. To turn ON / OFF the lights:There are two lights in the wine cabinet. -
Page 10: Care Instructions
CARE INSTRUCTIONS Operation Anomalies Ensure that there is power to the electrical supply plug by connecting another electrical appliance to it. Check fuse, if any. Make sure that the door is closed properly. If the unit appears to be malfunctioning, unplug it and contact your after sales service. Any intervention on the cold circuit should be performed by a refrigeration technician who should carry out an inspection of the circuit sealing system. -
Page 11: Troubleshooting Guide
TROUBLESHOOTING GUIDE You can solve many common wine cellar problems easily, saving you the cost of a possible service call. Try the suggestions below to see if you can solve the problem before calling the servicer. PROBLEM CAUSE POSSIBLE The unit does not operate. Not plugged in.
Need help?
Do you have a question about the YS-138 and is the answer not in the manual?
Questions and answers