Advertisement
Table of Contents
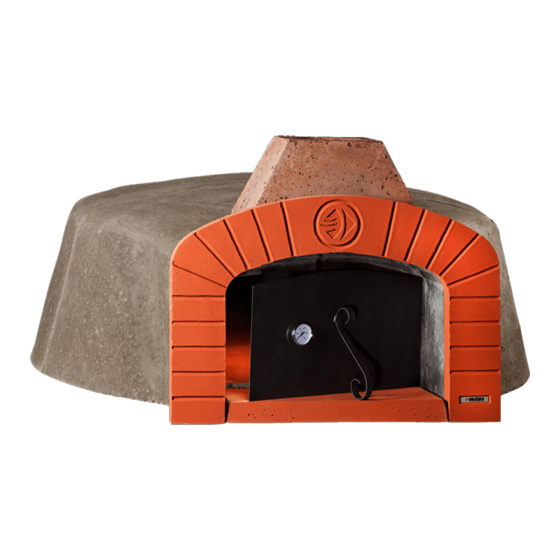
1.
Build a strong masonry base considering the dimensions of the oven as per
following schedule:
Model
Base width A [cm/in]
Base length B [cm/in]
Base Heigth H [cm/in]
2.
Carefully level the surface and build a
(Pic.2)
3.
insulating bricks
Place the
necessary, with common wood cutting tools. (Fig.3)
Insulating bricks must be dry placed, without cement or other binders, and
without grouting the joints.
4.
Dry place the elements of the
centre(Pic.4).
5.
vault
Dry mount the
elements, using the mortar supplied in the kit (Pic.5).
6.
flue fitting
Glue the
insulating blanket
Pro Line
Assembly instructions
Rev. 01 - 13/08/2020
Instructions
brick curb
inside the tank made. You can cut them, if
cooking floor
and seal, only externally, all the joints between the
, then cover the entire dome of the oven with the
supplied in the kit (Pic.6).
www.unistara.com
, 10 cm high and 10 cm thick.
close each other to the
Pag. 1 / 2
Masonry support
Ø 140
140 x 170
200/78.7
200/78.7
200/78.7
230/90.6
100/39.4
100/39.4
Advertisement
Table of Contents

Summary of Contents for unistara Pro Line
- Page 1 Pro Line Assembly instructions Pag. 1 / 2 Rev. 01 - 13/08/2020 Instructions Build a strong masonry base considering the dimensions of the oven as per following schedule: Masonry support Ø 140 140 x 170 Model Base width A [cm/in] 200/78.7...
- Page 2 Pro Line Assembly instructions Pag. 2 / 2 Rev. 01 - 13/08/2020 flue arch Glue the and connect the to the flue fitting (Pic.7). walls Build the to close the oven. Should the oven have a protection roof, at least two ventilation grids will be necessary at the sides (e.g.
Need help?
Do you have a question about the Pro Line and is the answer not in the manual?
Questions and answers