Advertisement
Quick Start Guide
Installation
Place on a dry, level surface (minimum 30cm W x 45cm D) free from vibrations
At the back of the Canvas, connect the power supply and either:
• Screw in the Wi-Fi antenna or Connect an Ethernet cord
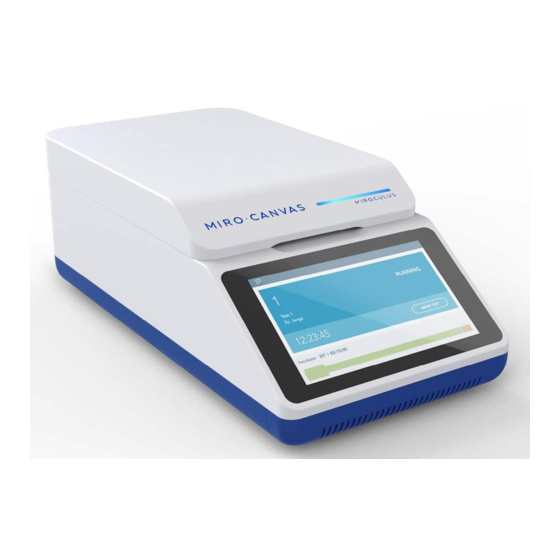
Press the black power button to turn on the Canvas.
The instrument may take a few minutes to power up.
Use the touchscreen Settings menu to:
• Connect to a Wi-Fi network
• Name your Canvas
• Run Miro Diagnostics
Level the Canvas by lifting the lid and clamp, and placing the leveling plate
on top of the electrode board.
Twist the feet left and right, one at a time, to raise and lower the instrument until the bubble
is in the center of the leveling plate.
Version 2.0 | For research use only. Not for use in diagnostic procedures.
Advertisement
Table of Contents

Summary of Contents for Miroculus Miro Canvas
- Page 1 Quick Start Guide Installation Place on a dry, level surface (minimum 30cm W x 45cm D) free from vibrations At the back of the Canvas, connect the power supply and either: • Screw in the Wi-Fi antenna or Connect an Ethernet cord Press the black power button to turn on the Canvas.
- Page 2 Miro Canvas | Quick Start Guide Tips & Troubleshooting • Remain connected to the network whenever possible Network connectivity is not required to run existing protocols, but is critical for updates and optimal support. • It is recommended to run Miro Diagnostics weekly •...
Need help?
Do you have a question about the Miro Canvas and is the answer not in the manual?
Questions and answers