
Related Manuals for cubiio PL-01B LM

Summary of Contents for cubiio PL-01B LM
- Page 1 PL-01B LM Laser Module Replacement Instructions Never attempt to turn on or operate laser module before reading, understanding and fully familiarizing yourself with the contents of replacement instructions. MA DE IN TAIWA N...
- Page 2 Before Replacing Only person with specialized training and appropriate laser safety knowledge can maintain the laser module. The laser module operator must be aware of laser radiation hazard. Read all of section 1: Warning and Cautionary Messages and section 2: Safety and Regulatory Information in the PL-01B User’...
- Page 3 Replacement Steps 1. Loosen the star screw by a "T10H" screwdriver or a 2.4mm flat-head screwdriver. 2. Loosen the UNC 1/4" screw by a coin or a flat-head screwdriver. 3. Replace the laser module and fasten screws. Step3. Step2. Step1. T10H Validation of Laser Module We will send you an email with a password-protected PDF...
- Page 4 Micro SD card App Connection (Bluetooth Energy) 2402-2480 MHz Hold your mobile device and operate cubiio app at the distance less than 1 m. App OS iOS 10+ / Android 4.4+ Operating Temperature Range 5 ℃- 40 ℃ (non-condensing) Operating Humidity Range...
- Page 5 PL-01B LM 雷射模組拆換指引 在完全熟讀 、 理解本指引內容前 切勿嘗試開啟或操作雷射模組 M ADE IN TAIWAN...
- Page 6 拆換之前 只有經過專業培訓且具有適當雷射安全知識的人才能操作 雷射模組 。 操作者必須注意雷射安全 。 熟讀PL-01B用戶手冊中的1.警告與注意事項及2.法規遵循 , 並妥善保存手冊以備日後使用 。 雷射模組必須正確安裝在保護罩(CubiioShield)上 , 以免意 外移動 。 請將雷射模組放置在小孩及未成年人無法接觸到的地方 。 本模組使用第四級雷射源 。 暴露在雷射加工光束中 , 對皮膚 會發生燒傷之危險且會對眼睛產生嚴重的傷害 。 正確地使用 及維護本產品 , 對本產品的安全操作至關重要 。...
- Page 7 拆換步驟 1. 用T10H的螺絲起子或2.4mm一字起鬆開側面的星型螺絲 2. 用一字起或硬幣退開後方的雲台螺絲 3. 替換雷射模組 *過程中請確保螺絲鬆開後再拿取雷射模組 , 勿蠻力拆下 Step3. Step2. Step1. T10H...
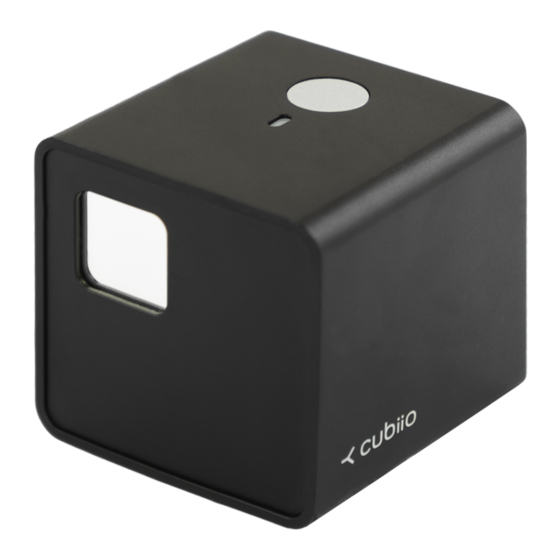
- Page 8 雷射模組外觀 1. 雷射電源開關 2. 指示燈 3. 雷射出光口 4. 雷射警語標示 5. Micro SD卡插槽 6. USB插槽 7. 1/4″螺絲安裝孔 雷射源 450 nm 藍光雷射 < 800 mW 最大輸出功率 工作範圍 100 × 100 mm 工作距離 155 mm 50 × 50 × 50 mm 尺寸 153 g 重量...
Need help?
Do you have a question about the PL-01B LM and is the answer not in the manual?
Questions and answers