
Summary of Contents for Cardboard Studio Play-netarium Dome
- Page 1 Cardboard.Studio Play-netarium Dome Assembly Instructions www.cardboard.studio ©2020 cardboard.studio. All Rights Reserved.
-
Page 2: Included Parts
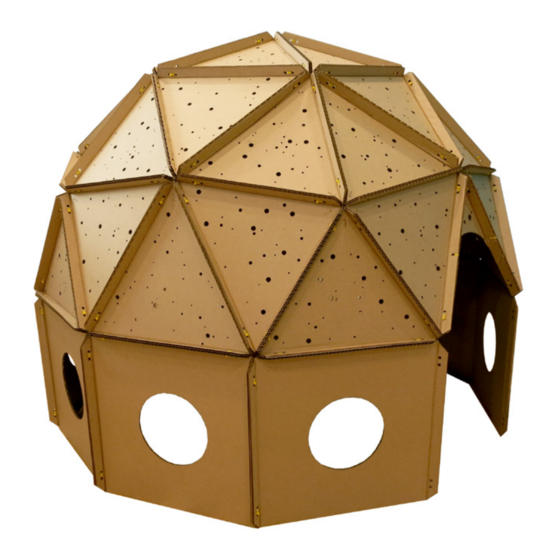
Play-netarium Dome Included Parts Triangle 1 Triangle 2 Archway Square Zipties x200 Assemble in the room where the dome will live. It is difficult to impossible to fit through most doorways without partial disassembly. DO NOT LEAVE OUTDOORS Rain or even overnight dew/moisture will degrade and/or destroy the cardboard ©2020 cardboard.studio. - Page 3 Step 1 Folding Flaps Place a straight egde along the dashed line. With the flap hanging over the edge of a table gently pull up to fold the flap. Fold flaps on all of the pieces TIPS: Running a thin smooth object (i.e. popsicle stick, bone folder, etc.) along the dashed line to begin a crease in the cardboard will make it easier to bend.
- Page 4 Step 2 Assemble Pentagons Gather five of Triangle 1 Arrange so that all of the number ones are in the center of the pentagon. The long side of the triangle should be on the outside of the pentagon. Using two zipties, attach each triangle to one another.
- Page 5 Step 3 Connect the Pentagons Gather four of Triangle 2 Using two zipties along each edge connect five pentagons together like below. Triangle ©2020 cardboard.studio. All Rights Reserved.
- Page 6 Step 4 More Connecting Gather four more of Triangle 2. Attach along each edge using two zipties in the spots below. The dome will begin to curl around and stand Triangle ©2020 cardboard.studio. All Rights Reserved.
- Page 7 Step 5 Another Pentagon Get the last remaining pentagon. Attach along each edge using two zipties to all of the Triangle 2’s from the last step. ©2020 cardboard.studio. All Rights Reserved.
- Page 8 Step 6 The Last Triangle 2 Get the last remaining Triangle 2. Attach along each edge using two zipties to the remaining unconnected sides of the three pentagons below. TIPS: A second person may make this step easier. ©2020 cardboard.studio. All Rights Reserved.
- Page 9 Step 7 The Archway Get the Archway piece. Attach along each edge using two zipties to the last opening in the dome. ©2020 cardboard.studio. All Rights Reserved.
- Page 10 Step 7 The Base Collect all of the Squares. Flip the dome over. It will be a little bit floppy at this point. Connect the top flap of each square to the bottom rim of the dome. TIPS: A second person may make this step easier. Connecting two squares together before attaching the to the base may be easier.
- Page 11 Step 8 Trim Zipties (Optional) Using scissors or wire cutters trim the tails off of all of the zipties. WARNING: This may leave sharp edges! Be sure to cut as close to the connector as possible and as perpendicular to the tail as possible.
Need help?
Do you have a question about the Play-netarium Dome and is the answer not in the manual?
Questions and answers