Table of Contents
Advertisement
Quick Links
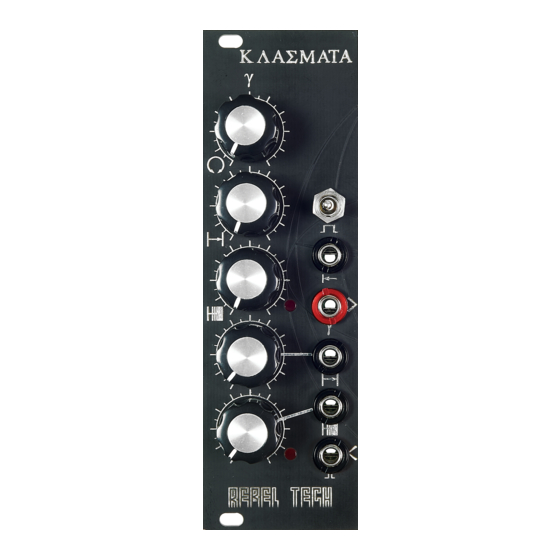
Klasmata - ASSEMBLY GUIDE
THANKS FOR CHOOSING ONE OF OUR KITS!
This assembly guide has been designed taking into account the common issues that we often
find people experience in our workshops. The order in which the components are placed on the
board is meant to make assembly as easy as possible.
Some steps are not obvious, so even if you're an experienced DIYer, please take the time to
read the steps thoroughly before starting.
If this is your first project, please read this article before you start assembling the kit:
www.befaco.org/howto/
GOOD LUCK!
OPEN BAG A
RESISTORS
Qty Value Code
6
51k1
Green, Brown, Brown, Red, Brown
5
1k
Brown, Black, Black, Brown, Brown
4
120k
Brown, Red, Black, Orange, Brown
3
10k
Brown, Black, Black, Red, Brown
2
100k
Brown, Black, Black, Orange, Brown
2
1M
Brown, Black, Black, Yellow, Brown
1
100 Ω Brown, Black, Black, Black, Brown
DIODES
Solder the diodes observing their polarity. The black or white line on the diode must be in
the same place as the white line on the diode symbol on PCB silkscreen.
Qty Value
2
1N5817
ICs
First place the socket (taking care to orientate IT properly – the "notch" on one end should
match the image of the silkscreen) and solder them into their correct positions.
Next place the IC in the socket (again taking note of their polarity - the mark or "notch" on
the front of the IC must match that of the socket and silkscreen).
Qty Value
1
TL072P
1
ATMEGA328
Name on PCB
D1, D2
Name on PCB
IC1
IC2 (Silkscreen is incomplete. Notch is facing up, out of the
board)
Name on PCB
R102, R103, R104, R202, R203, R204
R2, R3, R501, R502, R504
R101, R105, R201, R205
R1, R303, R403
1
R301, R401
R302, R402
R503
Advertisement
Table of Contents

Summary of Contents for Rebel Technology Klasmata
- Page 1 Klasmata - ASSEMBLY GUIDE THANKS FOR CHOOSING ONE OF OUR KITS! This assembly guide has been designed taking into account the common issues that we often find people experience in our workshops. The order in which the components are placed on the board is meant to make assembly as easy as possible.
- Page 2 Klasmata - ASSEMBLY GUIDE CAPACITORS & RESONATOR Mind the polarity of the 10uF capacitors (The long leg of the capacitor is the positive (+)). Qty Value Code Name on PCB 100n C1, C3, C5 10uF 10uf (watch the polarity!! )
- Page 3 Klasmata - ASSEMBLY GUIDE MINI-JACKS Place all the mini-jacks onto the PCB ensuring they are on the silkscreen side, but don't solder yet. CLKIN, DIVOUT, FILL, RSTIN, STEP. SWITCH Remove washers and nuts from the switches. Place it at S1. But do not solder them yet!
- Page 4 Klasmata - ASSEMBLY GUIDE...
Need help?
Do you have a question about the Klasmata and is the answer not in the manual?
Questions and answers