Table of Contents
Advertisement
Quick Links
OM550 Trail Camera Instruction Book
General Description
The OUDMON CAM is a digital scouting camera. It can be triggered by any movement of game in
a location, detected by a highly sensitive Passive Infra-Red(PIR) motion sensor, and then take
high quality pictures, or video clips. Battery life has long been one of the biggest strengths of the
OUDMON CAM.
Applications
OM550 is designed for outdoor use and is resistant against water and snow, an ideal trail camera
for housing security, warehouse monitoring, and monitoring the camouflaged appearance and
good shape of wildlife. It is convenient to use, also can take pictures and record for a long time
manually.
A. Animal Watching and Hunting Game
B. Motion triggered infrared night vision monitoring
C: Outdoor Surveillance where Invasion Evidence is needed.
Surveillance cameras for garden, offices, construction sites and warehouses
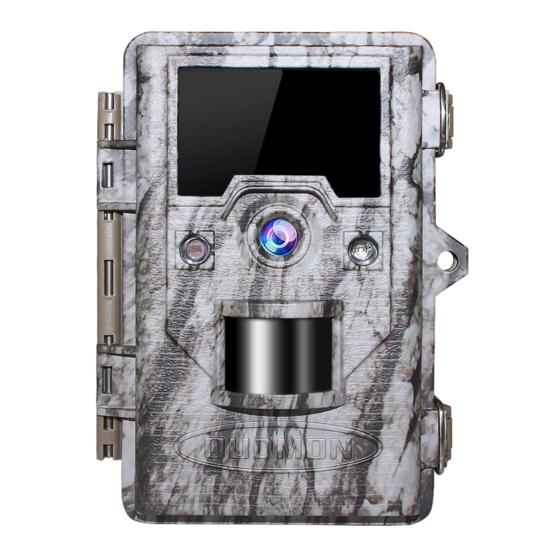
Machine Diagram
Advertisement
Table of Contents

Summary of Contents for OUDMON OM550
- Page 1 OM550 Trail Camera Instruction Book General Description The OUDMON CAM is a digital scouting camera. It can be triggered by any movement of game in a location, detected by a highly sensitive Passive Infra-Red(PIR) motion sensor, and then take high quality pictures, or video clips.
-
Page 3: Install The Batteries
Do not mix lithium batteries and alkaline batteries. SD Card OUDMON cameras support class 10 or faster SD Card (up to 256GB), and recommends Sandisk® SD Cards. Please use the standard card instead of the TF or Micro card. -
Page 4: Key Description
[OFF]: the OFF mode is the specified safe mode when replacing a SD Card or batteries and transporting the camera. [SETUP]: the LCD screen will light up and shows “OUDMON”, the LED indicator will blink red for about 5 seconds. - Page 5 >Capture Number: It means how many photos are taken in sequence per trigger in Camera mode. Choose 1, the camera will take one photo; Choose 2, the camera will take two photos, choose 3, the camera will take 3 photos. Note: Due to the limitation of the camera's read and write functions, if you need to make continuous shooting, please try to set a lower resolution for [Image Sizes], and you will get clearer images.
- Page 6 What’s the difference between the Interval and the Time Scan? Interval - in this mode, the PIR sensor still works. For example, if you choose the 30s interval, the PIR sensor will detect the motion twice in one minute. If the PIR sensor detects an object at this time, the camera will record, but if the PIR sensor doesn't detect, the camera will not record.
-
Page 7: How To Mount The Camera
You must be sure to mount it in place correctly and securely. We recommend mounting the OUDMON Cam on a sturdy tree with a diameter of about 6 in.(15cm). To get the optimal picture quality, the tree should be about 16-17ft. (5 meters) away from the place to be monitored, with the camera placed at a height of 5-6.5 ft. -
Page 8: Sensing Angle And Distance Test
Once you switch to the ON mode, the motion indicator LED (red) will blink for about 5 seconds. This gives you time to close and lock the front cover of the OUDMON Cam and then walk away. After it stops blinking, the PIR is active, and any motion that is detected by it will trigger the capture of photos or videos as programmed in the SETUP Menu. - Page 9 Note: After deleting a picture or a video file, the deleted files can't be restored! It is also possible to delete all files from the card by using the “Format” parameter. NOTE: Search ‘OUDMON’on YouTube, there will be many useful demo videos. https://www.youtube.com/watch?v=aKzYiX4e6co...
Need help?
Do you have a question about the OM550 and is the answer not in the manual?
Questions and answers