Table of Contents
Advertisement
Quick Links
Getting started
The diagram below is a rear view of Turn:
AP Mode/Recovery
Bus interface fixing
Security fixing
1.
To power on the device, connect the 24V power input. Turn will startup automatically. The boot process is described
below.
System Boot
2.
The first screen you will presented with is the "Welcome" page, press the button on the rear of Turn to enable the ad-
hoc network. The process will continue as below.
1
Loading Configuration
Starting WiFi
Turn - Quick Start Guide
24V input.
Temp input for future use only
Bus interface
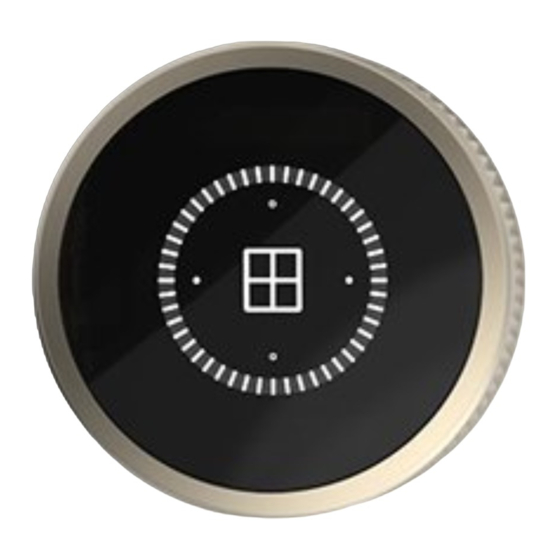
Welcome
Connect
Advertisement
Table of Contents

Summary of Contents for Tyba Turn
- Page 1 System Boot Loading Configuration Welcome The first screen you will presented with is the “Welcome” page, press the button on the rear of Turn to enable the ad- hoc network. The process will continue as below. Starting WiFi Connect...
-
Page 2: Device Setup
It is recommended that Turn is connected to your local network for ease of configuration, maintenance and device monitoring. When you first connect to Turn, you will be connected via the ad-hoc network advertised by Turn. To connect Turn to your local network: Click on the dropdown menu to view available wireless networks. - Page 3 Configuration The requirements of each Turn might be slightly different. The configuration section enables you to choose from several pre-defined options to build the desired user interface. The configuration options are split in to primary and vertical controls. Primary controls are the default control provided when swiping horizontally between modes.
-
Page 4: Scene Controller
Turn - Quick Start Guide Programming Once you have configured which user interface options Turn is displaying, the rest of the programming and integration with the system should be completed using Crestron’s programming environment. We supply a Turn Crestron Module which abstracts the control parameters away, however below is a detailed description of how each control parameters works. -
Page 5: Temperature Controller
Turn - Quick Start Guide Shading controller with feedback This is the same as the fixture controller. Shading controller without feedback The shading controller requires a serial join and outputs either OPEN, CLOSE or STOP to indicate the action. A large rotation (approximately 30) -
Page 6: Fan Controller
ON signal. OFF is not used. Once this has been received by the Crestron program, the current values of all signals should be sent to Turn, and the TURN_READY join should be set low ready to receive it again. - Page 7 Turn - Quick Start Guide Join number mapping Join Name Number Type Direction Payload Utilities Reset Turn Ready Lighting Lighting Scenes In and Out In and Out 0-100 Lighting option 1 A, C In and Out 0-100 Lighting option 2...
- Page 8 Turn - Quick Start Guide Assembly examples Plaster- in back box installation Wall plate installation...
-
Page 9: Troubleshooting
Device recovery In the unlikely scenario that you encounter any issues during the firmware update process, you may need to roll back the firmware to reconnect to Turn. To perform the rollback firmware procedure: Unplug the device. Hold down the button on the rear.
Need help?
Do you have a question about the Turn and is the answer not in the manual?
Questions and answers