Advertisement
Quick Links
Advertisement

Summary of Contents for 2kiters Arno Haft's
- Page 1 Arno Haft's Vogeldrachen (Bird Kite) ©Bob and Charmayne Umbowers 31 March 2007 www.2kiters.com...
-
Page 2: Supply List
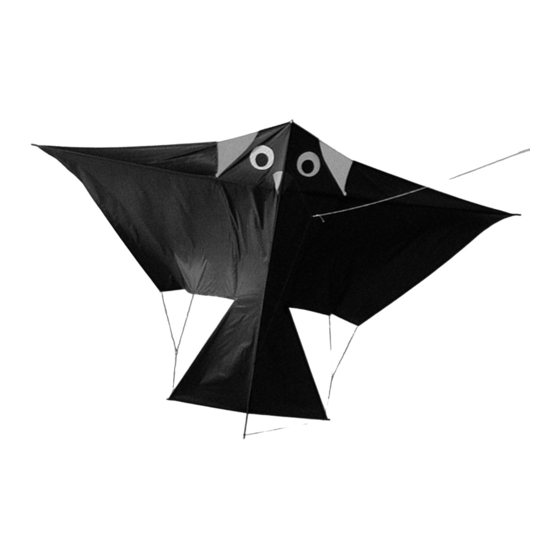
The Arno Haft Bird Kite Arno Haft's bird kite is from the 1950's. The original kite was made from cotton canvas and wood spars. Herr Haft lived in Hamburg, Germany. He flew many of the classic kites such as the Rolo Plan. - Page 3 Cutting and marking: 60 inch wide fabric: Fold fabric in half with cut edges together and the selveges even. Position wing template close to the cut edges end, NOT THE FOLD. Cut the wings. Refold remaining fabric lengthwise. Position body template on the fold. Cut one body piece on the fold.
- Page 4 Reinforcements Use matching thread. Sew the reinforcements onto the back of the kite skin. Use a Zig zag stitch. Look at the samples, pictures, and Diagram1 for correct placement and the side to sew. Reinforcements C and E will be sewn in place after the wings and body are sewn together.
- Page 5 Part 2. Body: Position and sew on G, F, J, K. These use the same methods as for the wing. Part 3. Reinforcement D: This is the 3" x 5/8" or 7.75 x 15 cm piece of Dacron. Center it on the back of the body where the spine and spreader cross.
- Page 6 Edge binding part 1 of 2 parts: Body: Fold the edge binding in half, position body inside the binding at the fold. Use a narrow zig zag stitch with black thread. Stitch close to the edge. Edge bind the head and the tail as shown in diagram 2 and the photo below.
- Page 7 BACK of the kite. Stitch in place securely. See Diagram 8 on page 10 (A) Construct the wing spreader and spine sleeves This sleeving method is quite different from most methods used today. It is the method Herr Haft used. Start by folding the ends to the right side and sewing in place.
- Page 8 zig zag close to the seam, removing the tape tabs as you get to them. Jump over the loop, backstitching each side of the jump. The loop must remain free. Do not sew into the sleeve, stay on the allowance. Repeat on the other side. The following pictures may help you. You may also straight stitch close to the seam of the sleeve and then zig zag close to the sleeve edge.
- Page 9 Tail rod sleeve Sew the ends back to the right side. Center the sleeve over the spine line on the BACK of the bird. Zig zag lower edge. Make a tunnel and sew other long edge, being careful not to catch the spine sleeve on the front. This sleeve is tight;...
- Page 10 Decorative detailing wing/body detail: Using the narrow 1/2" edge binding, position it on top of the seam between the body and the wing. It will follow the line from the edge of the wing down to the tail, dividing the wing from the tail. See diagram 7. It goes from reinforcement C to reinforcement E.
- Page 11 Upper wing and head loops 80# test line. 26 cm total, divided in fourths. BACK of the kite. Position and sew in place the 4 loops as shown in the diagram 8. 2, 3, 4, 5. Tail loops 80# test line. 13 cm total, divided in half. BACK of the kite. Position and sew the 2 loops as shown in the Diagram 8.
- Page 12 Next take the 2 meter long piece of line for rigging between tail / wing and between spine / outer tail tips. Cut off (2) 40 cm pieces. Set aside the remainder. Using about 10 cm, form a loop in one end by tying an overhand knot.
- Page 13 A nice sized bag will measure 165 long x 15cm wide (finished size laying flat). Cut size approximately 170 cm x 32 cm wide. Done! Enjoy flying your replica Vogeldrachen, or bird kite. Questions? Email us at 2kiters@2kiters.com, Bob and Charmayne...
- Page 14 How to make the sliding knot to tension framing lines: Step 1 Step 4, tighten Step 2 Step 5 Step 3 Step 6, tighten The loop can be adjusted to tension the line between two areas.
- Page 15 Note: add a seam allowance on both wings and body where they join together. Reinforcements are not quite to scale. Use for shape only.
Need help?
Do you have a question about the Arno Haft's and is the answer not in the manual?
Questions and answers