Advertisement
Quick Links
REMEMBER:
• Wash all parts before and immediately after use.
• Read all instructions carefully to have fun and to
get great results.
• Make sure you set up in an area where leaks
and spills can be easily cleaned up.
Consume drinks right away.
Parental Supervision is Recommended.
All toy contents intended for Food Contact.
Ingredients Required
(not included):
• 6 tablespoons (tbsp)/90 g of salt
• 1 can of soda or 12 oz/355 ml of (non diet)
beverage high in sugar content.
• 1 medium size plastic bag of crushed ice
(crush ice cubes in a medium size plastic
bag after step 5).
Note: The Slurpee
®
Drink Maker performs
best when the drink used is cold and contains
a high sugar content. Drinks with a low sugar
content (eg. Diet Drinks, Bottled Water) will not
work. Also note, the finer the crushed ice is,
the better the results will be.
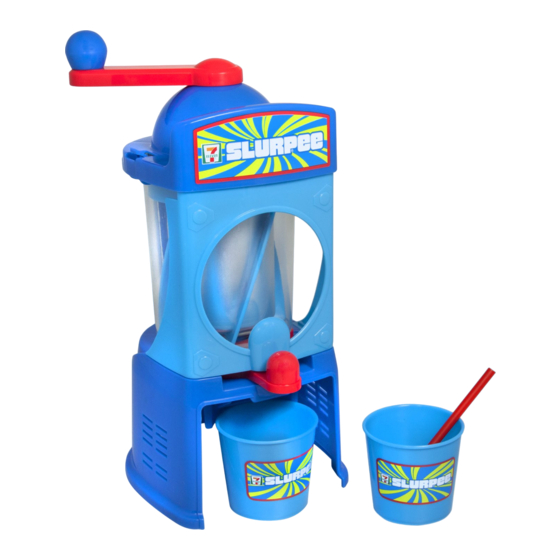
Front Plate
Dispensing
Handle
WARNING:
CHOKING HAZARD
Small parts.
Not for Children under 3 years.
Crank
Drink Maker
Lid
Mixer
Paddle
Slurpee
®
Chamber
Base
Cups x 2
6
+
YEARS
X-Lock
Canister
Lid
Mixing Rod
Cooling
Canister
Straws x 2
Advertisement

Summary of Contents for Umagine 7-Eleven Slurpee Drink Maker
- Page 1 REMEMBER: • Wash all parts before and immediately after use. YEARS • Read all instructions carefully to have fun and to get great results. Crank • Make sure you set up in an area where leaks and spills can be easily cleaned up. X-Lock Consume drinks right away.
- Page 2 WASH FIRST THEN PRE-ASSEMBLY Insert the dispensing Place the mixer Attach the Slurpee ® Attach the front Place the mixing rod in the handle and paddle into inside the Slurpee ® chamber to the base. plate to the base. center of the cooling canister. the Slurpee ®...
- Page 3 FINAL ASSEMBLY AND USE Place lid over Insert the cooling Slide the X-Lock through the Place the lid on top of the drink maker cooling canister canister assembly into mixing rod onto the top of the cooling assembly and attach to front plate. and seal.
- Page 4 TROUBLESHOOTING Disassemble completely to clean PROBLEM SOLUTION Mixing rod does not The mixing rod has come off the center of the button turn properly. in the cooling canister (see step 5). Remove the cooling canister and open the lid. Gently rotate the mixing rod by hand to move the ice out of the way.
Need help?
Do you have a question about the 7-Eleven Slurpee Drink Maker and is the answer not in the manual?
Questions and answers