
Related Manuals for nutricook NC-AFO12

Summary of Contents for nutricook NC-AFO12
- Page 1 AIR FRYER OVEN User guide. Please make sure to read this User Guide prior to using your unit.
- Page 2 Contents. Welcome. Before you begin. Important safeguards & cautionary information. What's included. Air fryer oven parts overview. Getting started. Initial set up. Control panel details. Rotisserie accessories. Other accessories. Initial test run. Preheating. Preset programs. Manual program. Smart features. Smart tips. Cooking chart.
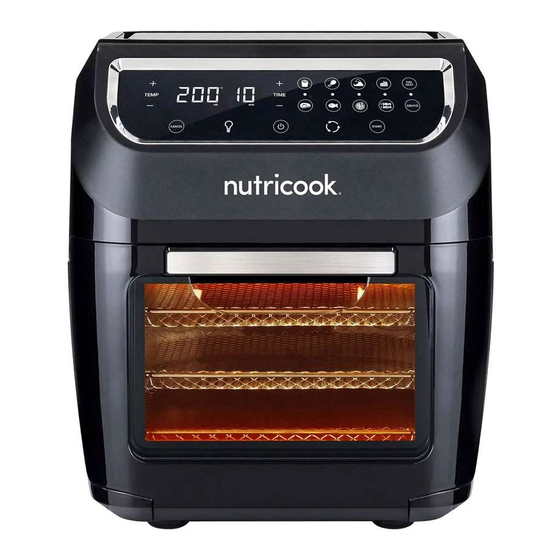
- Page 3 Welcome to team nutricook ® Life is complicated. Eating healthy doesn’t have to be. Meet the nutricook Air Fryer Oven. It’s a 4-in-1 ® appliance that combines air fryer, convection oven, rotisserie oven and dehydrator plus a Perfect Crisp Technology so you can make even more delicious healthy creations of your favourite food.
-
Page 4: Before You Begin
Before you begin. • Remove all packaging materials from in and around the air fryer oven and verify that all parts are accounted for. • Place the air fryer oven on a stable, level surface, away from external heat sources. •... - Page 5 Building a smoothie. Important safeguards & cautionary information. Warning! This appliance generates heat and escaping steam during use. To avoid the risk of serious injury, carefully read all instructions before operating this appliance. When using any electrical appliance, basic safety precautions should always be observed, including the following critical information.
- Page 6 Do not tamper with any of the safety mechanisms. for this unit. Do not use accessories or attachments not authorized • Never touch the inside of the appliance while it is operating. by nutricook ® • This appliance is not intended to be operated by means of an •...
- Page 7 ELECTRICAL SAFETY ELECTRICAL INFORMATION: CAUTION: To avoid risk of electric shock, never immerse the cord, For safety reasons, the cord length of this appliance was selected to plug, or power base of this unit in water or other liquids. reduce Safety Hazards that may occur with a long cord. Extension cords are available and may be used if care is exercised in their use.
-
Page 8: What's Included
What's included. • 1800 WATT AIR FRYER OVEN • ROTATING BASKET • ROTISSERIE SHAFT • 2 ROTISSERIE FORKS • 10 SKEWERS • 2 SKEWER RACKS • 3 WIRE RACKS • DRIP TRAY • FETCH TOOL • PROTECTIVE COVER Product Specification: MODEL CAPACITY POWER... - Page 9 Air fryer oven parts overview. air outlet rotating basket 3 pcs wire racks (located at the back of air fryer oven) air inlet control panel 1 set skewer racks (L/R) drip tray rotisserie slot upper/ middle/ lower rack 10 pcs skewers fetch tool 1 set rotisserie forks rotisserie shaft...
-
Page 10: Getting Started
Getting started. Find delicious recipes online at: nutricookworld.com nutricookworld... -
Page 11: Initial Setup
Initial set up. Control panel details. Remove and safely discard all packaging materials and labels from inside and outside of the Air Fryer Oven. Ensure that there is no packaging underneath and around the Air Fryer Oven and all accessories. Place the Air Fryer Oven on a stable, level, clean, heat-resistant and dry surface. - Page 12 Rotisserie accessories. Preset Cooking Programs. Smart programs have automatic temperature and time settings (see Preset Programs Table for the default time and temperature). Select any of the following cooking program by touching the icon. The selected Includes: Rotating basket, rotisserie shaft, forks, screws, skewer rack program blinks/flashes and becomes steady if the START CANCEL...
- Page 13 Using the Rotisserie shaft and forks. Using the Rotisserie shaft, skewer rack and skewers. Slide the rotisserie shaft Insert two skewer racks on through the food. both sides of the rotisserie shaft. Insert the screws on the skewer racks and tighten to Place the rotisserie forks on secure them in the shaft.
- Page 14 Install and remove Rotisserie accessories. To Remove: WARNING: • During and after cooking, To Install: the rotisserie accessories are LEFT SIDE Open oven door and insert hot. Never touch any of the the left side of the rotisserie accessories and always use shaft or rotating basket first the fetch tool to remove from on the left slot then insert...
-
Page 15: Other Accessories
Other accessories. Initial test run. Wire racks. This step is optional but recommended in order to get yourself NOTE: Use wire racks to make dried familiarized with the Air Fryer Oven. It will also help eliminate any vegetables or jerky, cook fried snacks, or residue or traces of odor in the Air Fryer Oven that may remain after reheat small food items such as pizza. -
Page 16: Preset Programs
Preheating. Preset programs. These programs are designed with pre-programmed time and Preheating the Air Fryer Oven before placing food is recommended, temperature for certain foods to take the guess work out of cooking. unless the unit is already hot from a previous cooking cycle. Preheating saves cooking time and improves the texture of cooked foods. -
Page 17: Manual Program
NOTE: Adjustments can be made during program selection or 8. Once cooking time is finished, Air Fryer Oven displays even during the cooking process. beeps 5 times. All the icons are illuminated. 9. Open Air Fryer Oven door and remove food. Always place •... -
Page 18: Smart Features
WARNING: To Activate: Light Light Press . Once the internal light is on, blinks. The outside surface of the Air Fryer Oven and all accessories By default, the internal light remains on for 1 minute and goes off inside are hot during the cooking process. Be careful of hot Light automatically. -
Page 19: Cooking Chart
Cooking chart. Food Item Min-Max Time Temperature Comments Meat and poultry. Steak 0.50 kg 180°C 8-12 min. Hamburger 0.50 kg 180°C 7-14 min. Note: • Cooking times and temperatures are estimated and based on average Sausage roll 0.50 kg 200°C 13-15 min. -
Page 20: Care And Maintenance
Care & maintenance. WARNING: To avoid electric shock or damage to your air fryer oven, always Cleaning Methods unplug the power cord from the power supply outlet before cleaning. Make sure Part Cleaning Tip that all parts of your air fryer oven have cooled down completely Dishwasher Hand Wash Wipe Clean... -
Page 21: Troubleshooting
Glass door came off Door came off hinge. Note: By design, the glass door is removable products distributed by or for Nutricook that can be identified by the “Nutricook” trademark, trade name, logo and bar code. Nutricook’s for easy cleaning. - Page 22 WARRANTY. not feasible, a refund of the purchase price) is the exclusive remedy of the consumer under this limited warranty. Nutricook shall not be liable for any incidental or consequential damages for breach of this limited warranty or any implied warranty on this product.
- Page 23 AIR FRYER OVEN nutricook | www.nutricookworld.com | All rights reserved. ® Illustrations may differ from the actual product. We are constantly striving to improve our products, therefore the specifications contained herein are subject to change without notice. NC-AFOIM-12...
Need help?
Do you have a question about the NC-AFO12 and is the answer not in the manual?
Questions and answers
Is the inner material lining and all the trays and accessories of Nutricook model NC-AF012 stainless steel?
The document mentions that the Nutricook Air Fryer Oven NC-AFO12 is made of stainless steel but does not specify whether the inner material lining and all trays and accessories are also stainless steel. Therefore, this information cannot be determined.
This answer is automatically generated