Advertisement
Quick Links
Advertisement

Related Manuals for modeazy Double Shoe Rack

Summary of Contents for modeazy Double Shoe Rack
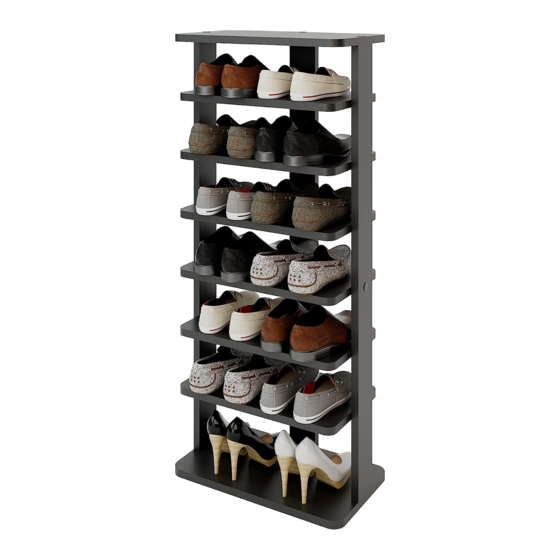
- Page 1 Double Shoe Rack modeazy.com...
-
Page 2: Maintenance
•Please use the specified tools required for assembly. •Avoid using any adhesives or additional parts during assembly. •Please contact us at cs@modeazy.com if further information is needed. Maintenance •Clean the product with a dry soft cloth. Avoid cleaning the product with a hard item or chemically unsuitable product. - Page 3 Compliance Statement: California 93120 Phase 2 and TSCA Title VI Compliant for Formaldehyde Before assembly, check all parts and accessories. If any are missing or damaged, please do not return the product and contact us at cs@modeazy.com.
-
Page 4: Assembly And Installation Instructions
ASSEMBLY AND INSTALLATION INSTRUCTIONS D and E PARTS LIST İ Vertical Supports (Qty 3) Top Piece (Qty 1) Bottom Piece (Qty 1) Shelves - With Dowel Opening (Qty 5) Shelf - With Screw Opening (Qty 1) F Allen Screws (Qty 9) G Allen Key (Qty 1) INNER VIEW OUTER VIEW... - Page 5 •Before assembly, make sure to check all the parts and accessories. If any parts are missing or damaged, please do not return the product. Instead, please contact us within a week of receiving the product and share the item name(s) that is missing or damaged and we will send you a replacement. Place one of the Vertical Supports (A) on the floor.
- Page 6 Start inserting the Shelves (D) onto the Dowel Pins (H) that you had placed into the Vertical Support (A). Make sure the side with no openings of the Shelves (D) faces upwards. Leave the Allen Screw opening (F) empty. F opening Turn the Vertical Support (A) with the attached Shelves (D) to its side in order to easily attach the Shelf with the screw opening (E).
- Page 7 Lay the partially assembled product on it’s back with the Vertical Support (A) touching the floor. Bring the other two Vertical Supports (A) and place them next to the partially assembled product on the floor.
- Page 8 Attach the Vertical Supports (A) to the partially assembled product by inserting the Dowel Pins (H) existing on the Vertical Supports (A) into the openings on the Shelves (D). After attaching the Vertical Supports (A) to the sides, insert the Allen Screws (F) with the Allen Key (G) on both sides.
- Page 9 Bring the Top Piece (B) and Bottom Piece (C) and place them to the sides of the partially assembled product. F opening F opening Attach the Top Piece (B) and Bottom Piece (C) corresponding to the openings, and use the Allen Key (G) to fix the Allen Screws (F) into the holes.
- Page 10 Bring your assembled product to an upright position, keeping the biggest shelf gap located a the bottom.
- Page 11 Take out the Screw Cover Stickers (İ) and stick them onto the screw openings seen on the Vertical Supports (A) and the Top Piece (B). İ İ TOP VIEW İ OUTER VIEW After sticking the Screw Cover Stickers (İ) onto the corresponding screw openings on the Vertical Supports (A) and the Top Piece (B), you can start using your product.
- Page 12 Thank you for your purchase. Please contact us if you have any questions or difficulty with assembly. Email: cs@modeazy.com Please make sure to share your full name and order details so that we can assist you better. /modeazy /modeazycom modeazy.com...
Need help?
Do you have a question about the Double Shoe Rack and is the answer not in the manual?
Questions and answers