Table of Contents
Advertisement
Quick Links
Advertisement
Table of Contents

Related Manuals for NITEVIZOR VP200

Summary of Contents for NITEVIZOR VP200
- Page 1 VP200 USER MANUAL...
-
Page 2: Important Safety Information
VP200 NITEVIZOR VP200 Thank you for choosing the NITEVIZOR VP200. Please read the user manual carefully before using the VP200. Important Safety Information 1. Never look directly at the IR fill light when illuminated. 2. Do not leave the product un-supervised with persons under the age of 16. - Page 3 Optical Telescope Installation Install the scope adaptor ring on the rear of the VP200 using the bayonet con- nection, then mount the unit to the ocular (rear) of the telescope. The scope adaptor ring can be used on oculars of diameter 45mm and smaller.
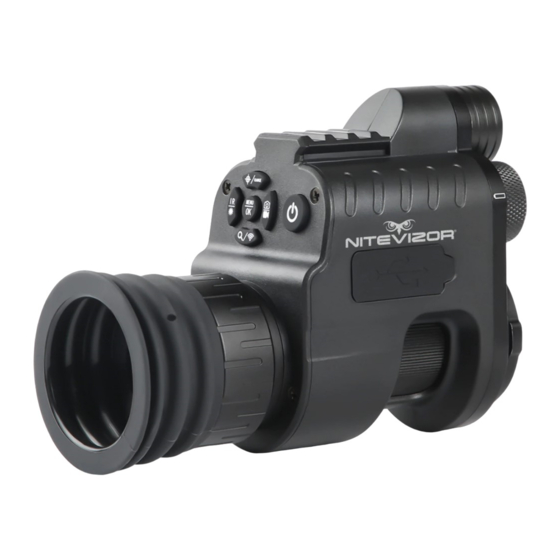
- Page 4 VP200 Up/Crossline/Ranging Mode Menu/OK Left/IR Fill/Red Dot Indicator Power/Sleep Down/Zoom/Wi-Fi Right/Photo/Record Lens Focus Wheel Ocular / Dioptre Focus Wheel Rail-Mount for mobile telephone IR Fill Illuminator Battery Compartments USB Ports & SD Card Slot Eyepiece/Ocular Telescope Bayonet Attachment...
- Page 5 Please note the image displayed will not be clear until the Objective Lens has been focused (see below). Objective Lens Focusing Aim the VP200 at a target and adjust the Objective Lens Focusing wheel until the image is sharp. Fill Light Adjustment In IR mode, press the IR Shift Button to adjust the level of IR fill light.
-
Page 6: Menu Operation
VP200 Menu Operation Press the Menu/OK button to access the VP200 menu system. Use the Up and Down button to select menu items and the Menu/OK button to select, enter or confirm. Color Selection Use the Up and Down buttons to select Positive or Negative images then con- firm by pressing the Menu/OK Button, then choose between Normal, Black &... - Page 7 VP200 Movie Setting Select between Video Resolutions of 1080P, 720P or D1 and Loop Video: Off, 3min or 5min. Confirm with the Menu/OK Button. Playback Use this function to playback existing video files. Language Settings Select the desired display language and confirm with the Menu/OK Button.
- Page 8 VP200 Shortcuts The buttons on the VP200 are multi-function: press once for the function before the dividing line (/), and hold down for 1 second for the function after the divid- ing line. Crosshair / Ranging Mode Button Press once to display/hide the crosshair reticle, hold down to open/close the Ranging Mode.
- Page 9 XXXXXXXXXXXX device. The default password is 12345678 4. Once connected, open the VisionBank app on your de- vice. You will now be able to view and control the VP200. Use the included rail-mount to install a mobile telephone on the VP200 for heads-up visibility.
-
Page 10: Technical Specification
VP200 Technical Specification • Magnifying Power: x4 • IR Wavelenght: 850nm • IR Power: 5w • IR Fill Distance: 200m • Photo Resolution: 3072x1728 • Sleeve Size: 45mm or smaller • Eyepiece Resolution: 454x454x • Video Frame Rate: 30fps • Video Format: MP4 •... -
Page 11: Important Usage Information
The VP200 system is not as effective with scope lenses that have such coatings. To get the best use of the VP200 system, please use a scope that has a variable zoom feature with front or side parallax focus capability. - Page 12 VP200 FCC NOTE This equipment has been tested and found to comply with the limits for a Class B digital device, pursuant to Part 15 of the FCC Rules. These limits are designed to provide reasonable protection against harmful interference in a residential installation.
-
Page 13: Disposal Of Electric And Electronic Equipment
VP200 Disposal of Electric and Electronic Equipment (Applicable in the EU and other European countries with separate collection systems) This equipment contains electric and/or electronic parts and must therefore not be disposed of as normal household waste. Instead, it should be disposed at the respective col- lection points for recycling provided by the communities. - Page 14 support@nitevizor.com...