Advertisement
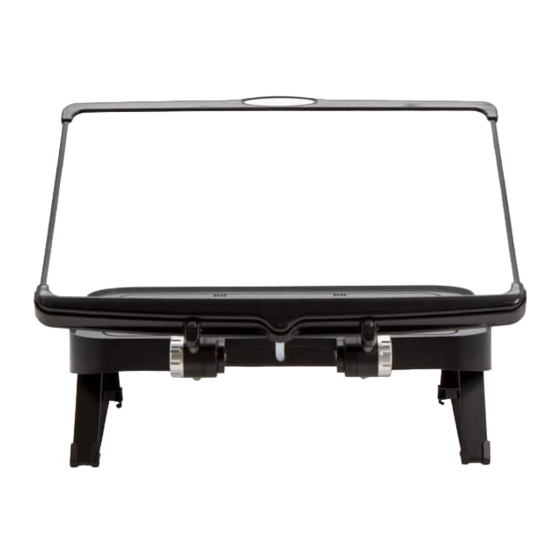
Thank you for purchasing this Glass Lid for the
EcoServe GN. It is an accessory used to cover dishes
of food placed on the EcoServe GN and can be
adjusted according to the height of the dish being
used. Please follow the use and care instructions to
ensure it retains its high quality finish.
CONTENTS:
3
2
FITTING THE STANCHION RODS AND DRAIN TUBE:
3
2
4
FITTING THE LID TO ECOSERVE GN:
The glass lid is now ready to be fitted to the
EcoServe GN which is sold separately.
Some of the images below refer to parts of
the EcoServe GN.
5
7
6
2
1
8. Knurled Nuts
9. Hot Air Cover
10. Blanking Plate
GLASS LID FOR ECOSERVE GN
INSTRUCTIONS FOR INSTALLATION & USE
Scan here
instructions
1. Glass Lid
2. Stanchion Rods X 2
6
3. Drain Tube
4. Drain Tube Spigot
5. Screws X 3
4
6. Allen Keys
7. Hinge Bracket
1
1. Place the Glass Lid (1) upside down on a so surface.
2. Screw the Stanchion Rods (2) into place.
3. Use the supplied 6mm allen key (6) to tighten.
4. Push the silicone Drain Tube (3) into place on the
spigot (4) . The angled cut end should face up.
for video
8 9
10
Advertisement
Table of Contents

Related Manuals for EcoBurner EcoServe

Summary of Contents for EcoBurner EcoServe
- Page 1 INSTRUCTIONS FOR INSTALLATION & USE Thank you for purchasing this Glass Lid for the Scan here EcoServe GN. It is an accessory used to cover dishes of food placed on the EcoServe GN and can be for video adjusted according to the height of the dish being instructions used.
- Page 2 During fitting of the Hinge Bracket, it is essential surface. Undo the two Knurled Nuts (8) and remove that the EcoServe GN is raised o the table by at the Hot Air Cover (9). Unscrew the Blanking Plate least 10mm to ensure the Hinge Bracket can be screws using the smaller allen key supplied.
Need help?
Do you have a question about the EcoServe and is the answer not in the manual?
Questions and answers