Advertisement
Table of Contents
- 1 Unboxing and Initial Setup
- 2 Head Stem and Handlebar Adjustment
- 3 Front Wheel and Mudguard Installation
- 4 Pedal Attachment and Battery Handling
- 5 Tyre Inflation and Battery Charging
- 6 Powering on and PAS Settings
- 7 Headlight and Taillight Operation
- 8 Final Assembly and Professional Check Recommendation
- Download this manual
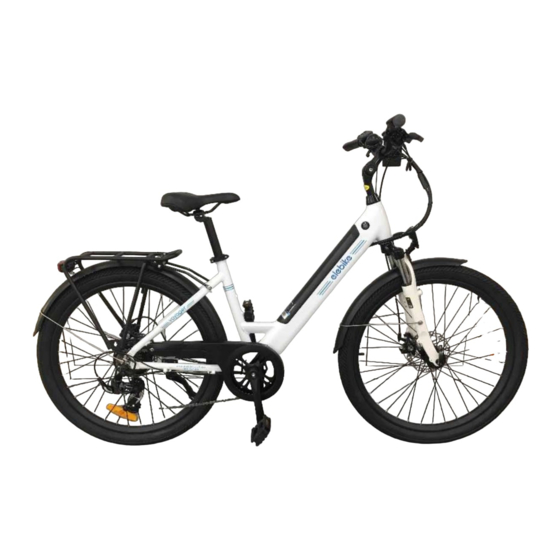
VOYAGER Assembly Instructions
Open the box. Remove any of the loose items
Carefully lift out of the box and place on a hard, flat,
before lifting the Voyager out. The pedals and
clean workspace.
charger are located inside the small cardboard box
inside.
Remove all protective material from the Voyager.
The head stem crown is already placed on top of
the head tube. Make sure it is not discarded
alongside any protective packaging material.
Advertisement
Table of Contents

Summary of Contents for Elebike VOYAGER
- Page 1 VOYAGER Assembly Instructions Open the box. Remove any of the loose items Carefully lift out of the box and place on a hard, flat, before lifting the Voyager out. The pedals and clean workspace. charger are located inside the small cardboard box inside.
- Page 2 Tighten the head stem with a 6 mm allen key. You Insert head stem into head tube. The head stem can adjust the angle of the head stem with the 6 can be raised or lowered to suit the riders comfort. mm allen key on the side if desired too.
- Page 3 Attach both LEFT and RIGHT pedals using a 15 Attach the remaining two screws that hold the mm open end / Pedal spanner. NOTE these are mudguard and ensure they are tight. These are threaded differently and labelled on the end of the attached with a 4 mm allen key.
- Page 4 Your voyager will now look like this and is ready to ride. For optimum performance and durability of your Voyager we strongly suggest you have your new Voyager assembled, thoroughly checked and adjusted by an experienced qualified Bicycle Technician.
Need help?
Do you have a question about the VOYAGER and is the answer not in the manual?
Questions and answers