Advertisement
A U T O M AT I C E N E R GY C O N T R O L
Installation & Operating Instructions:
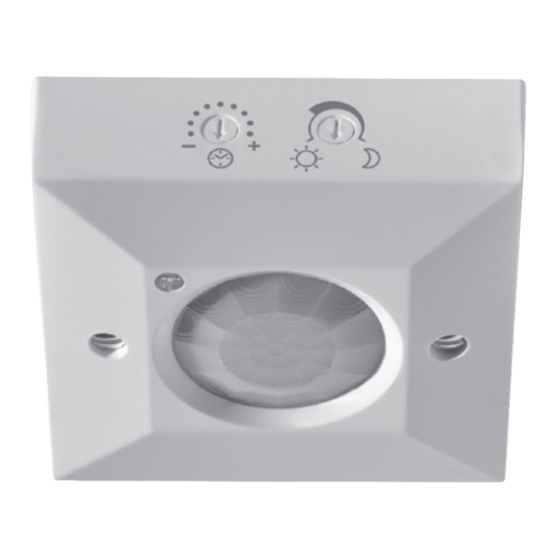
360º Ceiling Surface Mount PIR Switch
D E S C R I P T I O N
This Surface mounted PIR switch is suitable for mounting onto
a back box at least 16mm deep. Confi gurable for any room
occupancy style, via Time and Lux level adjusters. It switches
on the lighting load if the area is occupied and if the ambient lux
level is less than the chosen adjusted level (10 to 1000 lux). It
switches off the lighting load if the area is unoccupied for the set
time (up to 40 minutes). It is also suitable for non lighting loads
by setting the lux adjuster to the maximum point.
I N S T A L L A T I O N
To be installed by a competent person with reference to BS
7671. Make reference to the Precautions and Technical Details
sections overleaf. If in doubt consult a qualifi ed electrician.
• Plan where the PIR is to be located (see diagram 1).
Switch off supply and check for hidden cables and pipes.
Fix a suitable back box to the ceiling.
• The PIR should be connected as shown in diagram 2:
L - Live in. N - Neutral in. SL - Switched Line out.
• Secure the PIR onto the back box ensuring no wires are
trapped.
CEILING with PIR switch
5m Detection
at 2.4m ceiling height
PLEASE READ THESE INSTRUCTIONS BEFORE INSTALLING THE PRODUCT
IN 002 AU
AUT PIRSP
Suggested typical wiring
5A or 6A
Wall Switch
MCB or
(Optional)
fuse
L
230Vac
N
L - Live in. N - Neutral in. SL - Switched Line out.
• Ensure the Time adjuster is set to minimum and Lux
to Photocell inactive (maximum), making reference to
diagram 3.
• Turn on the supply and any in-line switch (providing overide
off) and check the operation of the PIR.
O P E R A T I O N
When the power is switched on, the PIR will switch on the
lighting load for 1 minute then switch it off. After 3 seconds it will
switch on again if it detects movement and the room is deemed
dark enough. With Time set to minimum the load will stay on for
10 seconds so the detection range can be easily assessed.
2.5m
80s
2.5m
80s
5m
40s
40s
10m
20s
20s
20m
10s
10s
40m
TIME SETTINGS
TIME SETTINGS
Load
L
N
5m
1000 LUX
10m
1000 LUX
20m
PHOTOCELL
PHOTOCELL
INACTIVE
40m
INACTIVE
10 LUX
LUX SETTINGS
LUX SETTINGS
SL
10 LUX
22/03/13
Advertisement
Table of Contents

Summary of Contents for autenco AUT PIRSP
- Page 1 A U T O M AT I C E N E R GY C O N T R O L AUT PIRSP Installation & Operating Instructions: 360º Ceiling Surface Mount PIR Switch D E S C R I P T I O N...
- Page 2 AUT PIRSP Installation & Operating Instructions: L U X S E T U P • Do not connect on a circuit with large inductive loads, as induced spikes may cause false triggering or damage the Note: For loads which should turn on regardless of ambient PIR.

Need help?
Do you have a question about the AUT PIRSP and is the answer not in the manual?
Questions and answers