Table of Contents
Advertisement
Quick Links
Installation Guide
The system has:
• 1 x Fully assembled wall
• 2 x Foot plates (a)
• 2 x U-style top/bottom clips (b)
• 2 x T-style top/bottom clips (c)
• 20 x Stainless steel screws
(a)
(b)
(c)
Tools required:
• Cordless drill with a #2 Robertson or #2 Phillips bit.
• Rubber mallet may be required if connecting panels inline.
Assembly:
Notes:
• For easier installation, when connecting wall panels via tongue and groove, do not add the foot plates until after
the wall panels are connected. If the foot plates are already on, a rubber mallet will help connect them.
Step 1: Start with the back panel and stand it upright.
Step 2: Use 2 foot plates to snap-in the wall from the top down; You now have your back wall completed.
• All back walls will use 2 foot plates.
Advertisement
Table of Contents

Summary of Contents for Flex Structure TempWall
- Page 1 Installation Guide The system has: • 1 x Fully assembled wall • 2 x Foot plates (a) • 2 x U-style top/bottom clips (b) • 2 x T-style top/bottom clips (c) • 20 x Stainless steel screws Tools required: • Cordless drill with a #2 Robertson or #2 Phillips bit. •...
- Page 2 Step 3: For the sidewall, use one foot plate and one TempWall. Place the foot plate near the front of the panel. Avoid placement around the seam. Step 4: Join the walls together by butting the ends and attaching the U-clips at the top and bottom of the wall;...
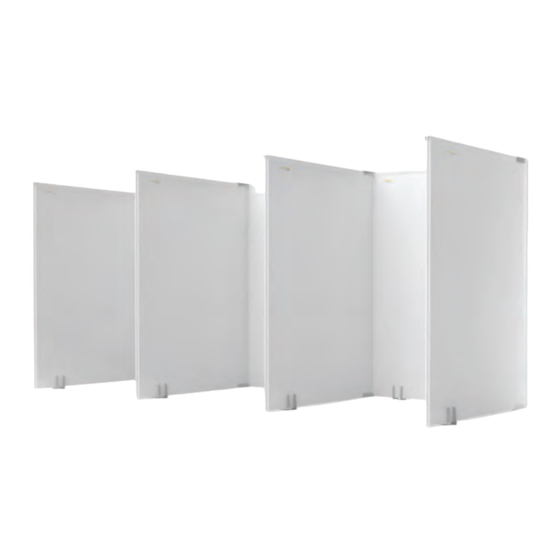
- Page 3 When adding walls inline, slide them together before you put the foot plate(s) on. If needed, use a rubber mallet. U-Shape Multi-U Shape Zig-Zag L-Shape More resources available at FlexStructure.com Authorized Distributor Copyright © 2020 Trusscore Inc. Trusscore and TempWall are trademarks of Trusscore Inc. All other trademarks are the property of their respective owners.
Need help?
Do you have a question about the TempWall and is the answer not in the manual?
Questions and answers