Advertisement
Table of Contents
WARNING: Please do not mount this item above cribs, beds or changing tables.
Hardware Included
As a courtesy, we have included basic drywall anchors and screws for your convenience. We recommend mounting this product on wall studs
for a more secure installation. When mounting on wall studs, you will NOT need to use the included anchors, as they will not be necessary; the
included screws will be sufficient. When mounting on hollow spaces on walls, make sure to use the included anchors and screws together.
Tools Needed
Box Content
As a general rule, it's always ideal to install the wall mountable products on wall studs without fasteners. If it isn't possible, as a courtesy
we have included basic drywall anchors and screws for your convenience. However, different wall materials may require different anchors
and screws. If necessary, please obtain proper hardware suitable for your walls from your local hardware store.
Mini level [×1]
Support wooden rod [×1]
Assembly Instructions
STEP 1
Place the support wooden rod on the side of the base wooden frames to match the
screw holes. Insert the steel assemble screws and screw them using the allen key.
(Each base wooden frame has 9 screw holes, you can move and adjust any number
of combinations based on your requirement.)
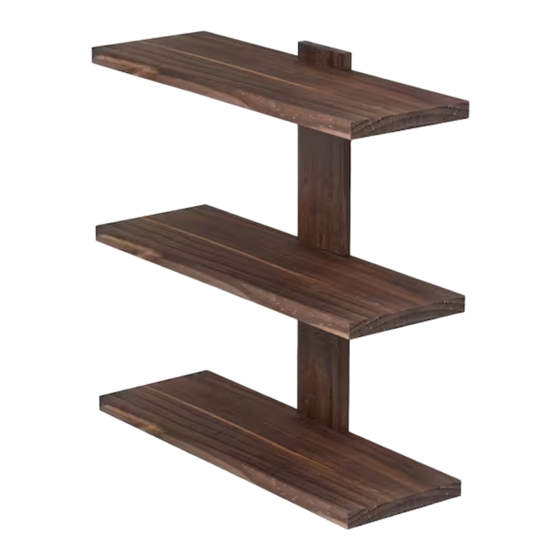
RUSTIC STATE
PASSI 3 Tier Shelf
Steel wall screw [×2]
×6
Zinc wall anchor [×2]
Option 1
Steel assemble screw [×6]
Base wooden frame [×3]
Option 3
Allen key [×1]
Option 2
1
Advertisement
Table of Contents

Related Manuals for Rustic State PASSI ZIMAY128

Summary of Contents for Rustic State PASSI ZIMAY128
- Page 1 RUSTIC STATE PASSI 3 Tier Shelf WARNING: Please do not mount this item above cribs, beds or changing tables. Hardware Included As a courtesy, we have included basic drywall anchors and screws for your convenience. We recommend mounting this product on wall studs for a more secure installation.
- Page 2 STEP 2 STEP 3 Mini level Broken line down Place the shelf at desired place on the wall and straighten Install the anchors on the marked points. it by using mini level and mark the screw holes. Wall Wall STEP 4 Insert the screws into anchors.
Need help?
Do you have a question about the PASSI ZIMAY128 and is the answer not in the manual?
Questions and answers