Advertisement
Montageanleitung
Assembly Instruction
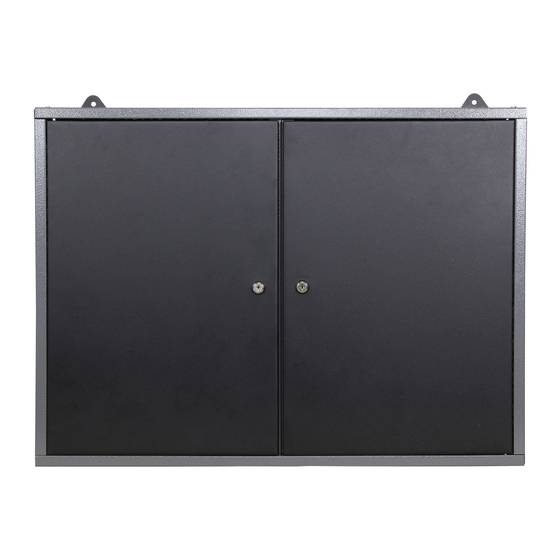
Artikel: Werkstattschrank mit 2 Türen
Allgemeine Hinweise:
Prüfen Sie bitte vor Zusammenbau, ob alle Teile vorhanden und unbeschädigt sind. Sollte das nicht
der Fall sein, informieren Sie uns bitte. Führen Sie die Montage planmäßig laut Montageanleitung
aus. Vollenden Sie jeden Schritt bevor Sie den nächsten beginnen. Aus produktionstechnischen
Gründen können scharfe Kanten entstehen. Tragen Sie deshalb Handschuhe während der Montage.
Wir empfehlen die Montage zu zweit auszuführen. Ziehen Sie bei der Montage erst alle Schrauben
lose an und zum Schluss noch einmal alle Schrauben kräftig nach. Vorsicht Kleinteile!
Verschluckungsgefahr für Kleinkinder.
General Information:
Please check all parts for incompleteness and damage, before assembling the workbench. In case of faulty items, please
contact us immediately. Assemble the article exactly as shown in the instruction. Complete each step before proceeding with
the following one. Due to production related reasons there might be sharp edges occurring on some of the parts. For your
own safety, please use suitable gloves while assembling. We recommend executing the installation two by two. Please
arrange screws loosely at first. Proceed tightening them all as a final step.
Caution! Choking Hazard – small parts! Keep away from children!
Sie benötigen folgendes Werkzeug:
1x Schraubendreher
1x Steck- oder Ratschen Schlüssel mit Nuss
© Ondis24
Assembly requires the following tools:
- Screwdriver
- Socket wrench
Artikelnummer 4250627004561
1
Advertisement
Table of Contents

Related Manuals for Ondis24 4250627004561


Summary of Contents for Ondis24 4250627004561
- Page 1 Proceed tightening them all as a final step. Caution! Choking Hazard – small parts! Keep away from children! Sie benötigen folgendes Werkzeug: Assembly requires the following tools: 1x Schraubendreher - Screwdriver 1x Steck- oder Ratschen Schlüssel mit Nuss - Socket wrench © Ondis24 Artikelnummer 4250627004561...
- Page 2 Inhalt: (Content) Tür Teil 4 Tür Teil 4 Ober/Unterteil Teil 1 Teil Ober/Unterteil Teil 1 Rückwand Rückwand Teil 5 Seitenteil Teil 2 Teil6 Teil 6 Teil 5 Seitenteil Teil 2 © Ondis24 Artikelnummer 4250627004561...
- Page 3 Aussparung nach hinten gerichtet sind. Afterwards, screw the three rear walls (6) into the cabinet framework. Notice that the rear walls are placed the right way up and the notch points towards the rear side. © Ondis24 Artikelnummer 4250627004561...
- Page 4 6. Stecken Sie die Schlösser durch die dafür in der Tür vorgesehen Löcher und sichern Sie die Schlösser mit dem Muttern. Bringen Sie nun den Schließriegel an. Attach the locks inside the designated opening of the doors and affix them with the nuts. Then attach the bolt. © Ondis24 Artikelnummer 4250627004561...
- Page 5 7. Montieren Sie die Tür unten mit den Nieten und Unterlegscheibe , oben mit Schraube M5 Mount the door to the corpus. Use the rivets (13) for bottom side and screw (M6) for top side. © Ondis24 Artikelnummer 4250627004561...
- Page 6 8. Befestigen Sie die Wandhalterung mit den M4x10mm Schrauben rechts und links an den Rückwänden. Attach the wall holder to the left and right side of the rear walls, using screws. (M4x10mm) © Ondis24 Artikelnummer 4250627004561...
Need help?
Do you have a question about the 4250627004561 and is the answer not in the manual?
Questions and answers