Table of Contents
Advertisement
Quick Links
Advertisement
Table of Contents

Related Manuals for Alpine GIL1644


Summary of Contents for Alpine GIL1644
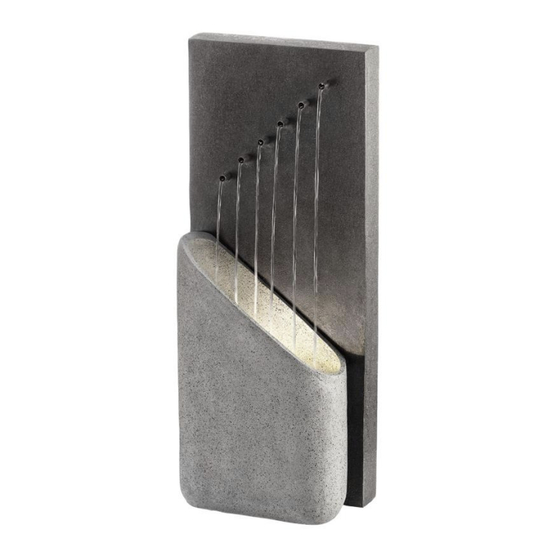
- Page 1 Owner’s Manual Item # GIL1644 Calm Infinity Fountain with LED Lights Have Questions or Issues? Need help with assembly? Contact us and we will resolve them within 12 hours. Support Hours: M-F 7:30–5:00 (U.S. Pacific Time) Call: Email: 877-460-4511 info@alpine4u.com...
-
Page 3: Table Of Contents
CONTENTS Contents ............1 What’s Included ..........2 Features ............3 Assembling & Using Your Product ....4 Replacement Parts ........8 Troubleshooting ..........9 Caution ............10 Warranty ............. 11 Notes ............12... -
Page 4: What's Included
WHAT’S INCLUDED Fountain (6 LED Lights Pre-installed) Back Door Pump... -
Page 5: Features
FEATURES • • Flowing water adds Made of lightweight, a soothing sound durable to any environment polyresin materials • Modern, geometric design with stone-like texture SPECIFICATIONS Power Requirements ..Standard Household 120V Water Capacity ....3.5 US Gallons / 13 Liters Tubing Diameter ...... -
Page 6: Assembling & Using Your Product
2. Remove the Pump from its packaging and set the water flow to its lowest setting to avoid splashing until the fountain is completely assembled. Alpine Quick Tip #1 Turn adjuster left to increase the water flow. Turn to the right... - Page 7 3. Pull out the tubing from the back opening of the Fountain, and attach it to the Pump. NOTE: Tubing may be zip-tied to the LED cords. Cut zip-ties carefully to separate. 4. Take the LED cord out of the back opening of the fountain and attach it to the connector on the pump.
- Page 8 5. Gently pour water into the fountain basin, being careful not to overflow and cause splashing. Make sure the water completely submerges the pump and the water runs clear during operation. NOTE: We recommend that you use distilled water to prevent scale build-up. The first time you operate the pump it can take up to 5 minutes for the air to be completely expelled and water begins to flow...
- Page 9 7. You can now adjust the water pump to your flow preference. (see Quick Tip #1) Once set, install the Back Door Cover by sliding it into the designated opening. Alpine Quick Tip #2 Make sure the power cord is tucked neatly into the cord slot.
-
Page 10: Replacement Parts
REPLACEMENT PART ITEM# • Replacement Pump ........PAD900 ALSO AVAILABLE FROM ALPINE • Fountain Care Formula ......PPL100 Foam and scale remover for indoor and outdoor fountains. • Americana® UV Acrylic Sealer ....RRR106 Provides protective clear coating for all painted surfaces. -
Page 11: Troubleshooting
TROUBLESHOOTING If you have any questions and/or problems, please contact the retail store you purchased this fountain. • If your pump fails to run • Check the circuit breaker or try a different outlet to make sure the pump is receiving electrical power. -
Page 12: Caution
CAUTION • Always unplug the pump from the electrical outlet before cleaning & handling • Use with clean water only, do not place the fountain and/or parts in any other liquid. • Periodically change water & clean the pump to keep free from microorganisms •... -
Page 13: Warranty
LIMITED WARRANTY INFORMATION Thank you for choosing an Alpine product! We aim to please with our wide range of products including Fountains, Birdbaths, Statuary, Pond Supplies & More. All of our products are constructed from the highest quality materials. In the event that we have not achieved our usual standard of excellence, we will repair or replace, at our discretion, within the warranty period. -
Page 14: Notes
NOTES... - Page 16 Purchased your product online? We would really appreciate it if you can share your experience with others by reviewing our product on the website from which you purchased.
Need help?
Do you have a question about the GIL1644 and is the answer not in the manual?
Questions and answers